Overview
This application is used to set up the production calendar.
Function
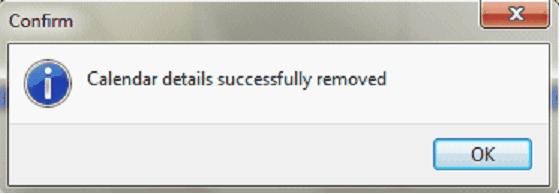
When the application is opened the 'Calendar' tab will be displayed.
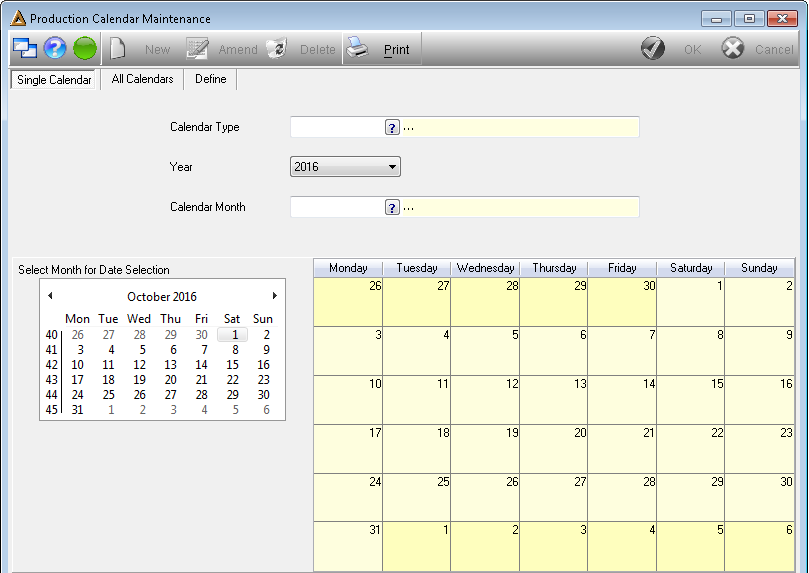
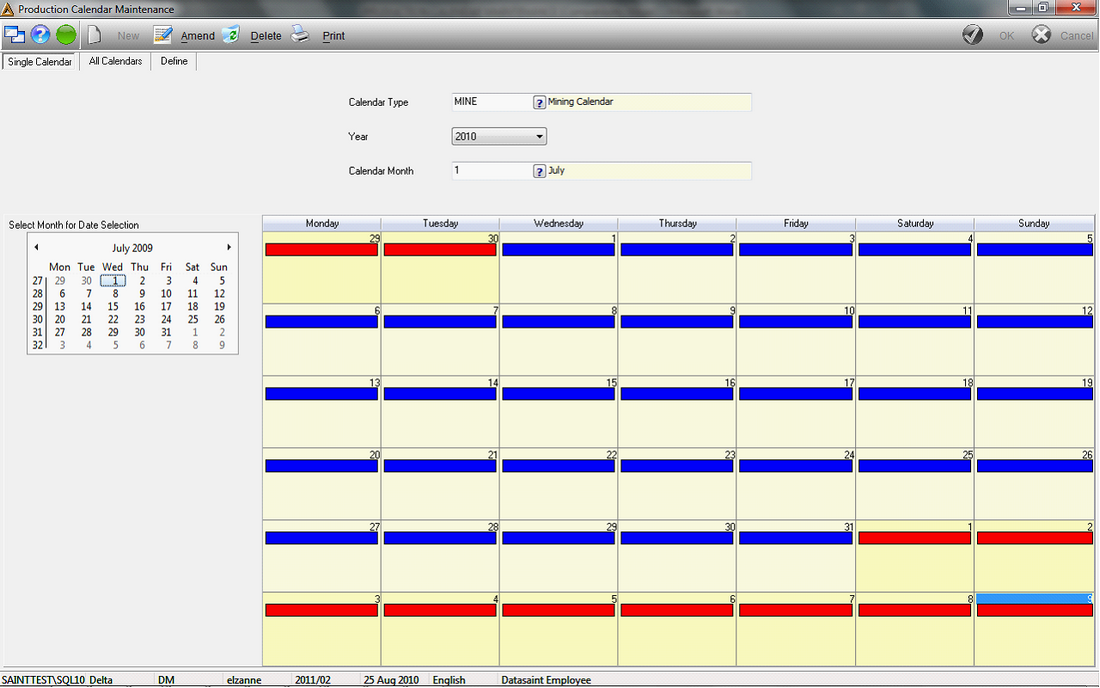
Select the applicable calendar type to be used as well as the year and month.
Calendar highlights previous/next months with red or blue for the month selected.
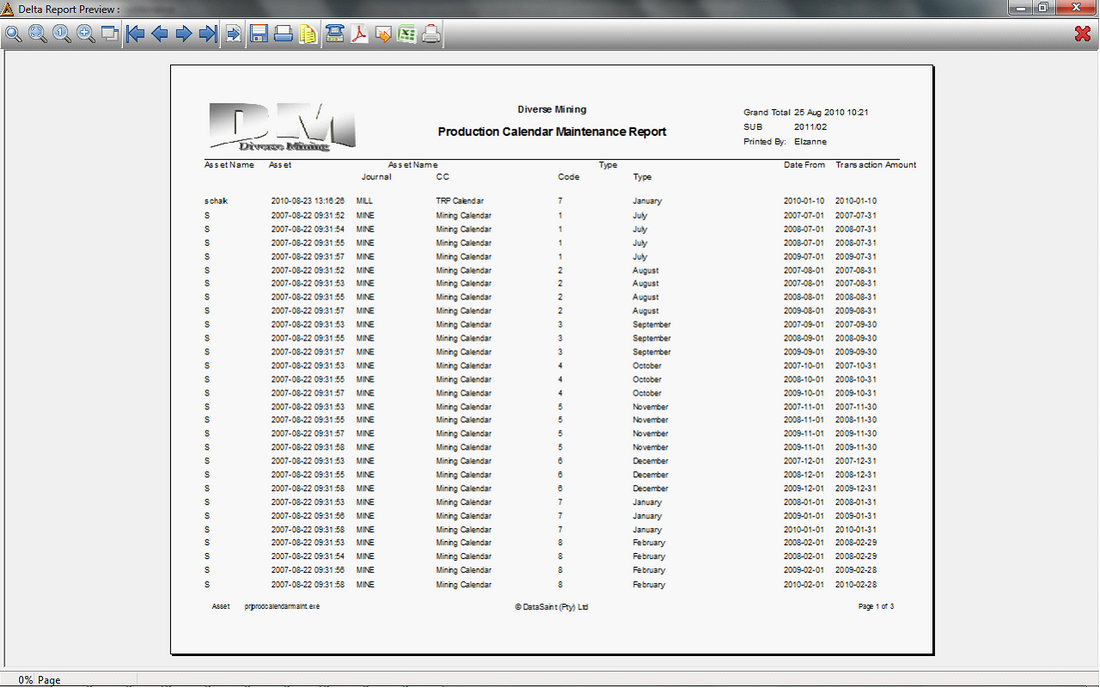
Print:
1. Select the PRINT button.
Amend
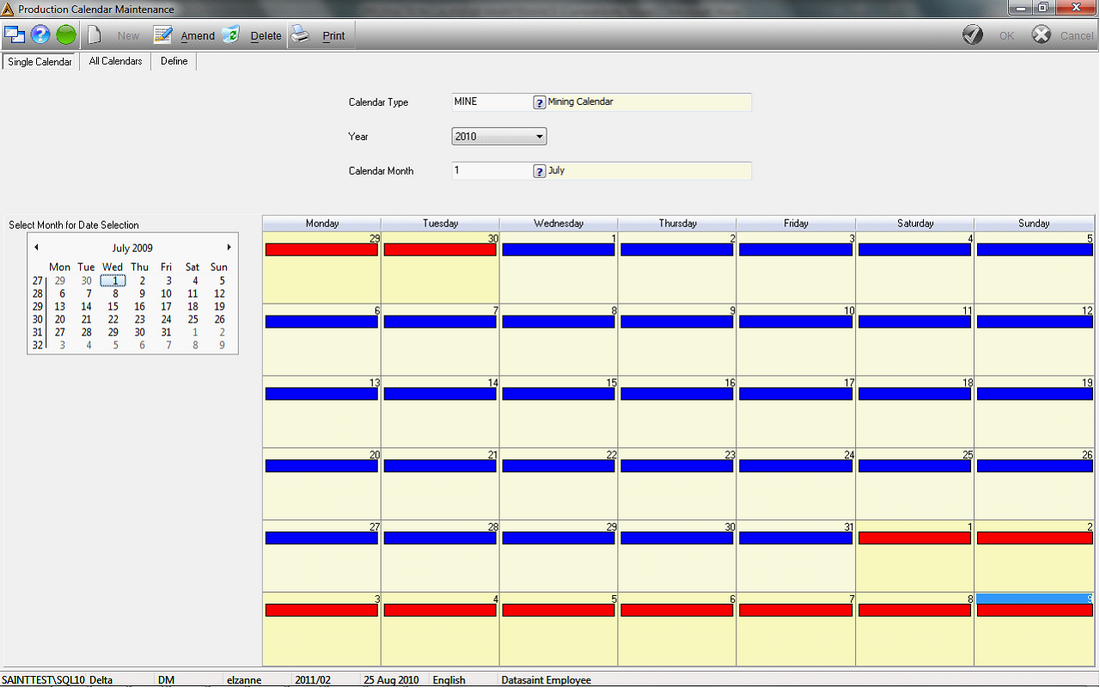
1.Click on the AMEND button.
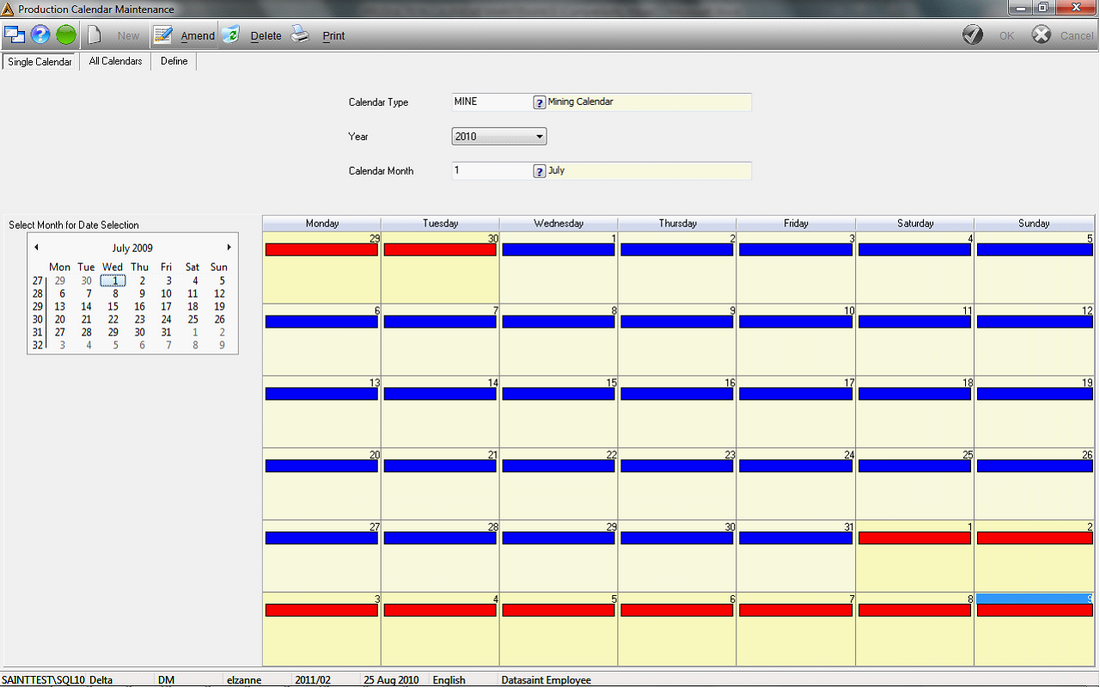
2.Navigate through the Calendar Months using the arrows to the left and right of the Month description, or
3.Click on the highlighted area to add/remove.
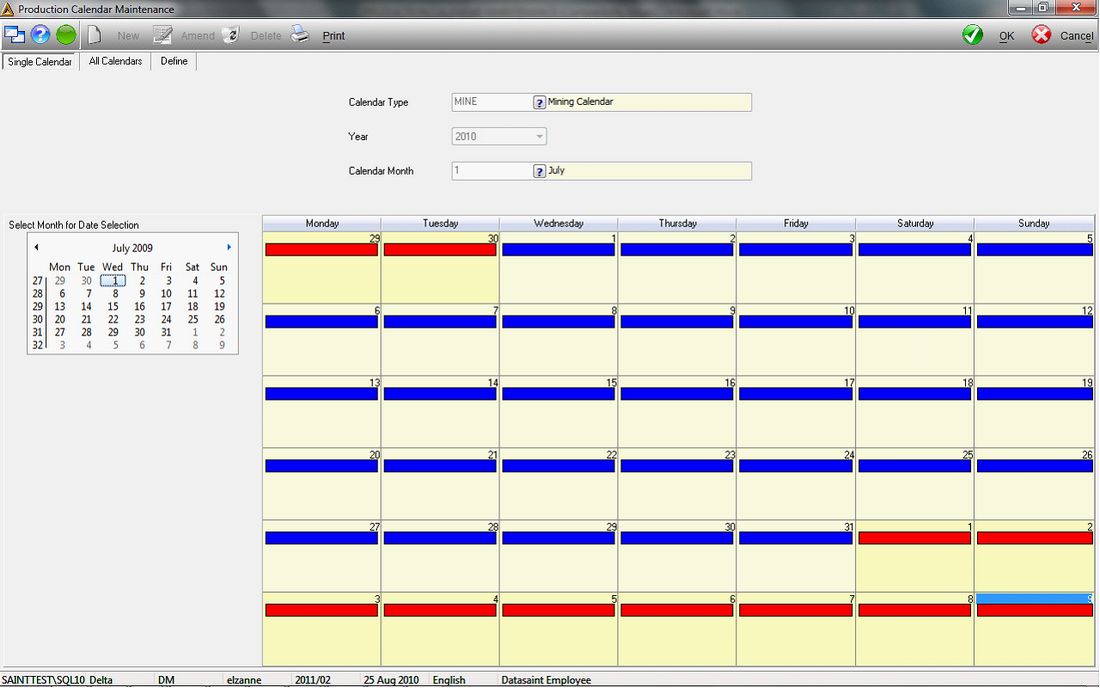
Save
1.Select the OK button to save amendments.
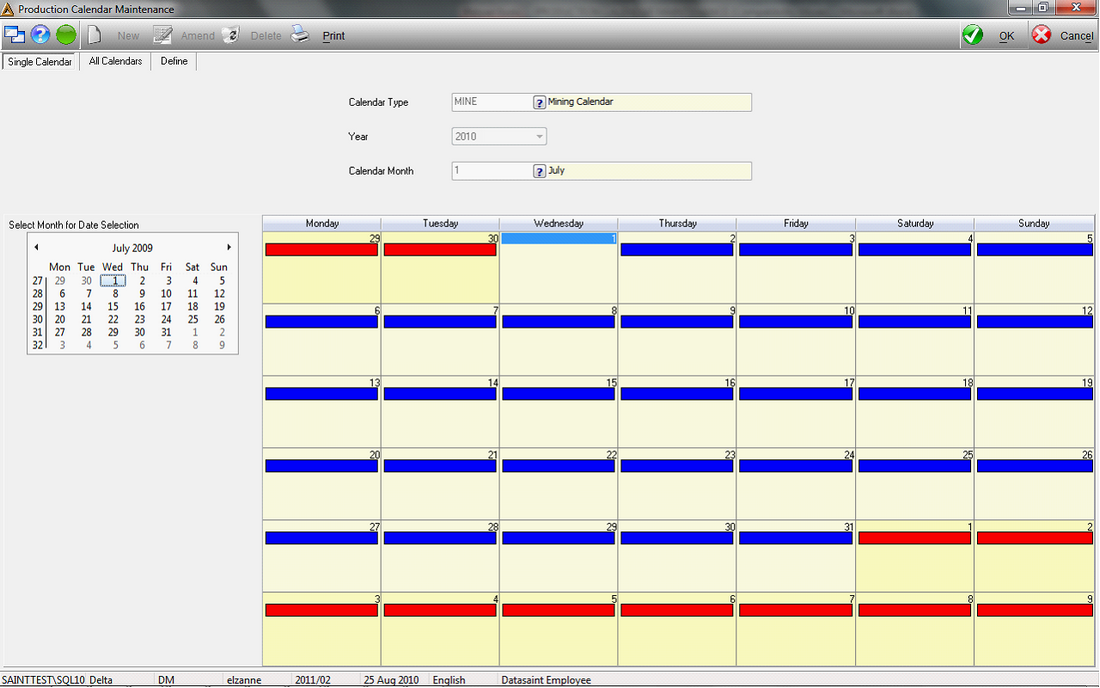
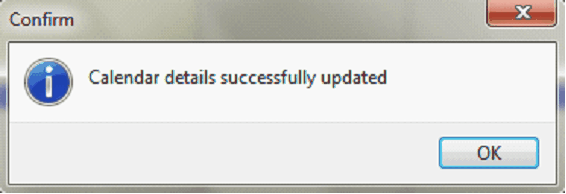
2.An information box pops up confirming that the details have been updated.
Delete:
1.Select the DELETE button.
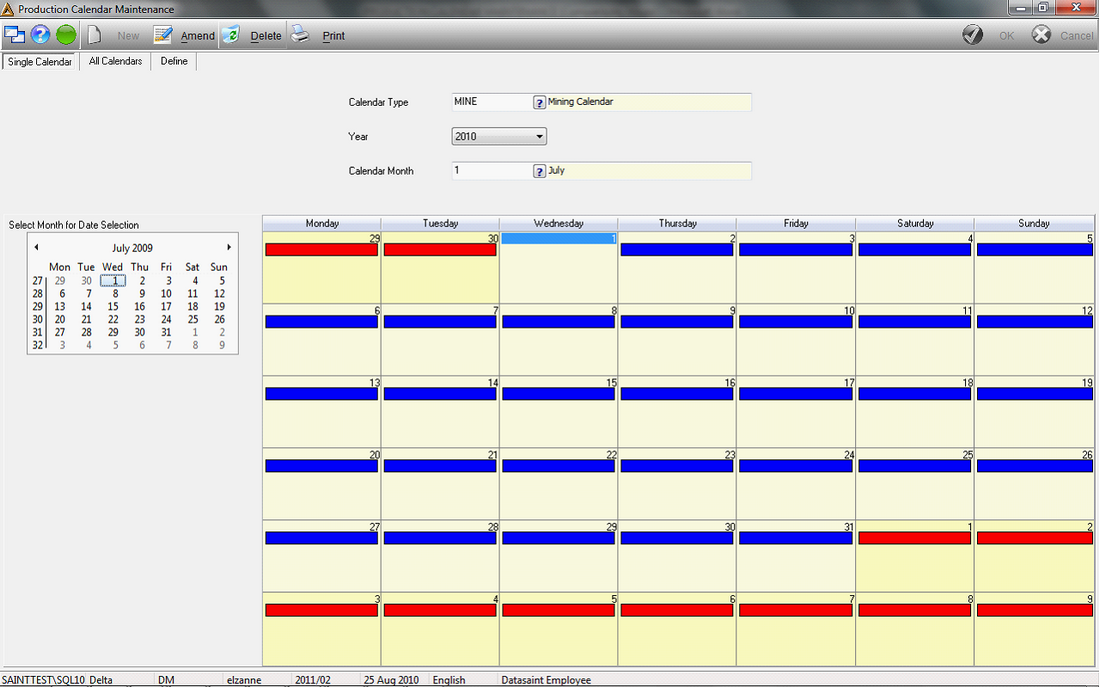
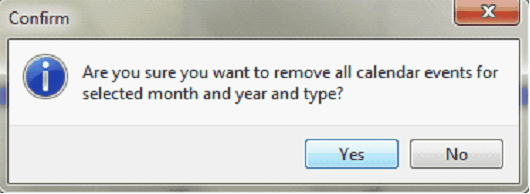
2.A confirmation box pops up requesting confirmation that you wish to remove all the calendar data for the selected month, year and type. Click on Yes/No, as required.
All Calendars Tab
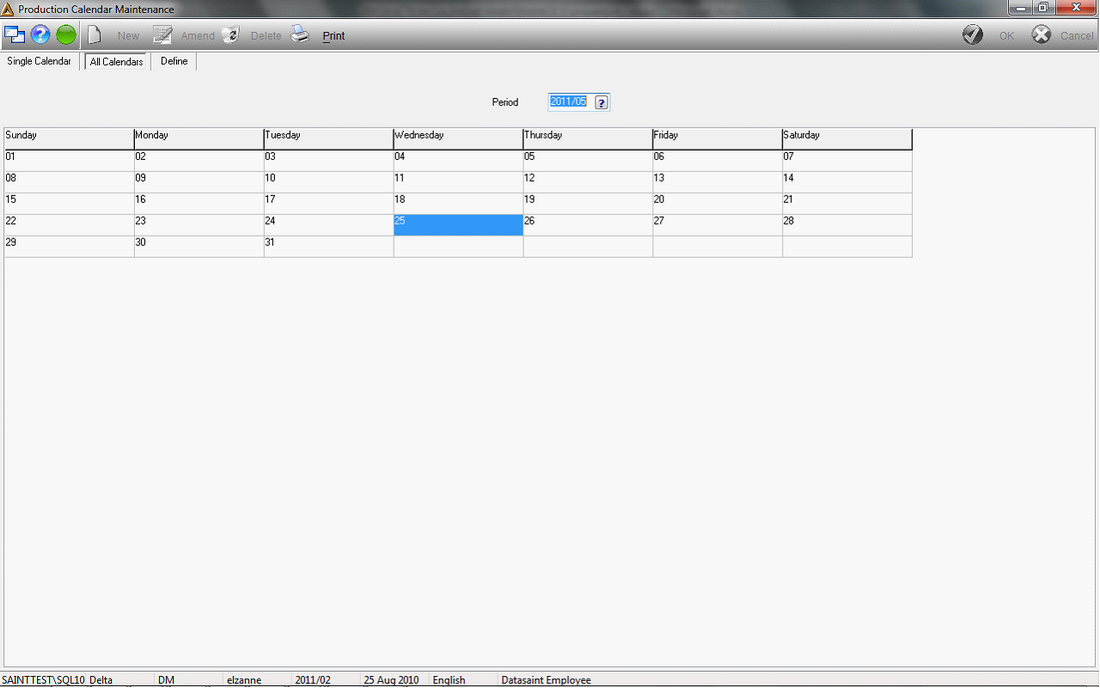
1.Select the All Calendars Tab
2.Select the Financial Period by selecting the date using the Search Box facility.
3.The Table on the screen updates accordingly.
Define Tab – Calendar Type
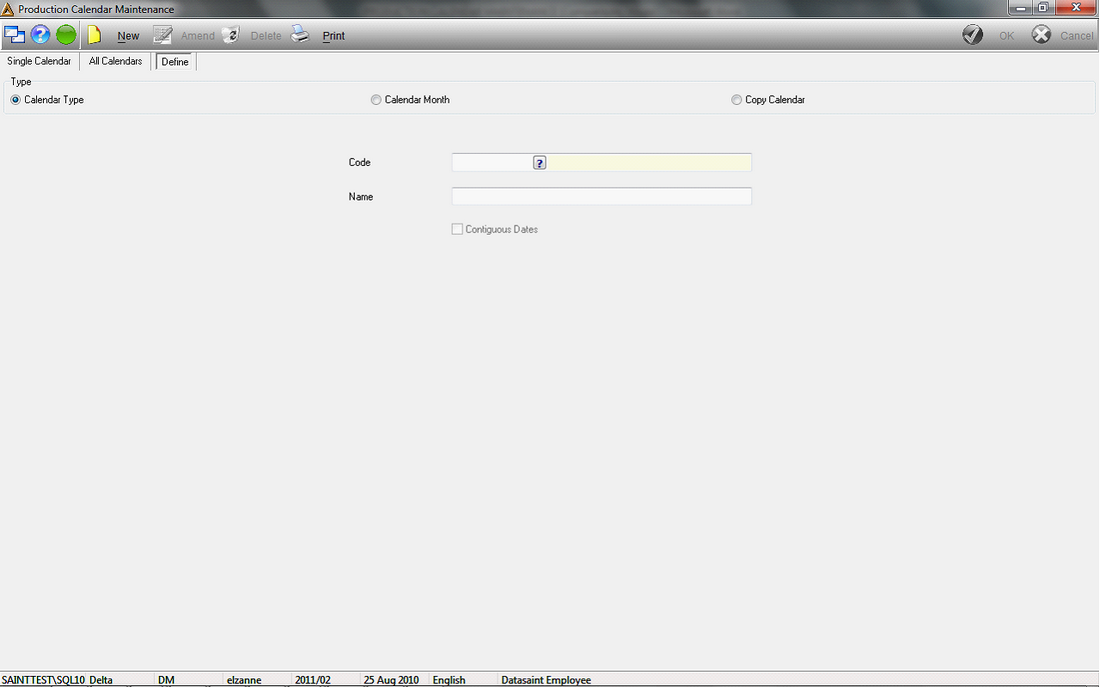
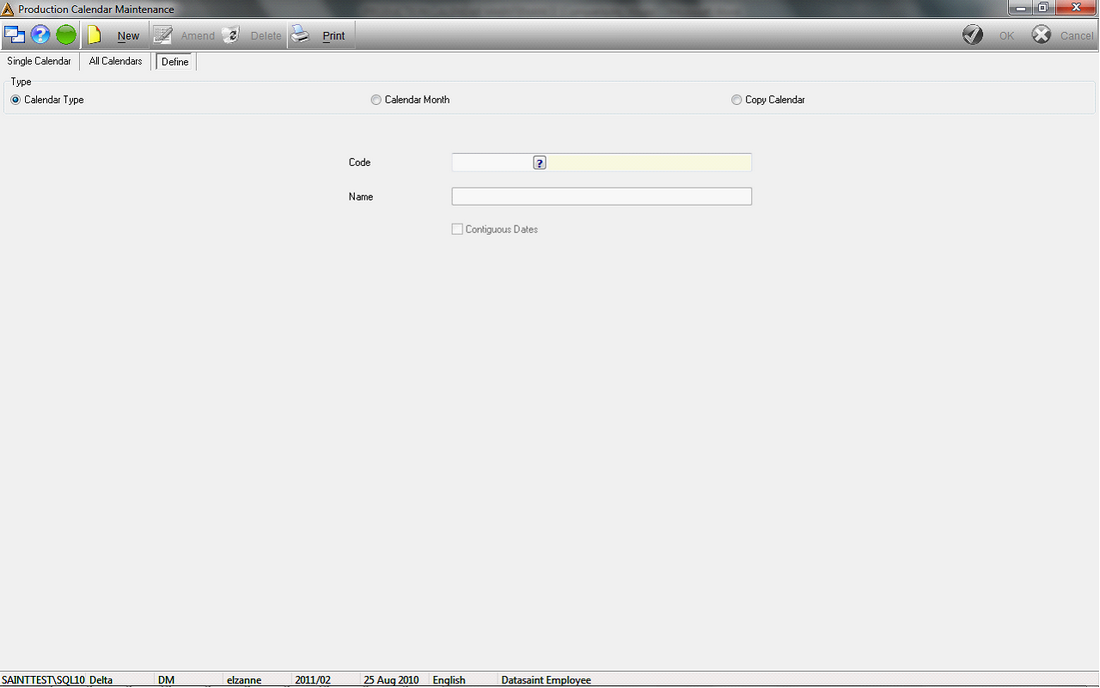
1.Select the Define Tab.
2.Select the Type of Calendar.
3.Insert the Code according to Calendar Type. The Name field updates.
Amend
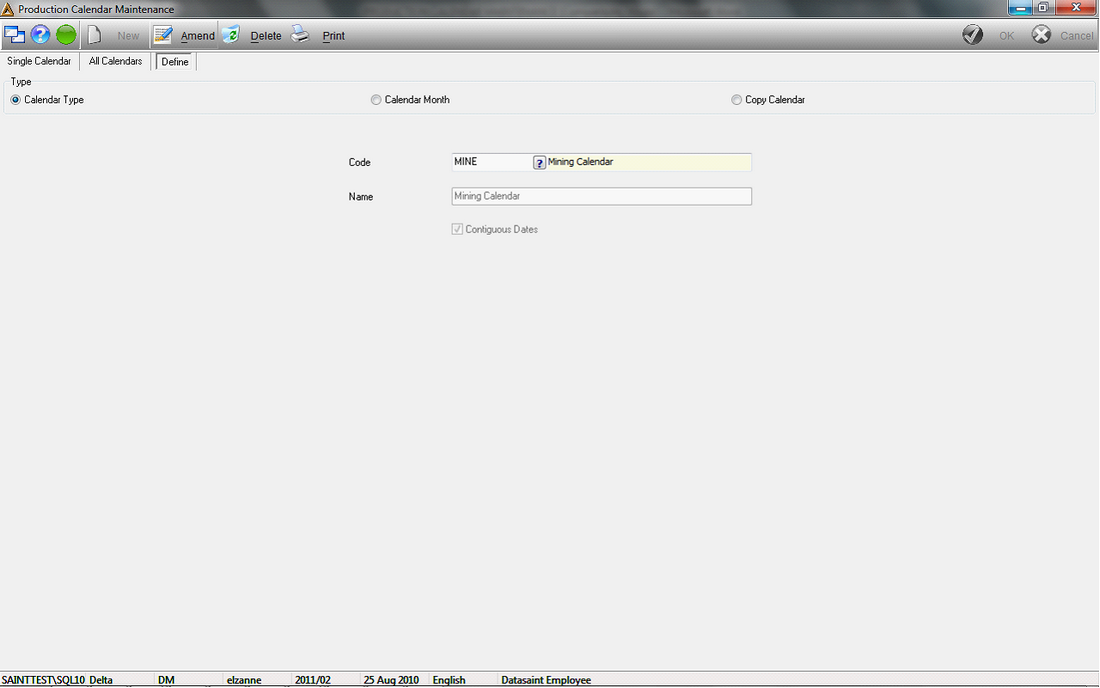
1.Click on the AMEND button,
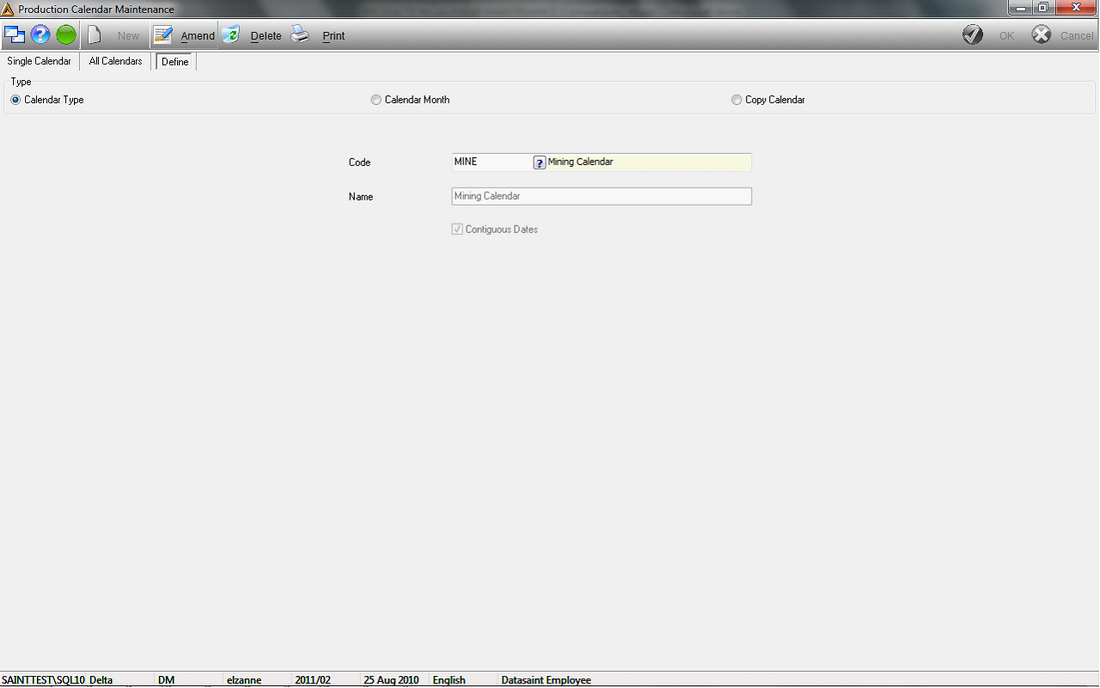
2.The Code field is now inactive and the Name field becomes active and can be updated. Select/deselect the Contiguous Date function by clicking on the adjacent box, to insert or remove a tick.
3.Click on the OK button to save data.
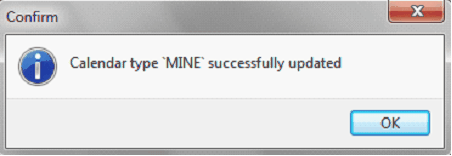
4. An information box pops up, confirming the update.
1.
New
1.Select NEW button.
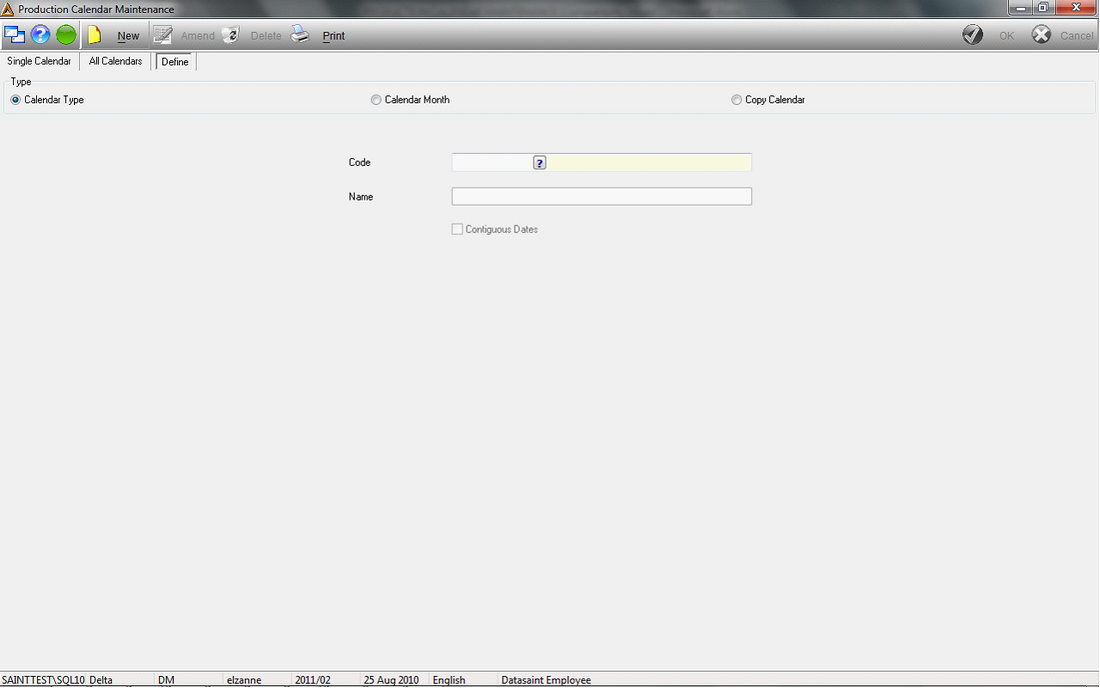
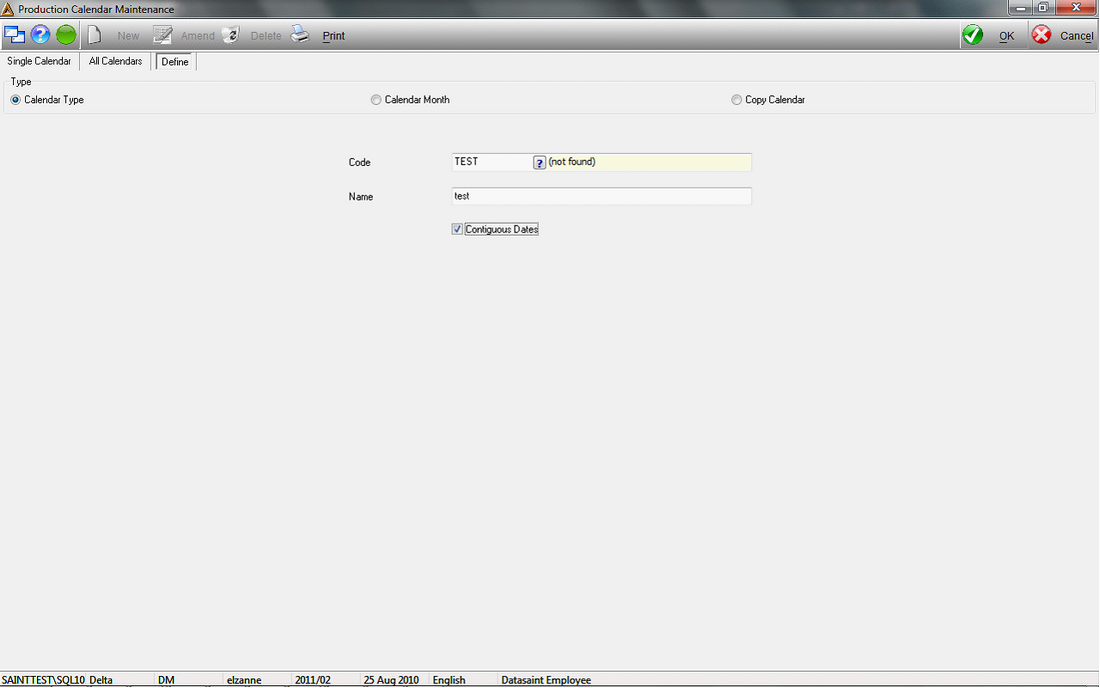
2.Enter the new Name in the Name field and select/deselect the Contiguous Date (if available).
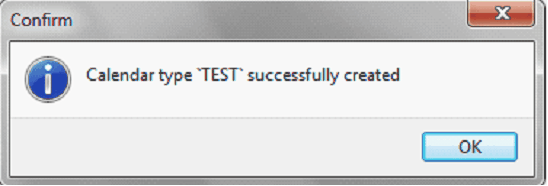
3.Click on OK.
| 1. | Click on the PRINT button. |
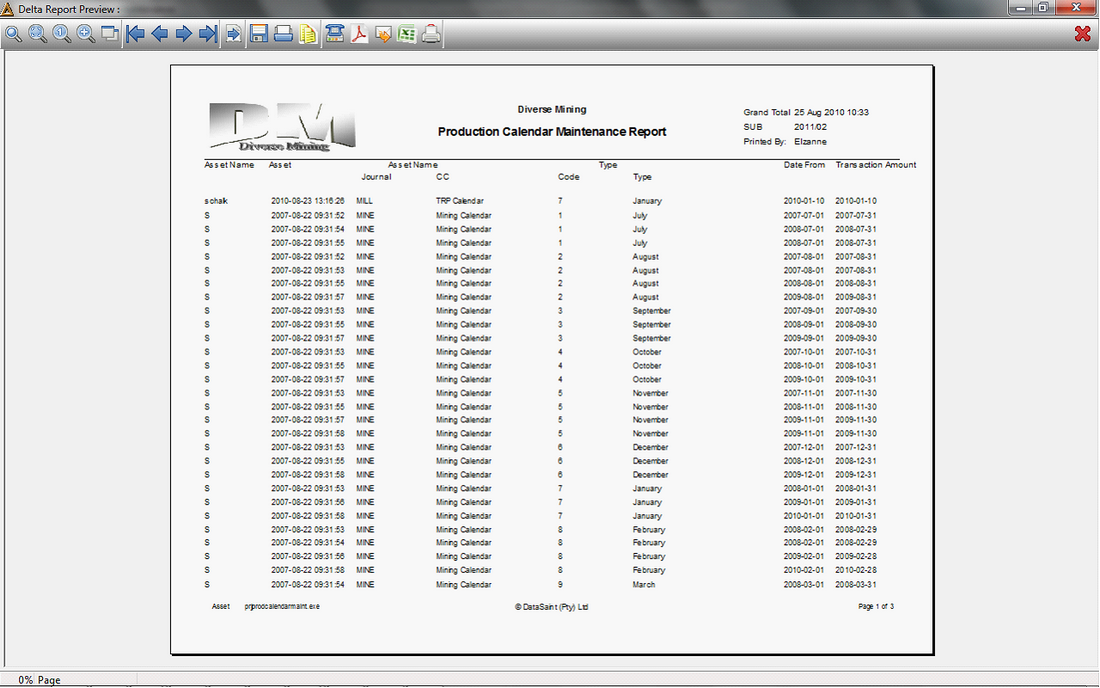
Define Tab – Calendar Month
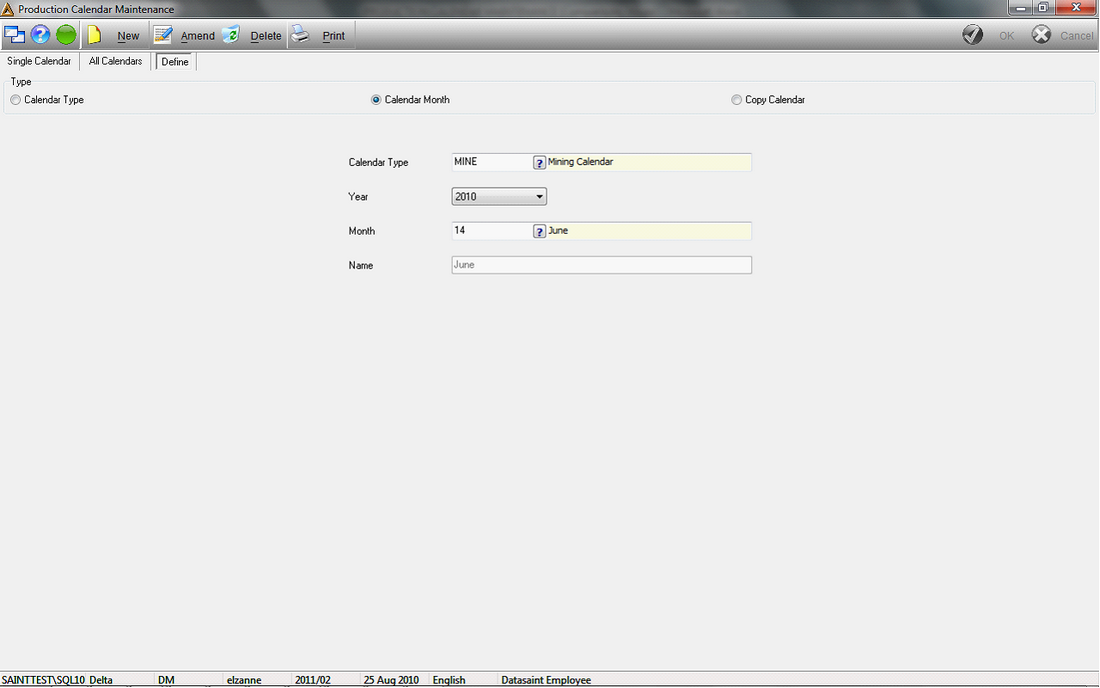
1.Select the Calendar Month option.
2.Select the Calendar Type, the Year and Month, using the Search Box. The month Name updates automatically.
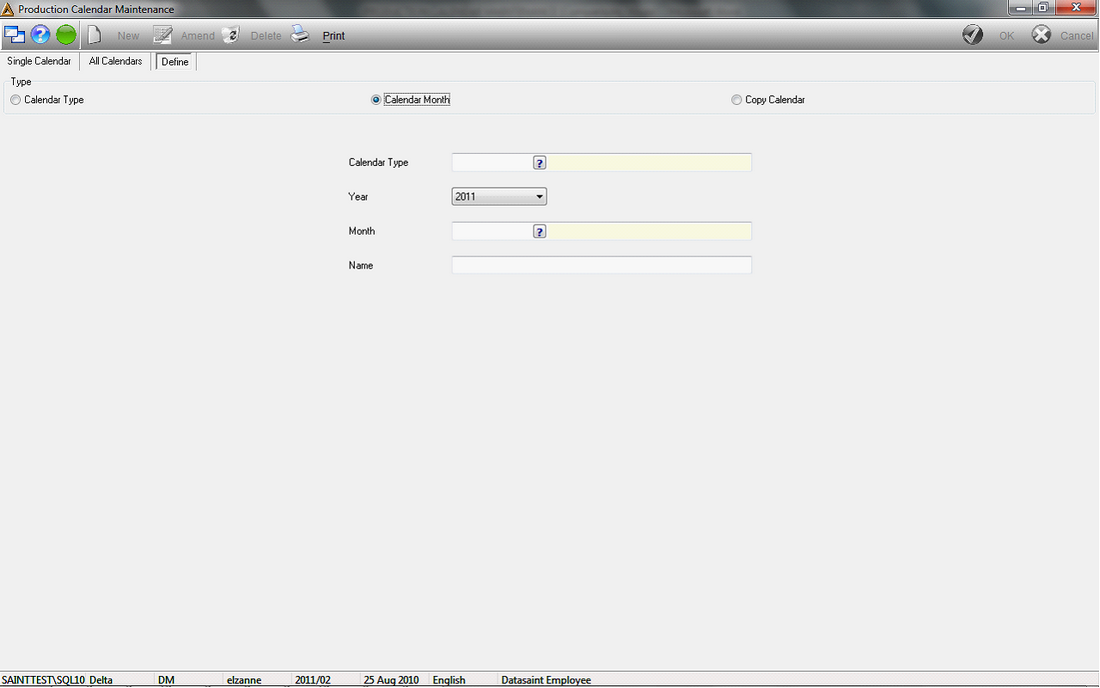
Amend
1.Click on the AMEND button.
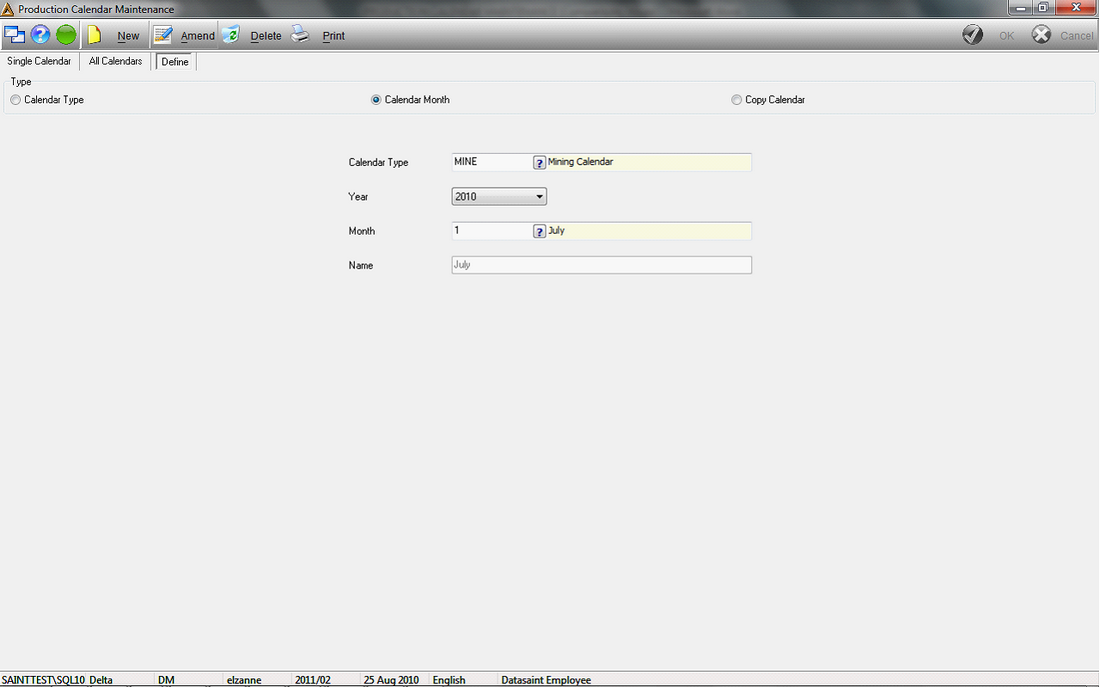
| 2. | This allows you to change the Name of the month. |
| 3. | Click on the OK button. |
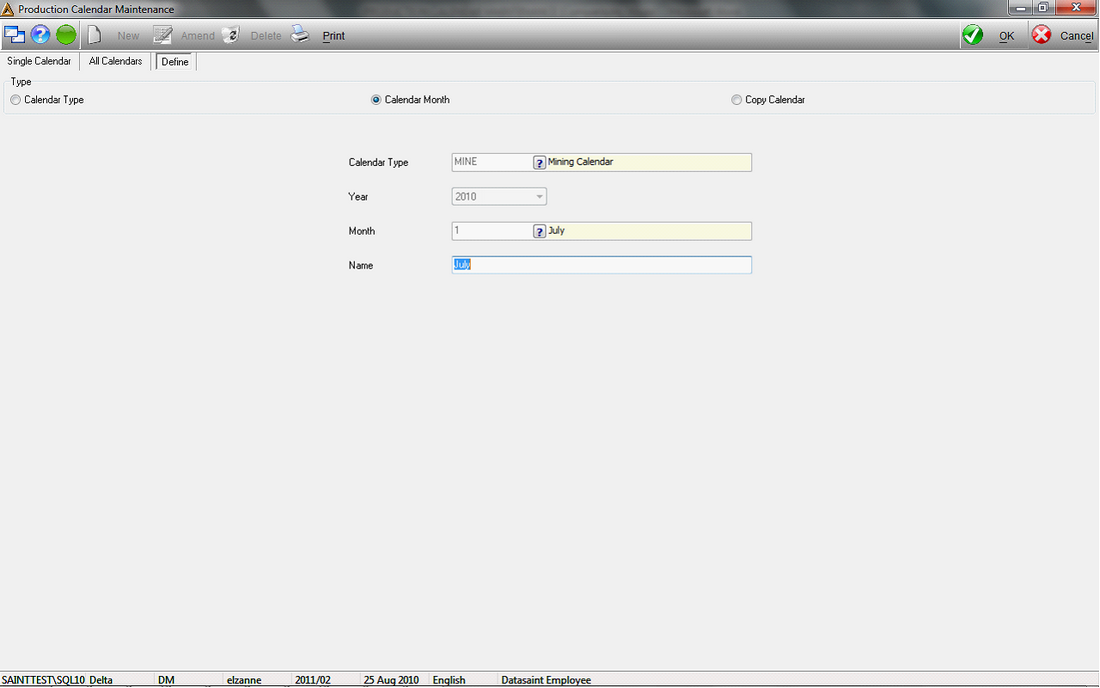
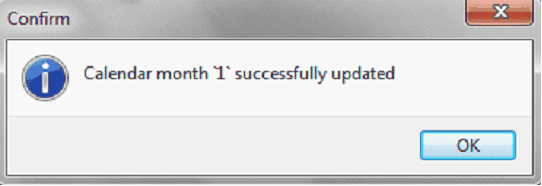
| 4. | An information box pops up confirming the amendment. |
New
1.Click on the NEW button.
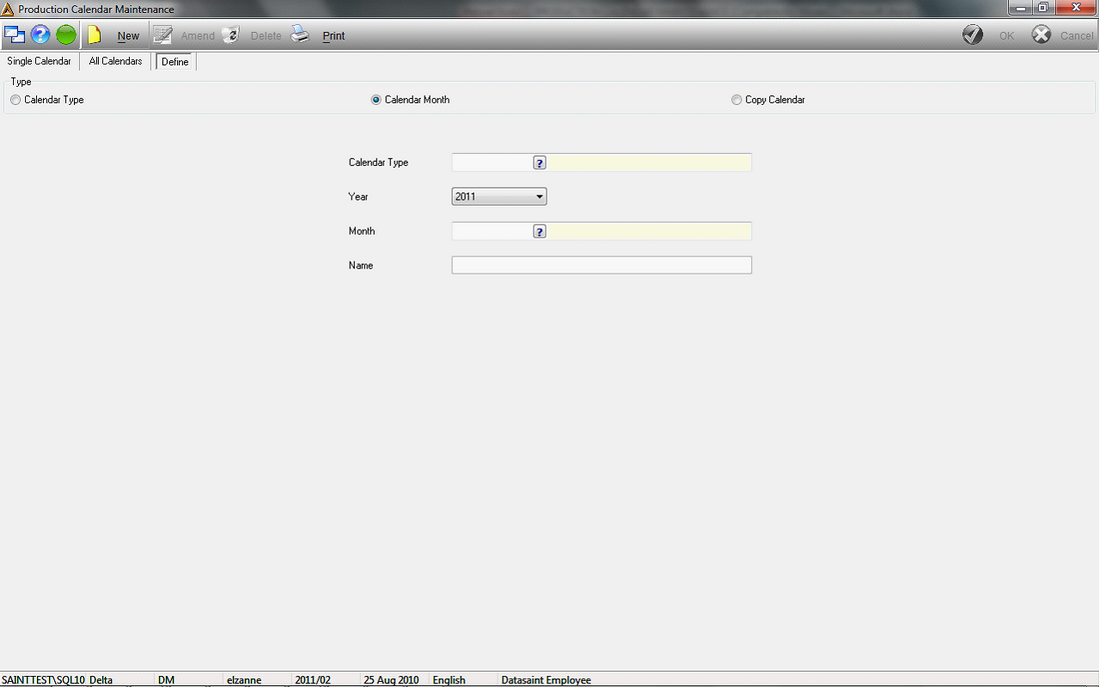
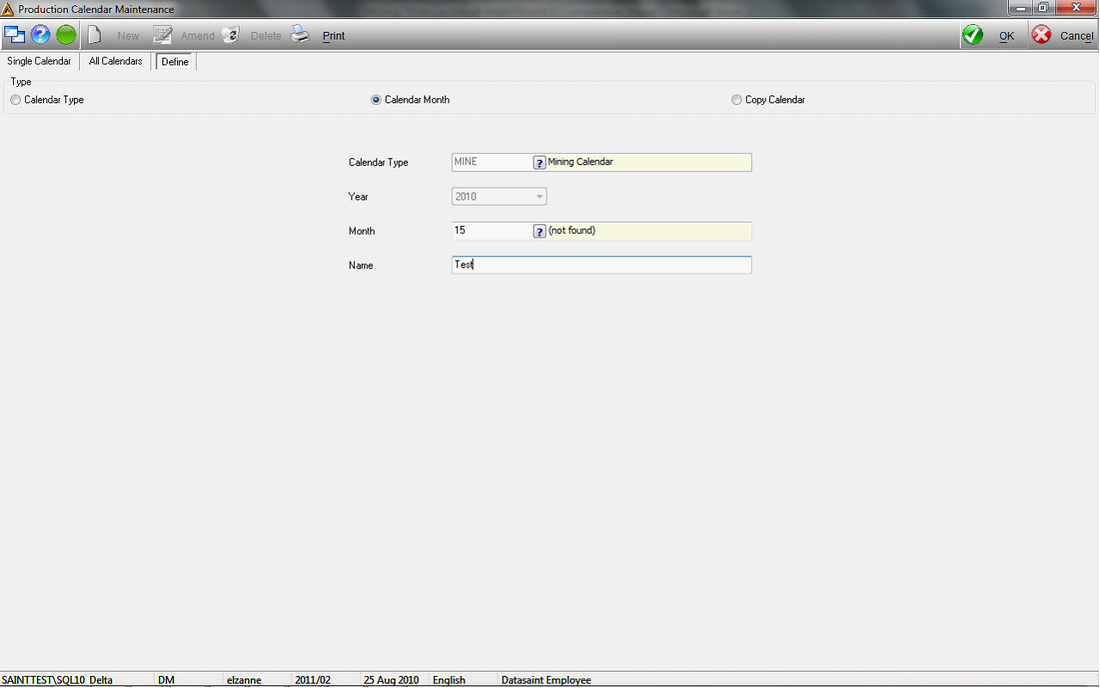
2.Calendar Type and Year are greyed out.
3.Enter the new Month and Name.
4.Select the OK button to save the new data.
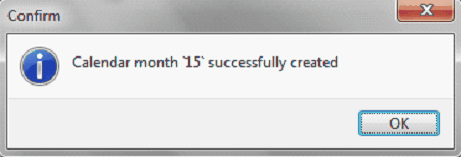
5. An information box pops up confirming the update.
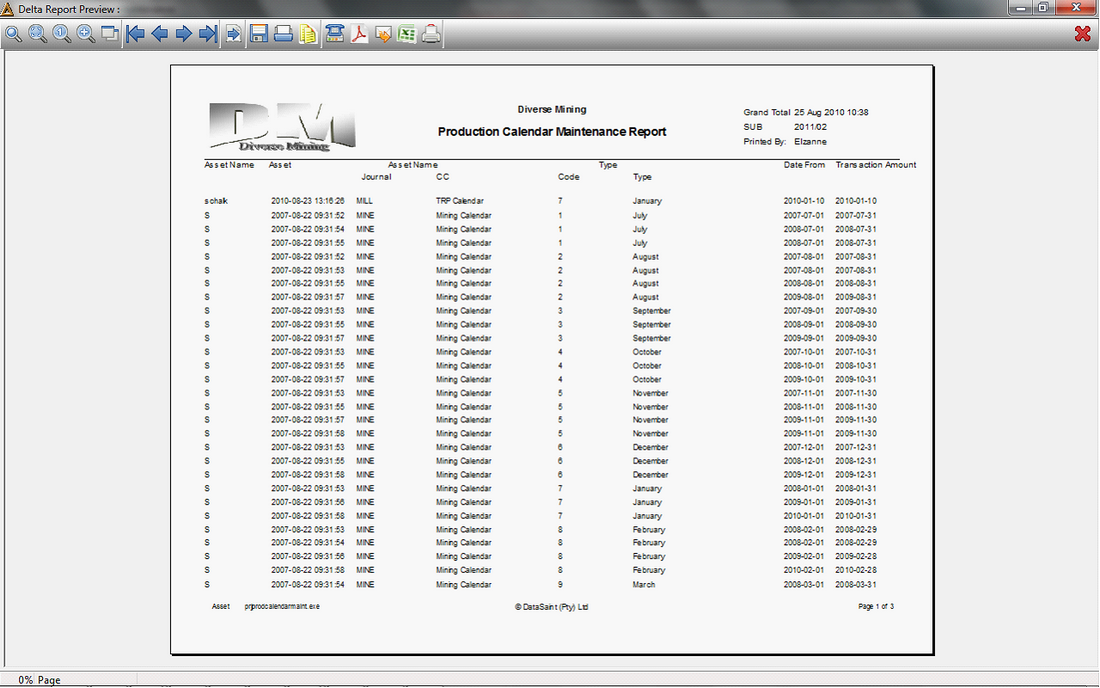
1.Click on the PRINT button.
Delete:
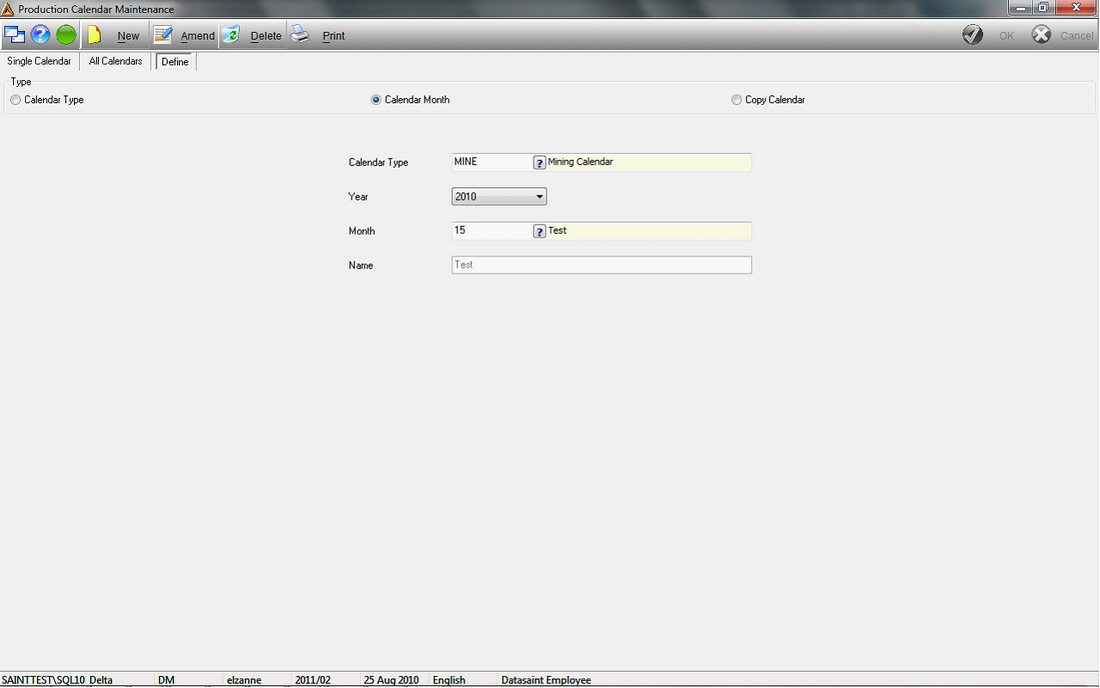
1. Select the DELETE button.
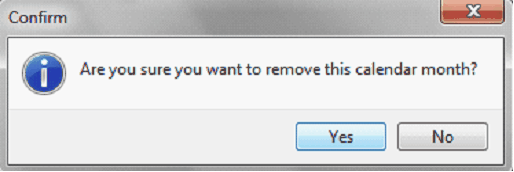
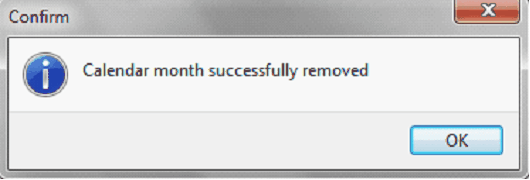
2. A confirmation box pops up, requesting confirmation that you wish to remove the data selected. Select Yes/No as required.
Define Tab – Copy Calendar
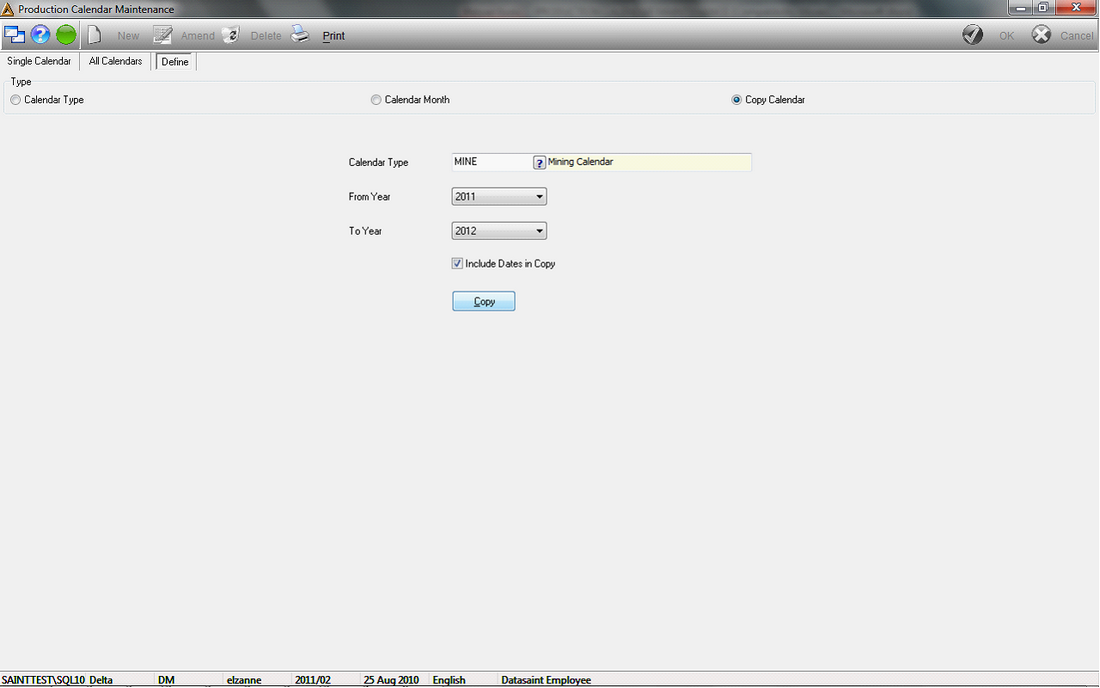
1.Select the Calendar Type, enter the From Year and the To Year field using the Search Box, and select/deselect the function to include Dates in the Copy.
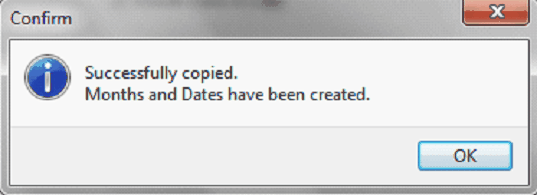
2.Click on the COPY button.
Print:
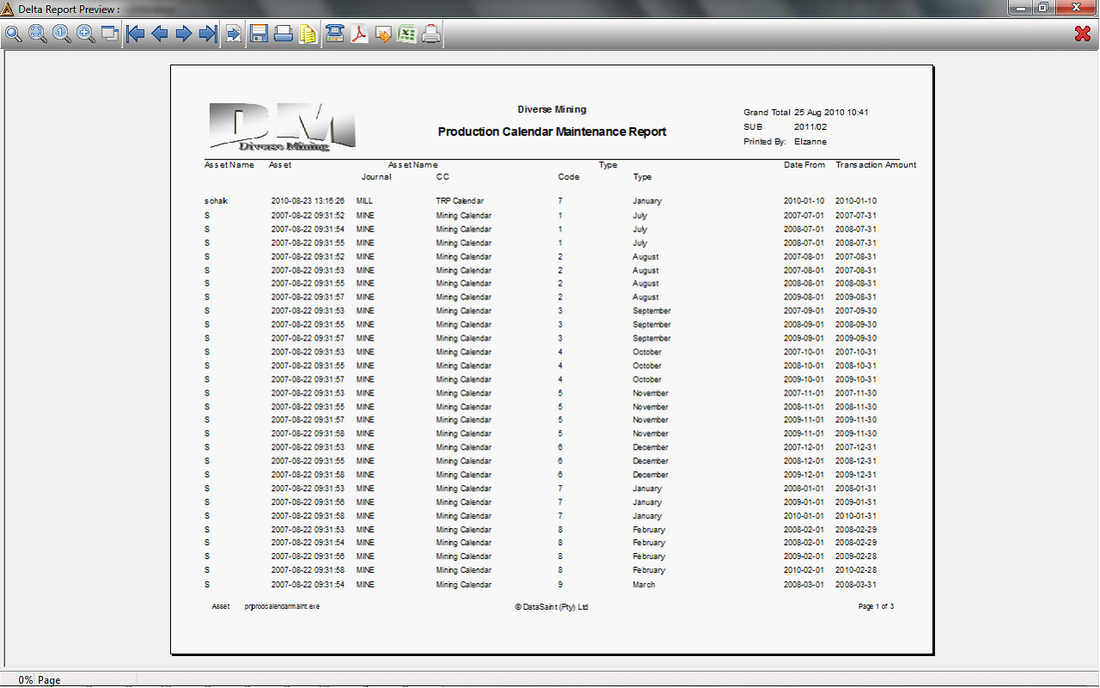
1.Select the PRINT button.
![]()