Overview
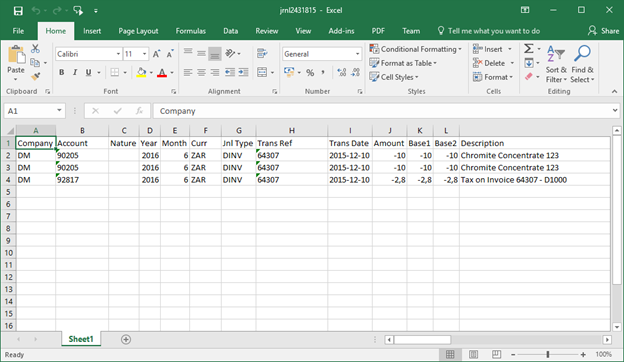
This application allows the user to export journals to an Excel spreadsheet and save the template on their personal computer. This template can be used to create many new journals or a new journal with multiple lines which can be imported and posted. This can be more efficient than capturing journals one by one. You can also import journal reversals with a specified reversal date. On import, the system carries out a validation check. The validation check is applied to Base 1 and Base 2 currencies. If Base 2 is a foreign currency, Base 1 and Base 2 cannot be the same amounts.
Function
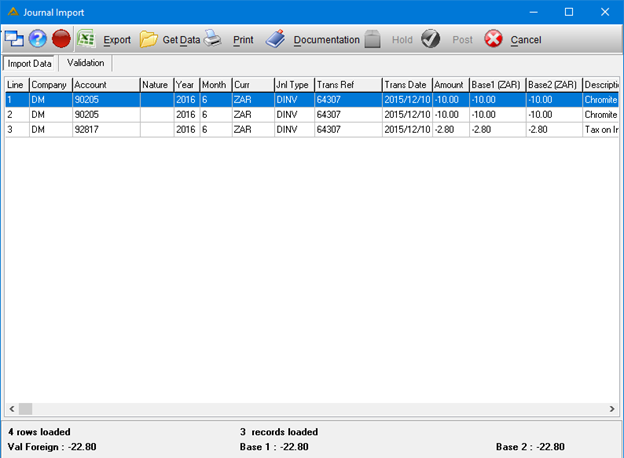
When the application is opened you will view the following screen:
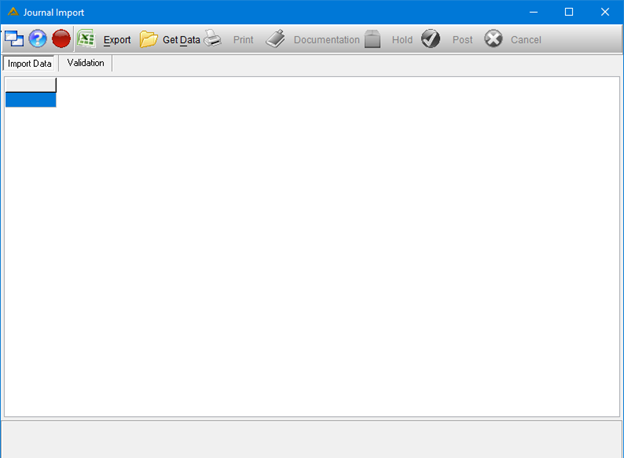
To export a journal template, click on the ![]() button.
button.
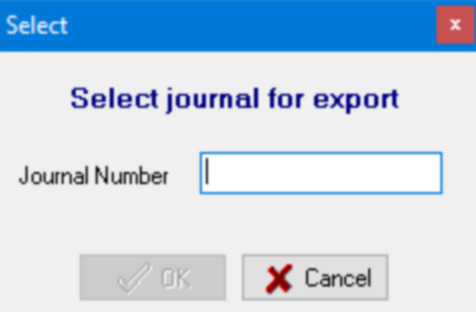
Enter the journal number and click on the ![]() button. Select a save location for the journal. After saving, it will be opened in a Microsoft Excel spreadsheet:
button. Select a save location for the journal. After saving, it will be opened in a Microsoft Excel spreadsheet:
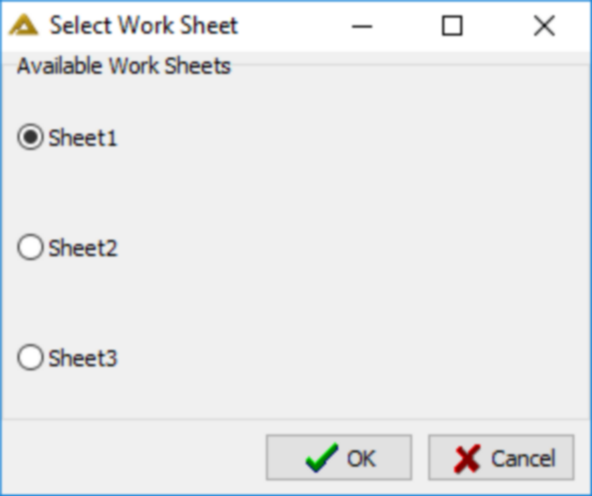
To import a journal, click on the ![]() button. You will then be able to select the journal you wish to import from the saved location.
button. You will then be able to select the journal you wish to import from the saved location.
The transactions you are allowed to post is determined by the transaction types allocated to your profile using Profile Maintenance. Transaction types should be allocated for Journal Import application as well as Journal Capture application.
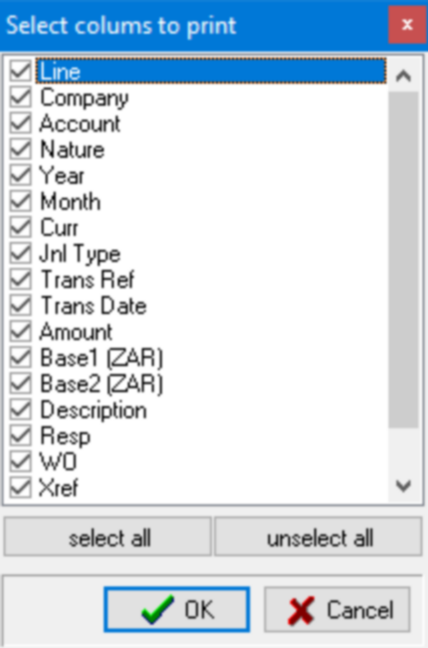
The ![]() button will give you the following options:
button will give you the following options:
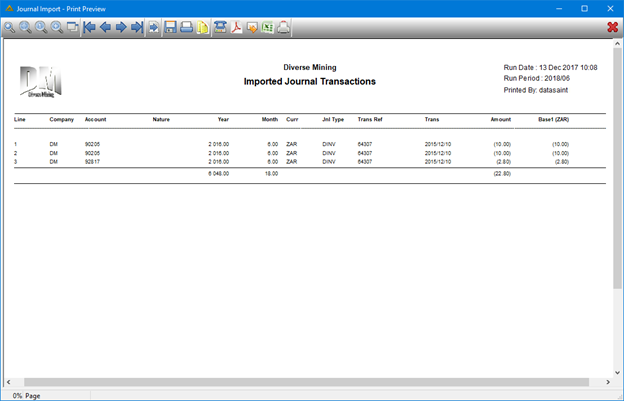
After making your selection click on the ![]() button:
button:
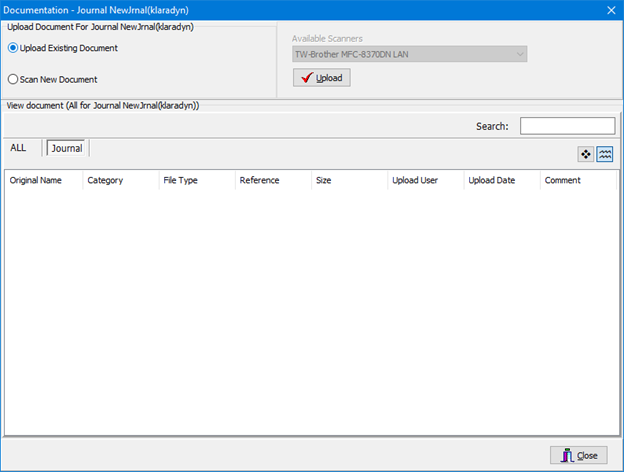
The ![]() button allows you to upload any supporting documents to the journal.
button allows you to upload any supporting documents to the journal.
If you double click on a journal you can manually change each line's Base 1 value after importing.
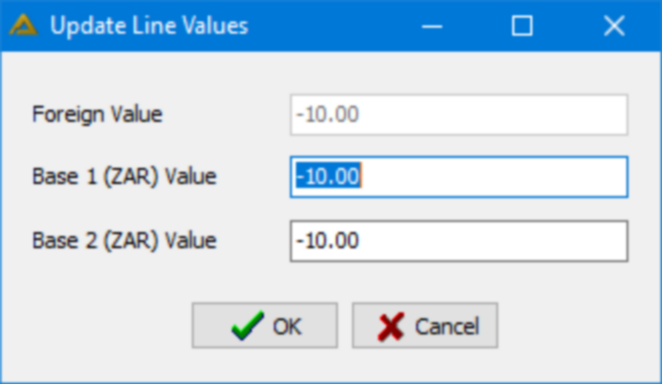
The values captured as Base 1/Base 2 amounts will be imported and will not be updated with the current exchange rate at the time the journal is posted. The same applies if the spreadsheet is imported but the journal/journals are put on hold and posted at a later date.
Workflow routing checks are as follows.
•If there is a Valid Alternate Responsibility Tree, use that routing.
•If there is a Default Responsibility setup, use that routing.
•If no other routing exists use the normal Responsibility Tree, however a user capturing a journal must have a responsibility code assigned.
•When a User has access rights “Other” Workflow Approvals are bypassed.