Overview
This application allows the user to create and maintain stores item information.
Open transactions on an item that will stop the status from being updated to C: Incomplete Orders, eReqs and stores issues.
Function
Creating a New Item Record
Item Information Tab
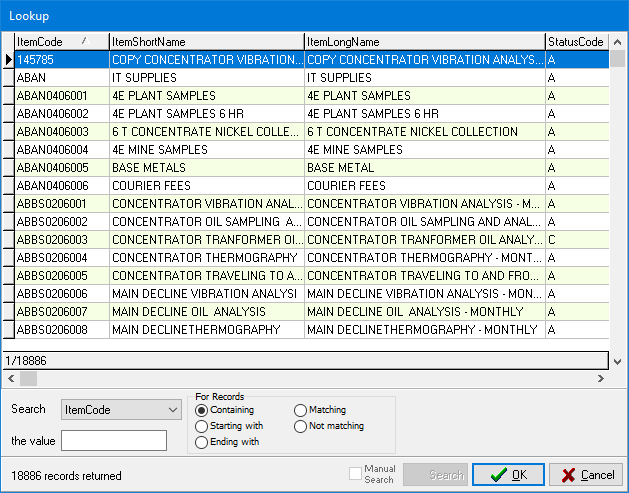
When you click on the 'Item Code' picker, you will be able to view the following information:
Select the ![]() button.
button.
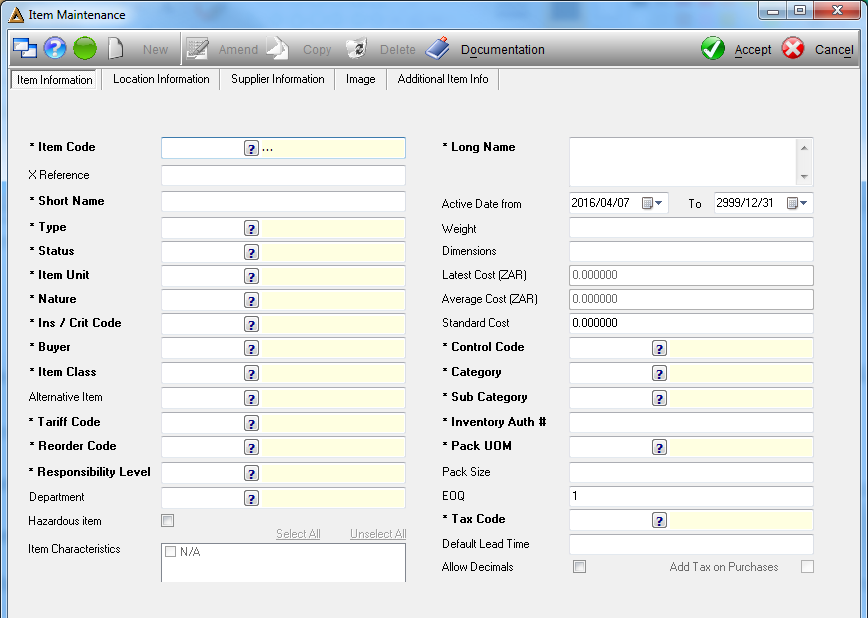
The create new item code screen will appear for the user to select the group and sub-group for the new item.
Enter the information for the new item as required.
Click on the ![]() button to save the record. The following message will appear to confirm that the record was saved, select
button to save the record. The following message will appear to confirm that the record was saved, select ![]() to continue.
to continue.

Amending an existing Item Record
Item Information Tab
Click the ![]() button.
button.
All fields except the item code can be amended.
If you are using the Repair functionality, you will only be able to amend the Control Code R or RS based on system parameters. If there are active purchase orders against the item, you will not be able to change the control code until these have been completed.
The status code can not be changed from Active to Closed if there are open transactions on an Item.
Open transactions on an item that will stop the status from being updated to C: Incomplete Orders, e-Reqs and stores issues.
A report will be generated showing all open transactions against the item.
These transactions need to be addressed and resolved before the Item can be closed.
Location Information Tab
Select the ![]() button.
button.
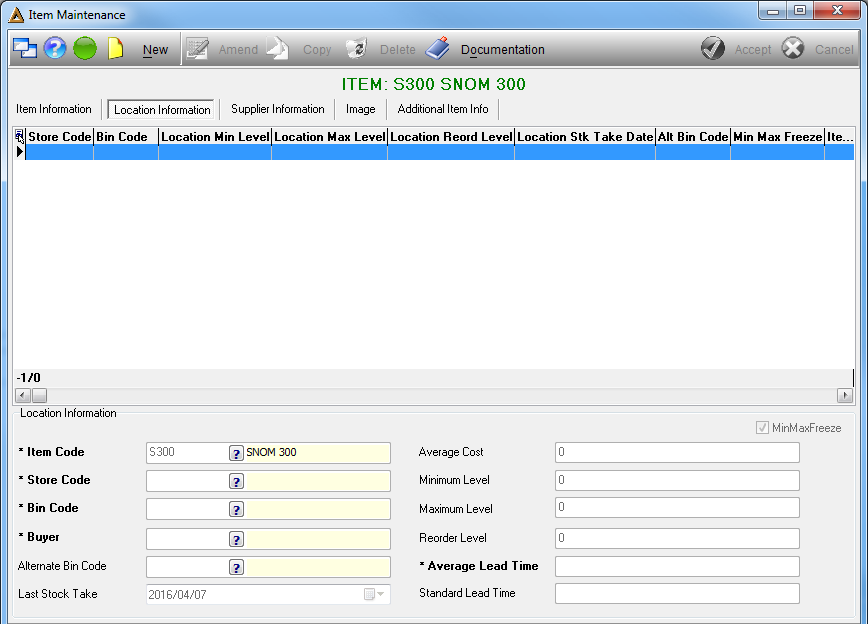
Select the following information:
•Store Code - select the items store code using the picker.
•Bin Code - select the bin the item will be stored under using the picker.
•Alternative Bin Code - select the alternative bin.
•Average Cost - enter the average cost of the item for this location.
•Minimum Level - enter the minimum stock level allowed for the item.
•Maximum Level - enter the maximum stock level for the item.
•Buyer Code - select the buyer to place orders for the item using the picker.
•Reorder Level - enter the stock level the item must be when the order must be placed.
•Lead Time - enter the time it takes for the stock ordered to arrive.
Select the ![]() button to save the record. The following message will appear to confirm that the record was saved. Select
button to save the record. The following message will appear to confirm that the record was saved. Select ![]() to continue.
to continue.

The user may open the next tab to enter the supplier information attached to the item.
Supplier Information Tab
Select the ![]() button.
button.
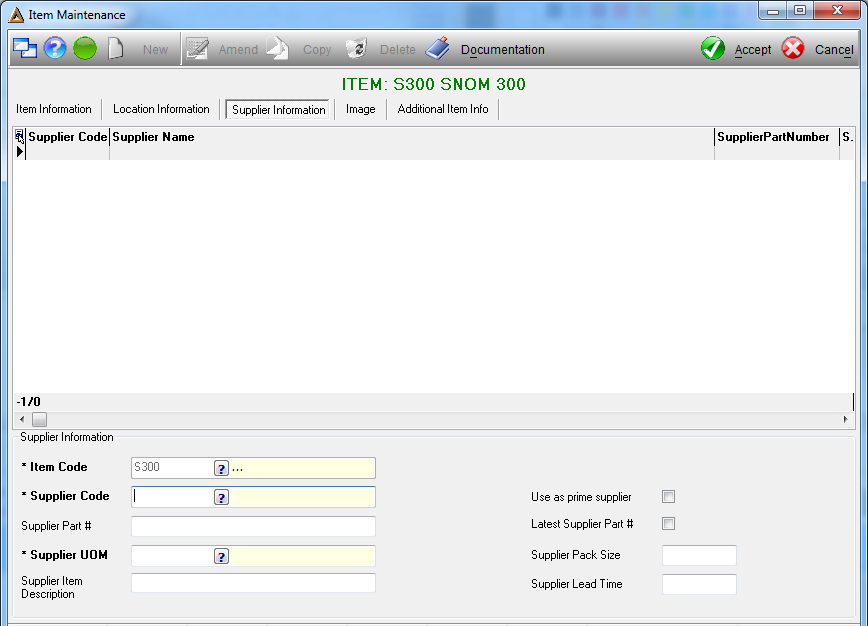
Enter the following information:
•Supplier Code - select the supplier the item is ordered from using the picker.
•Supplier Part # - enter the number the supplier uses for the item.
•Supplier UOM - select the suppliers units of measurement for the item using the picker.
•Supplier Item Description - enter the suppliers description of the item.
•Use as Prime Supplier - check the selection box if the supplier selected should be the default supplier of the item.
•Latest Supplier Part # - check to use the most recent supplier's item number.
Select the ![]() button to save the record. The following message will appear to confirm that the record was saved. Select
button to save the record. The following message will appear to confirm that the record was saved. Select ![]() to continue.
to continue.
Image Tab
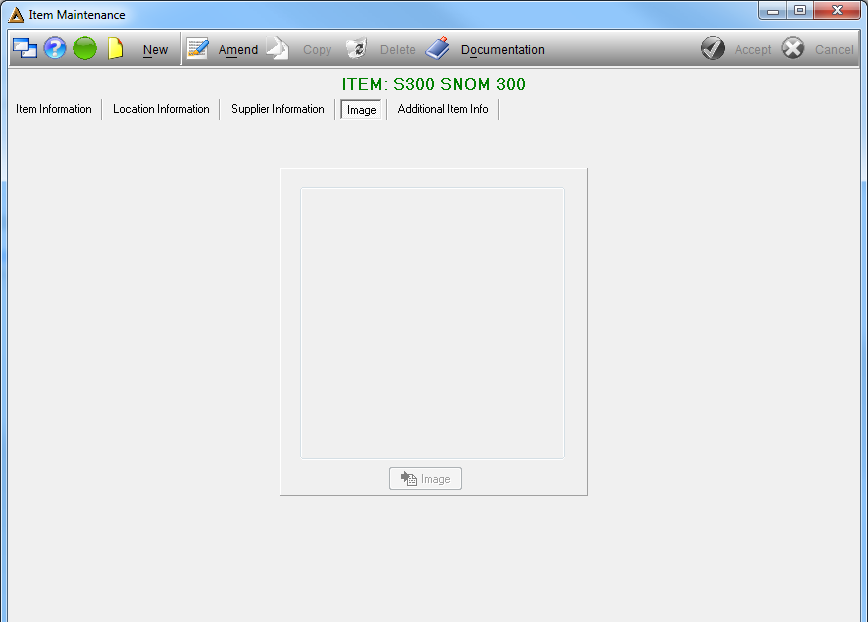
To insert an image of the item click on the ![]() button and then on the
button and then on the ![]() button.
button.
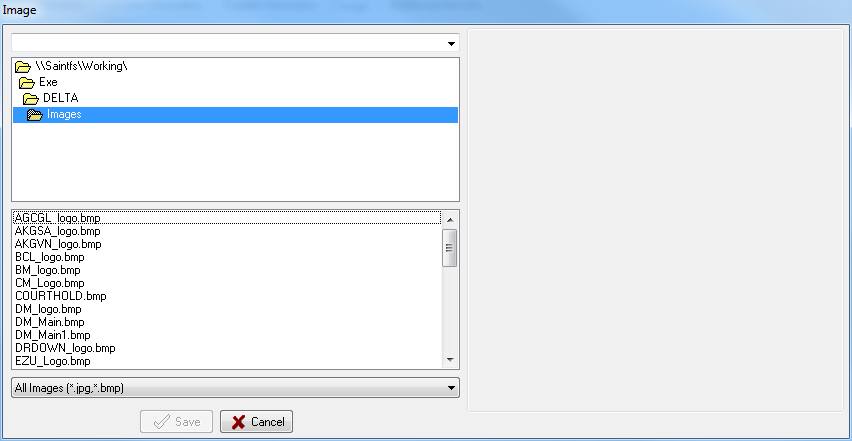
The user must select the location where the image file is saved and select the ![]() button. The image will appear under the image tab.
button. The image will appear under the image tab.
Additional Item Info Tab
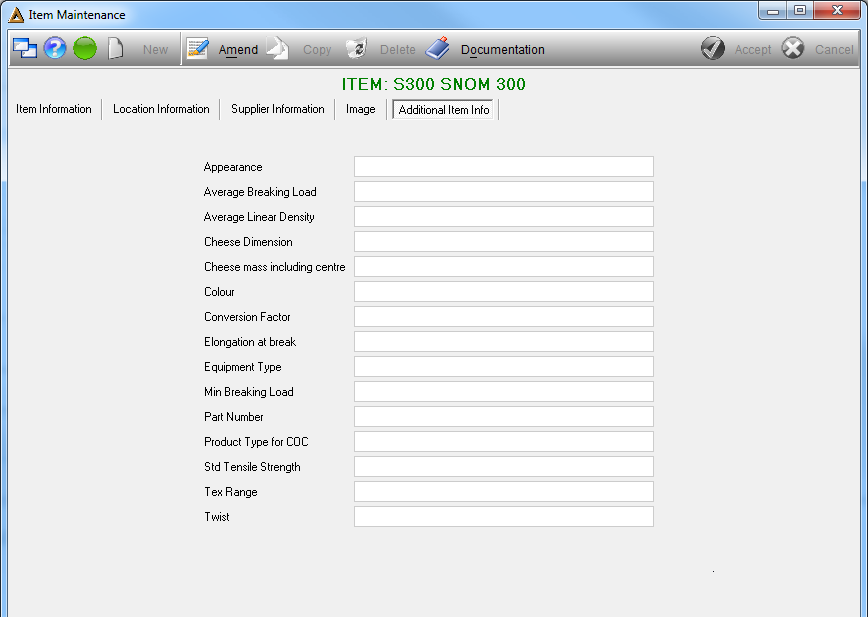
This tab is used to add any additional info regarding the item.
![]()