Overview
This application allows the user to manually create and maintain all company employee master file records.
•If login is set to CLASSIC, you will have to fill in your name and password
•If login is set to AD, you will be able to log in using your Windows Authentication
•If login is set to DUAL, your Windows Domain and User name will not be compulsory.
Function
Employees tab
When the application is opened, you will view the following screen:
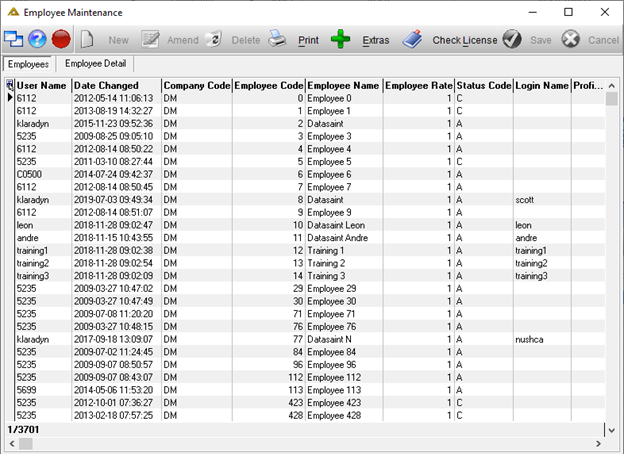
The grid displays the following information for each employee:
User Name |
Date Changed |
Company Code |
Employee Code |
Employee Name |
Employee Rate |
Status Code |
Login Name |
Profile ID |
Employee Pin Code |
Employee Email |
Trade Code |
Employer |
Employee Grade |
Employee Gender |
Employee Married |
Employee Date of Birth |
Employee Job Title |
Employee Location |
Employee Type |
Password Age |
Date Engaged |
Language ID |
Date Suspended |
Suspended XRef |
Employee ID |
Is Locked Out |
Employee Industry No |
Debtor Code |
|
On this tab only certain buttons will be enabled.
When you right click on this grid you will have the following options:
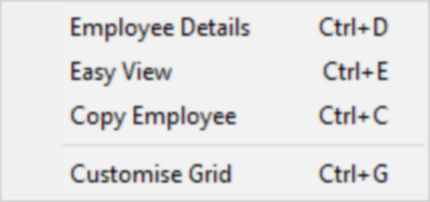
Employee Details:
This option opens the Employee Detail tab with the selected employee's information.
Easy View:
This option displays the information in an easy to view format and can be printed as well using the ![]() button.
button.
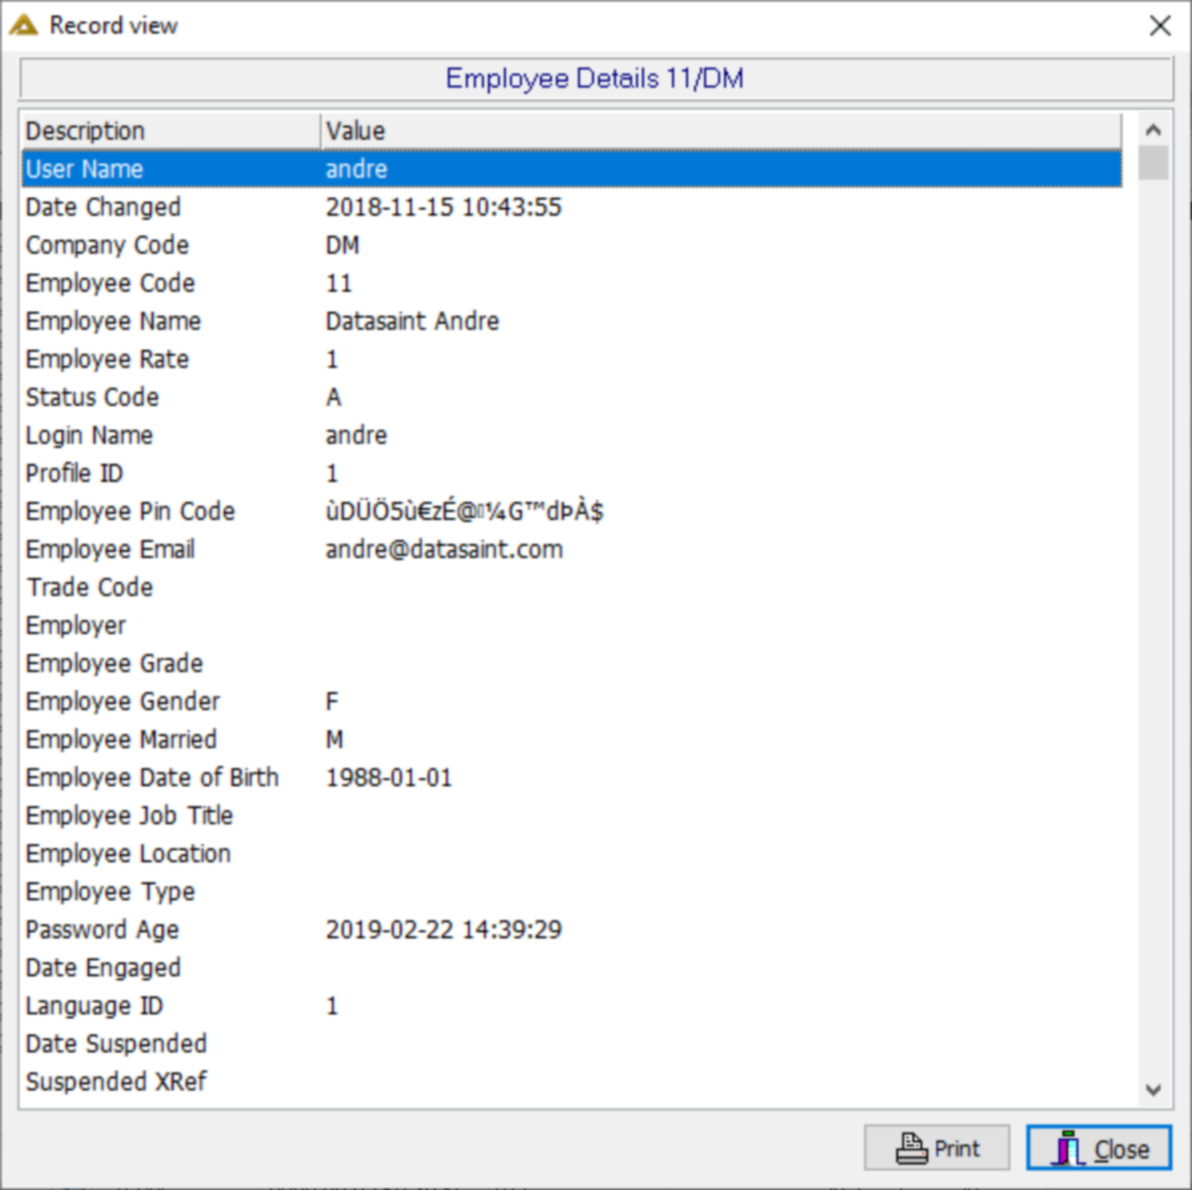
When you double click on an employee line in the grid, the same easy view screen will be opened.
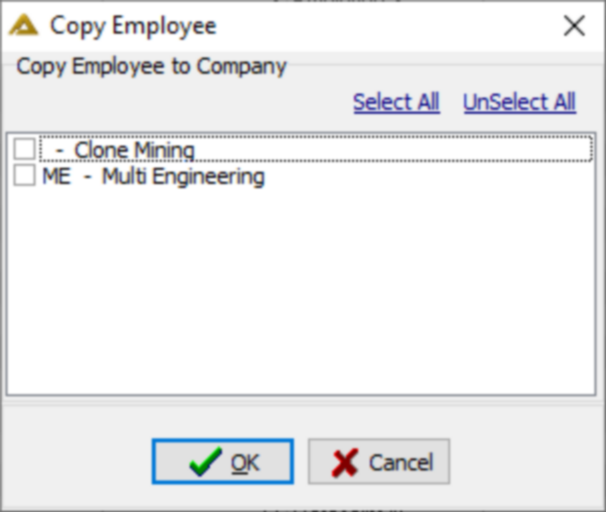
Copy Employee:
This option opens the following screen and allows you to copy the selected employee to a different company:
Customize Grid:
This option allows you to select which fields you wish to view in the grid and in which order.
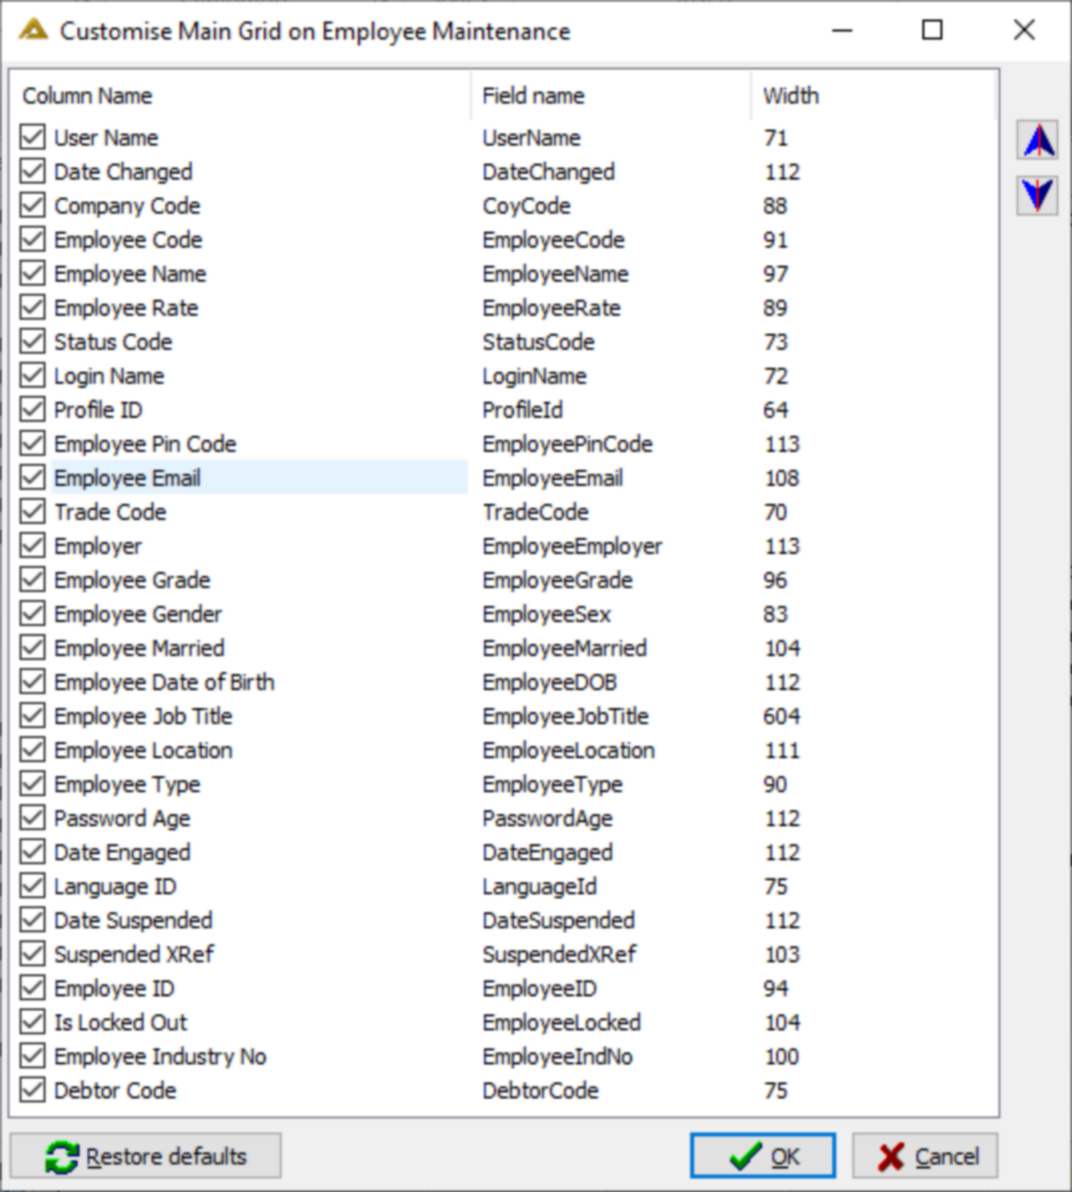
Customizing the grid this way means it will be saved even when you close the application. To return to the original display, click on the ![]() button.
button.
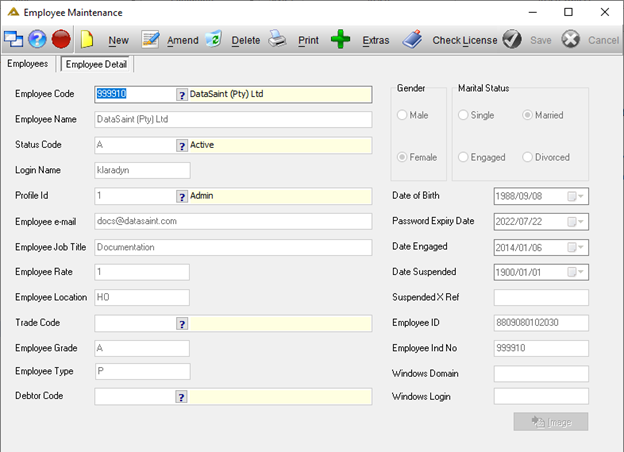
Employee Detail tab
The Employee Detail tab will display the following information:
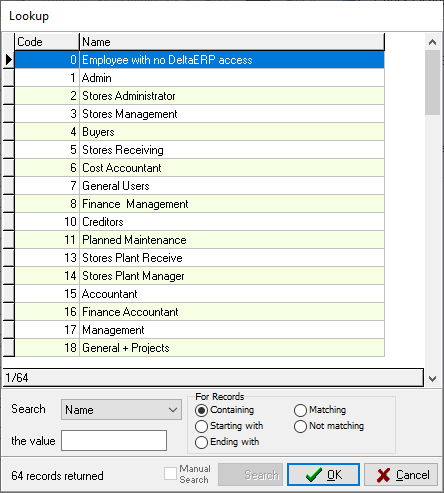
Functionality exists to create employees on DeltaERP but not give them any access yet. These employees should be linked to Profile ID 0:
The ![]() button allows you to create a new employee on the system.
button allows you to create a new employee on the system.
The ![]() button allows you to edit/update an existing employee's information.
button allows you to edit/update an existing employee's information.
The ![]() button allows you to delete an employee record from DeltaERP.
button allows you to delete an employee record from DeltaERP.
The ![]() button gives you the following options:
button gives you the following options:
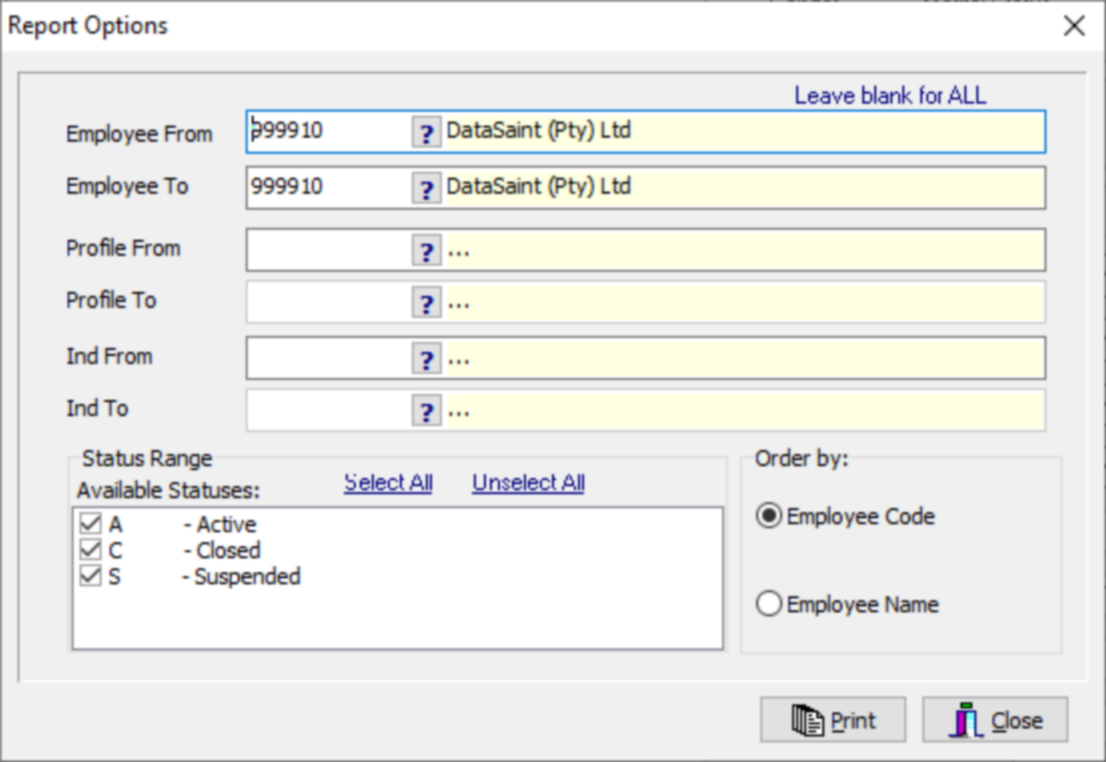
Complete the selection criteria and click on the ![]() button to generate a report preview.
button to generate a report preview.
The ![]() button gives you the following options:
button gives you the following options:
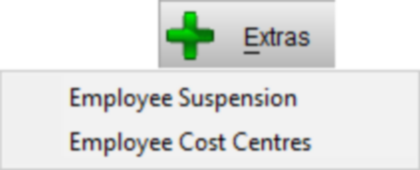
Employee Suspension
This option will open the following screen:
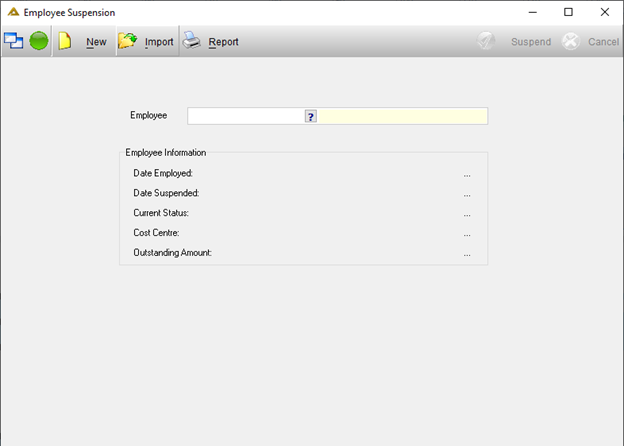
Click on the ![]() button and select an employee to populate the details:
button and select an employee to populate the details:
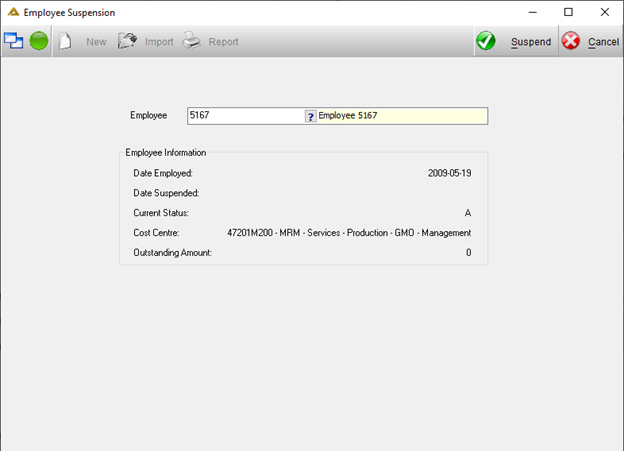
Click on the ![]() button to suspend the employee record. You will receive the following confirmation message:
button to suspend the employee record. You will receive the following confirmation message:


The ![]() button allows you to import a list of employees for suspension:
button allows you to import a list of employees for suspension:
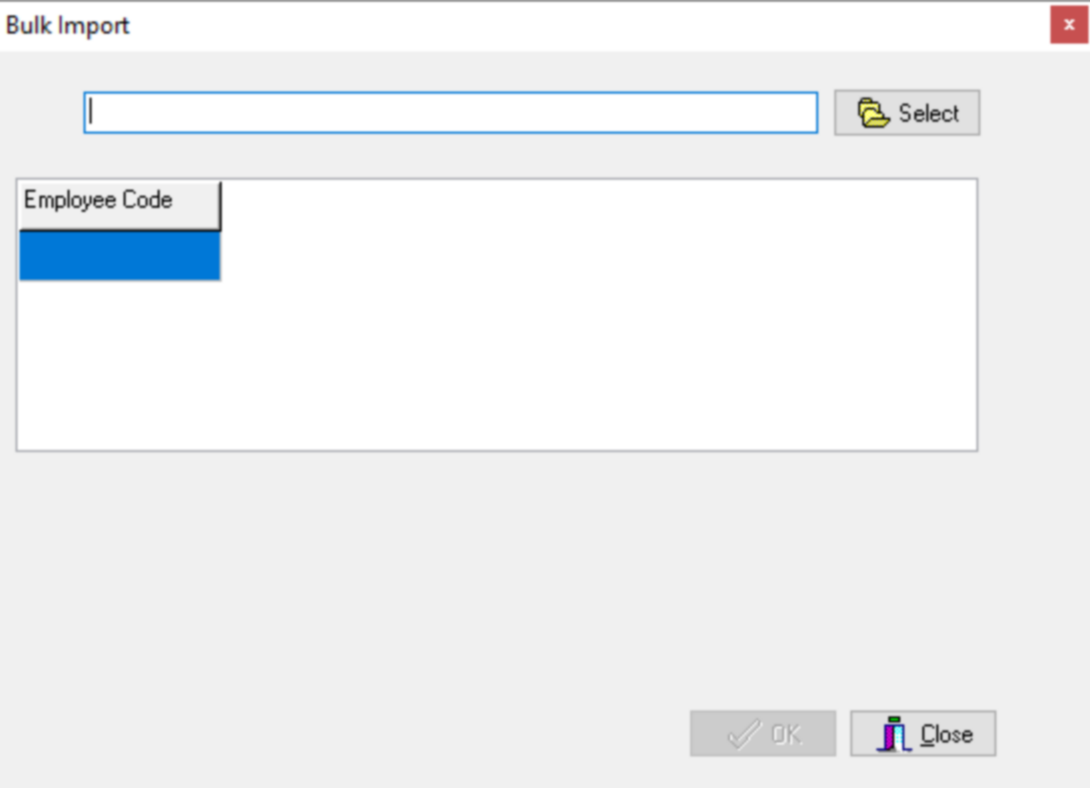
The ![]() button will allow you to browse and select the file you wish to upload. The file has to be saved as a CSV file in order to upload.
button will allow you to browse and select the file you wish to upload. The file has to be saved as a CSV file in order to upload.
Click on the ![]() button to suspend.
button to suspend.
The ![]() button will give you the following options:
button will give you the following options:

Select an employee and click on the ![]() button to print a suspension report.
button to print a suspension report.
Employee Cost Centres
This option allows you to link cost centres to an employee.
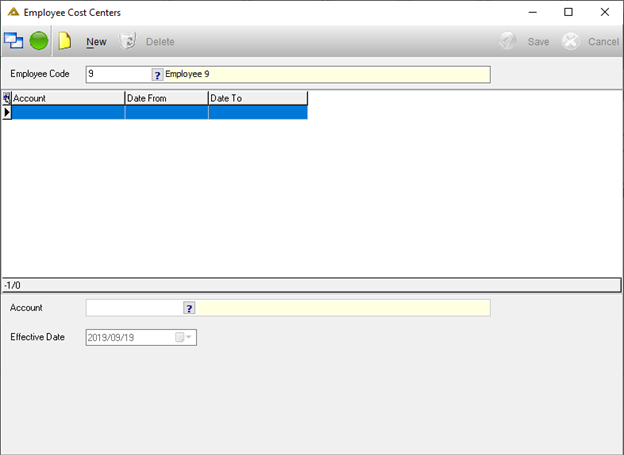
To view the cost centres linked to an employee, select the employee using the picker or manually enter the employee code. The grid will populate the linked cost centre.
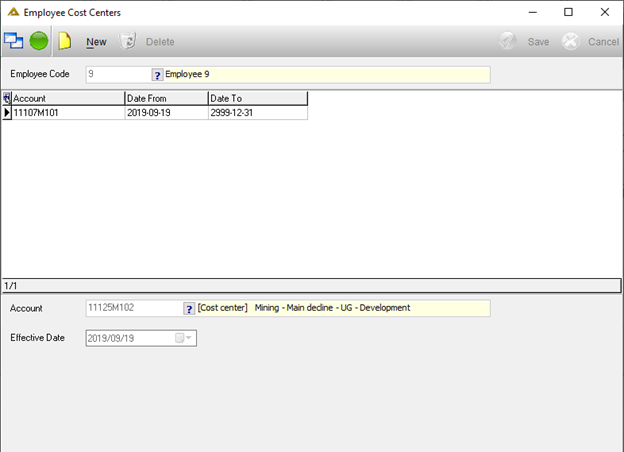
To link a cost centre to an employee, select the employee, click on the ![]() button and select the cost centre you wish to link. Click on the
button and select the cost centre you wish to link. Click on the ![]() button to save. Only one cost centre may be linked within a specific date range:
button to save. Only one cost centre may be linked within a specific date range:
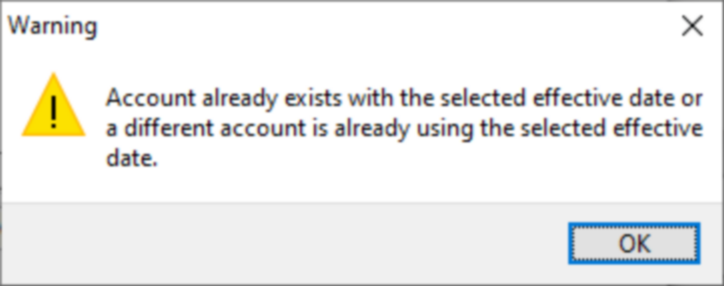
To delete a linked cost centre, select it in the grid and click on the ![]() button. You will receive the following confirmation message:
button. You will receive the following confirmation message:


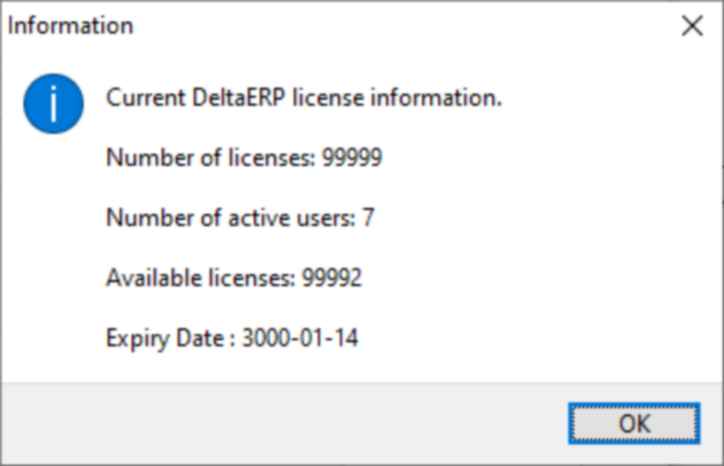
The ![]() button displays the DeltaERP license information as follows:
button displays the DeltaERP license information as follows:
Use the ![]() and
and ![]() buttons to save new or amended information or to cancel.
buttons to save new or amended information or to cancel.
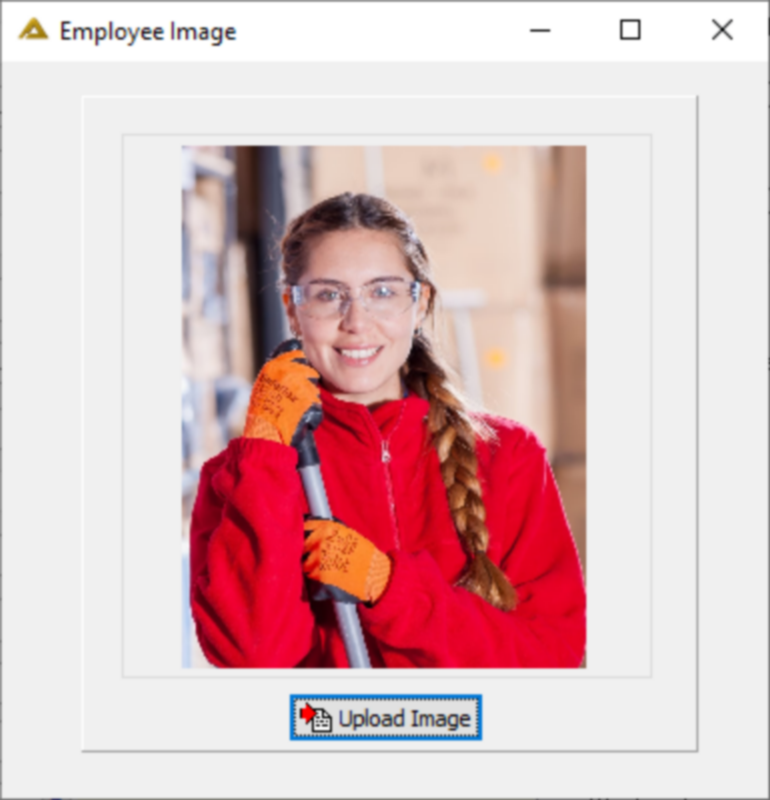
The ![]() button allows you to view or upload an employee image:
button allows you to view or upload an employee image:
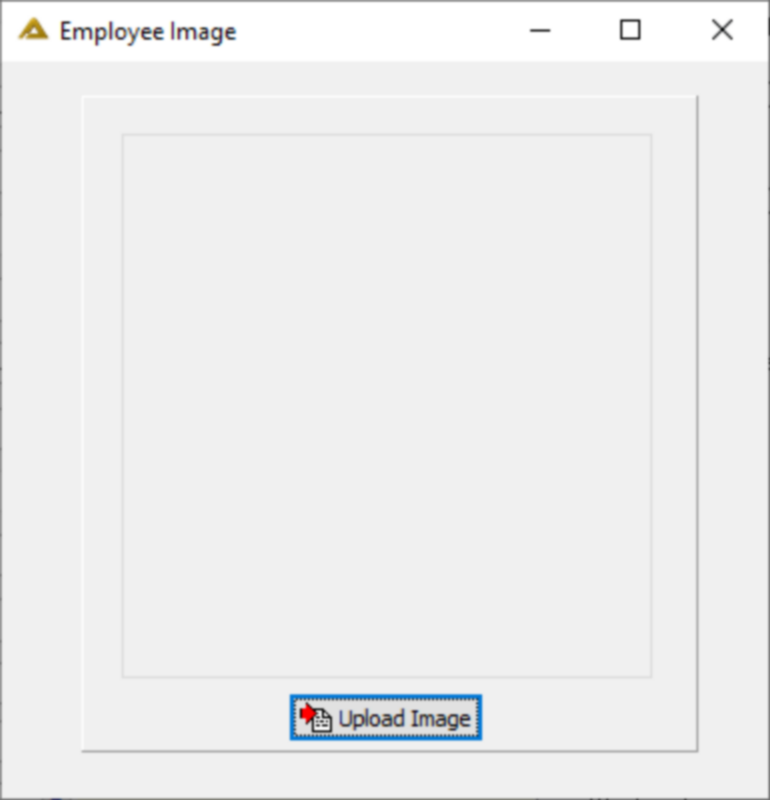
Click on the ![]() button allows you to select an image for upload. The image has to be jpg or jpeg format.
button allows you to select an image for upload. The image has to be jpg or jpeg format.

