Overview
Allows the creation of a diagrammatic flowchart detailing the movement of ore and waste products.
Create a new Workspace
1.In the Taskbar, click on the first button (NEW) to open a new Workspace.
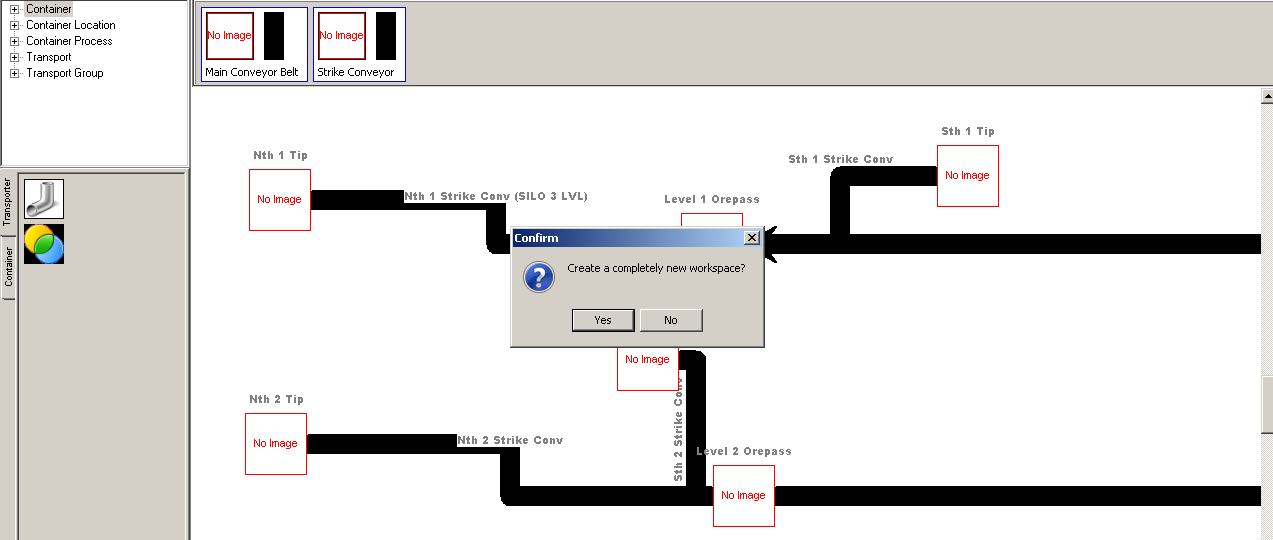
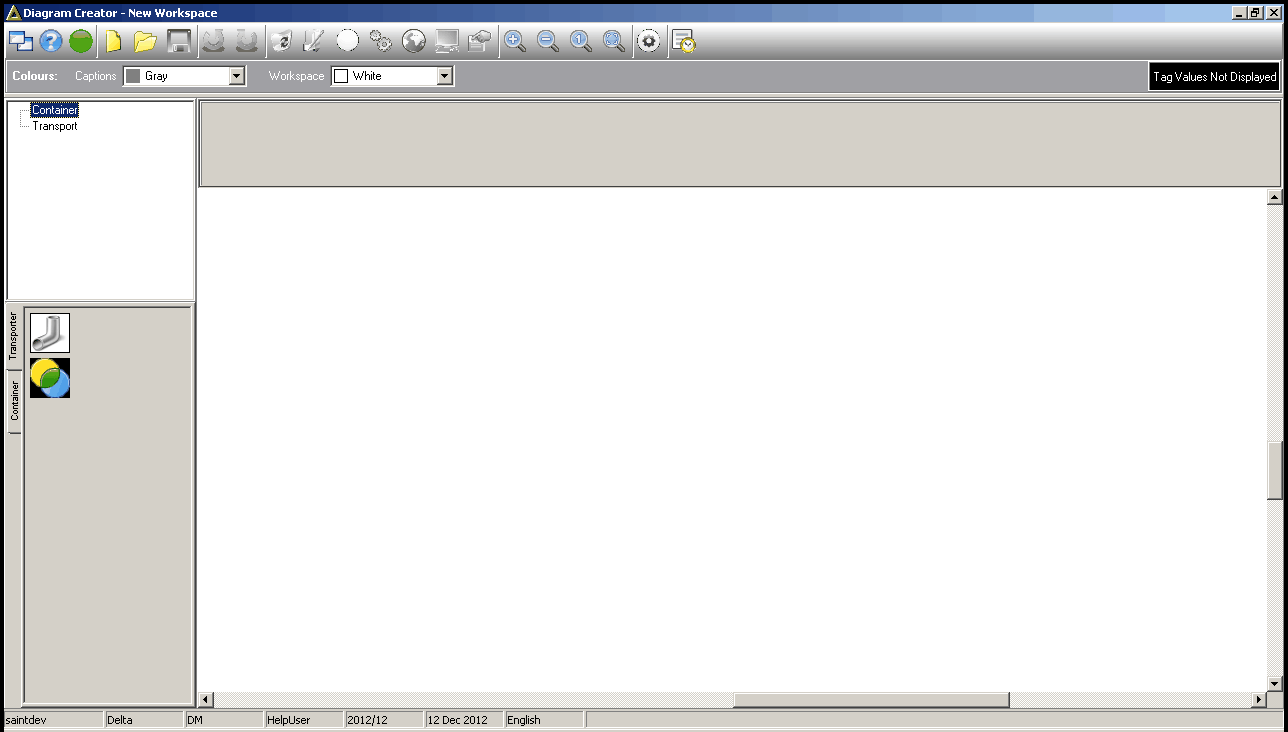
Add a new Container
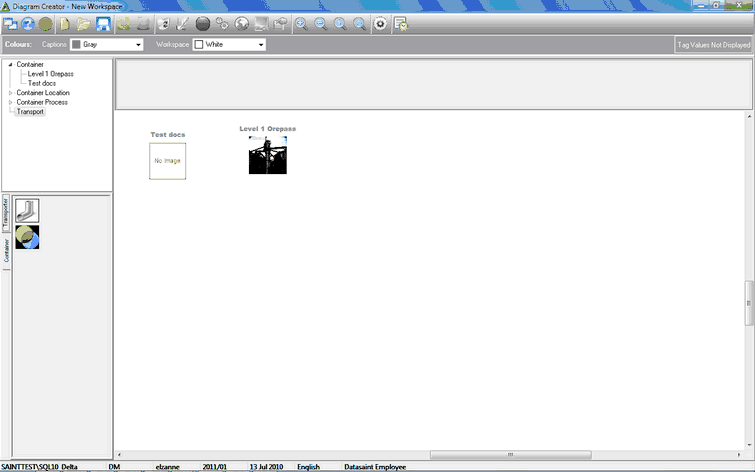
1.Click on the Container Tab on the left-hand side of the screen.
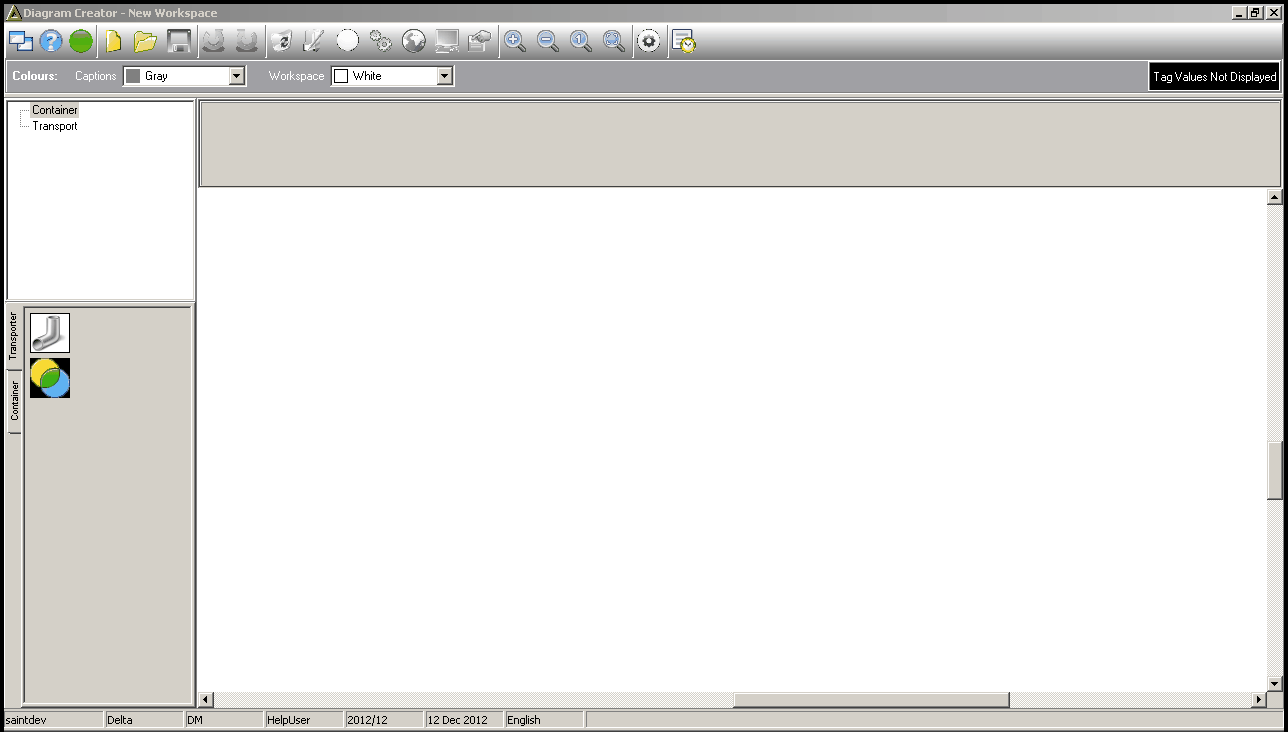
2.This brings up icons/pictures in the adjacent box, representing the different types of Containers available for selection.
3.Move the cursor over the icons/pictures to view the Container’s name/ description.
4.Click on the Container required, hold down the mouse button, and drag the Container to the desired position in the Workspace.
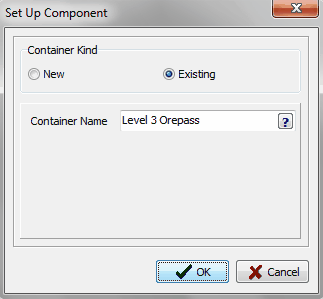
5.Release the mouse, and a pop-up box opens allowing you to Set Up the Component.
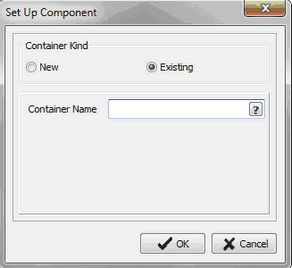
6.Select either an existing Container type by checking the box next to Existing, and then select the Container required using the Search Box.
7.Click on OK to confirm.
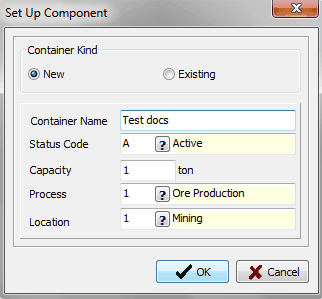
8.Alternatively, check the box next to New to create a New Container.
9.Define the Container Name, Status Code (eg. active), Capacity, Process and Location.
10.Click on OK to confirm.
Transport:
1.Click on Transport in the Hierarchy Box.
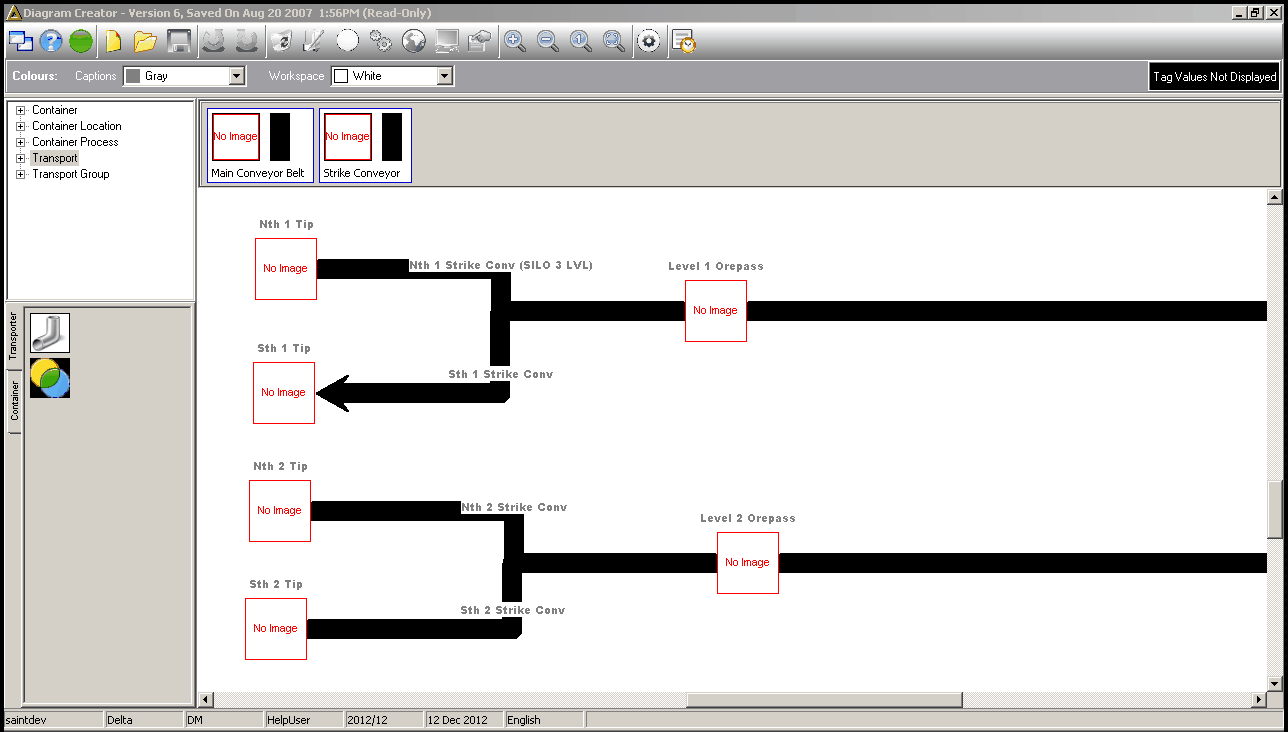
Click on the Transporter Tab on the left-hand side of the page. Two icon options are available: Single Transporter or Group Transporter.
11.Click on the Transporter; a pop up box appears allowing you to select containers for transport.
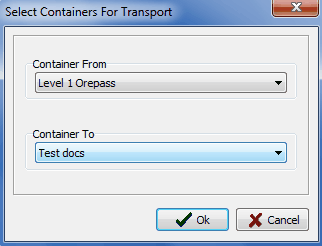
12.The Set-up Component Box pops up. This allows you to define the Transport Mechanism as either New or Existing.
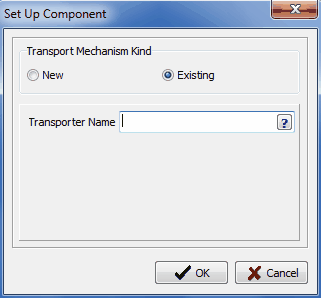
13.When you select Existing, the Search Box function allows you to search for the Transporter required. To create a new Transport Mechanism, select the New option; you are then able to input a new Transporter Name, Status Code (eg. active), Tag Code & Moisture Factor (between 1 and 1.2).
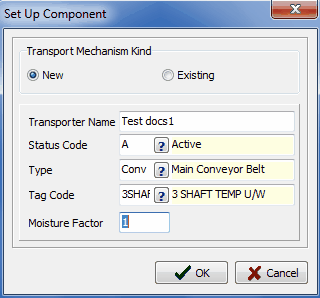
14.Click on OK to confirm. The diagram then updates with the new Transporter information.
15.Repeat process for each Transporter required.
In the Workspace viewing pane, right-click on the Transporter to bring up a menu box allowing you to Delete, Rename, Change Status, Change Weightometer Readings (i.e. Tag Code or Moisture Factor), & Properties.
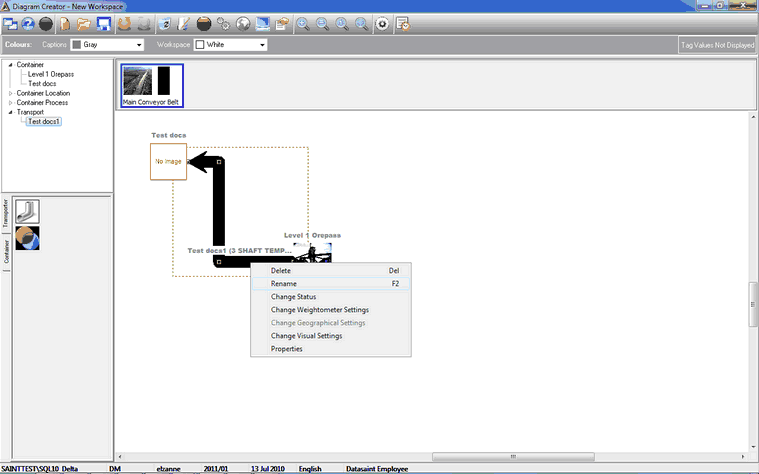
Selecting Properties allows you to make changes to Container From and To information, the option to make Transporters bi-directional, and allows Transport Groups to be selected to define which Transport Group the Transporter belongs to.
Group Transporters –
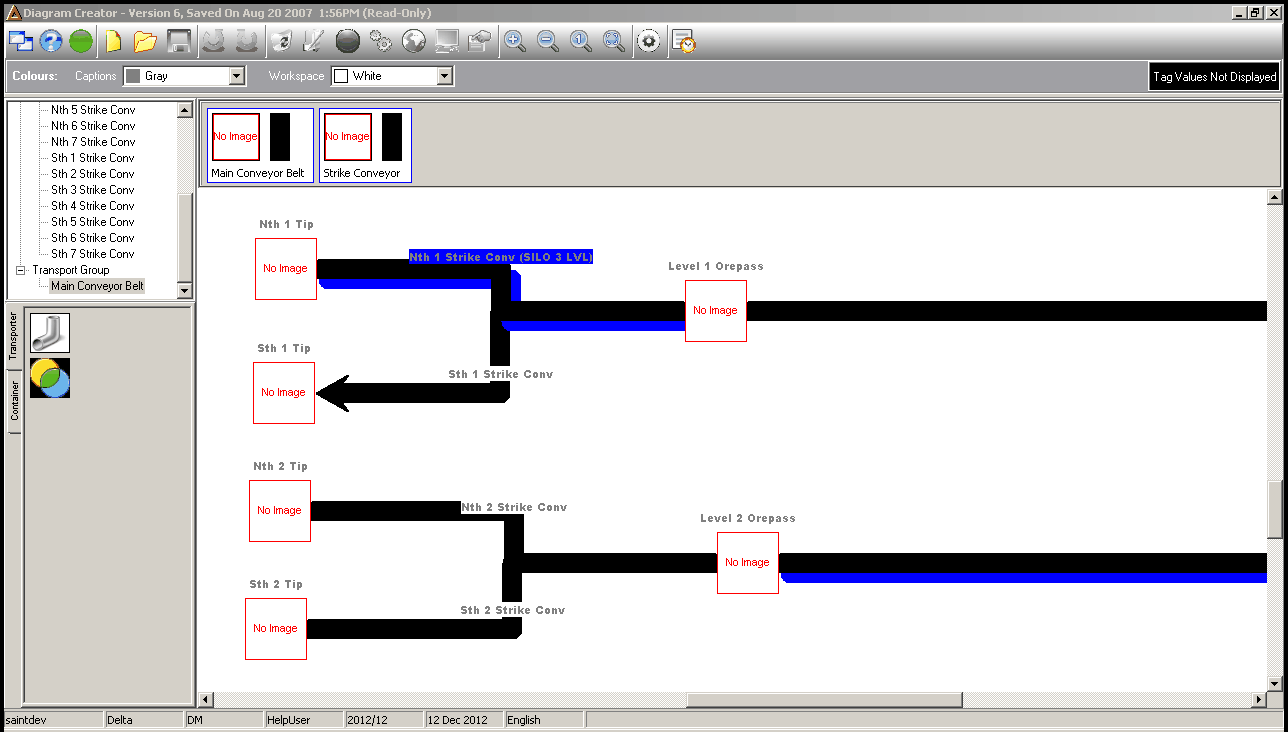
2.Select a Transporter in the Workspace diagram.
3.Click on Group Transporters icon to highlight.
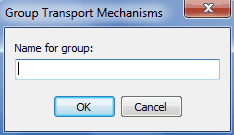
4.A pop-up box then appears requesting the input of a Name for the Group.
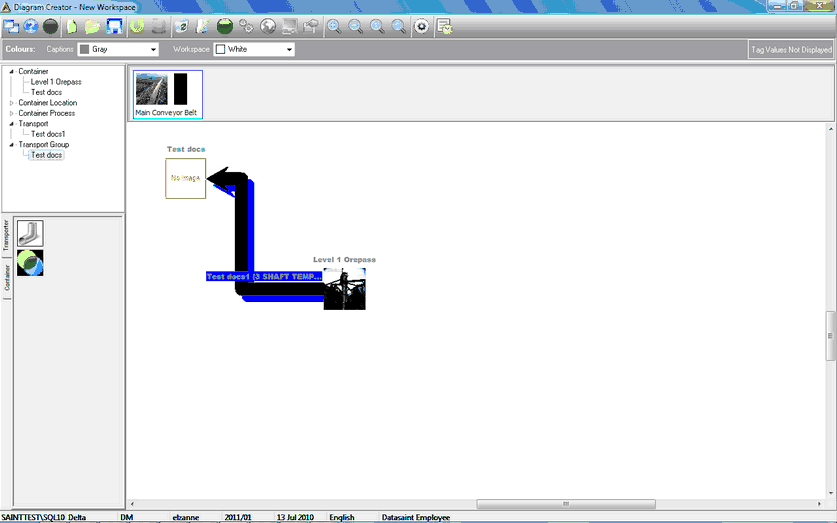
5.Click on OK to confirm the addition. Existing Groups can also be added using the Properties function, as detailed above. The Hierarchy list updates with the new/existing Containers, Transport, and Transport Groups.
(Alternatively, you can select the second button, View Previous Versions, to open an existing diagram.)
The buttons in the toolbar at the top of the screen also allow for the following actions: Delete, Rename, Change Status, Change Weightometer Readings & Properties.

These buttons become active when selecting elements within the Workspace diagram or the Hierarchy structure/tree. Alternatively, you can also click on elements in the Hierarchy tree and then right-click to obtain the menu box with the options as above, i.e. Delete, Rename, etc.
The Workspace as well as the Hierarchy tree allow navigation between the elements and simultaneously with changes made in either field.
The buttons on the toolbar also allow for you to:
-Create a new workspace
-View Previous Versions (open a previously saved Workspace)
-Save the current Workspace
-Undo
-Redo
-Zoom In
-Zoom Out
-Actual Size
-Show Total Diagram
-Options (Takes you to the Properties Menu, where you can select the different menu views available, eg. treeview and/or Show Component Palet; Movement allows you to switch Autosnap on or off; and the last option allows you to Show Labels or switch off the function).
See also:
![]()