Overview
This application is used to capture the meter readings for assets and components. This is very important as it is used in the calculation determining if Hourly and KM based schedules should be generated when set to Auto Release.
Functionality exists to allow Workflow approval for the creation of new asset/component meters. The bulk capture functionality creates a new meter if no meter readings have ever been captured against the asset/component. Workflow approval will be applied to new meters raised via bulk capturing. The entire bulk capture must be approved or rejected. A pending approvals tab will also be visible where users can see who must approve the new meter. An email notification will be sent to the approver and the originator accordingly. ProcessTypeCode = 'PM_NEW_METER' has to be enabled for this functionality to be active.
Function
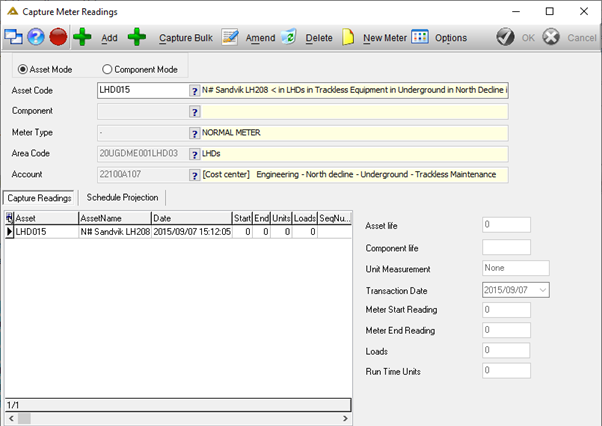
Capture Meter Readings
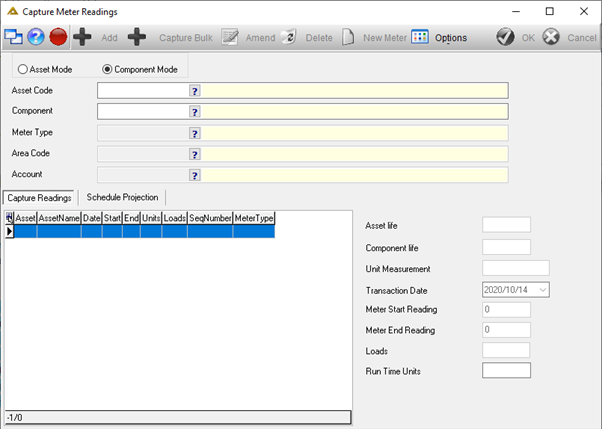
Some Assets and Components have meter readings which can be recorded on a daily, weekly or monthly basis. These readings are captured using this application. Select whether the meter reading should be captured in Asset Mode or Component Mode.
To capture a reading, select an asset using the ![]() .
.
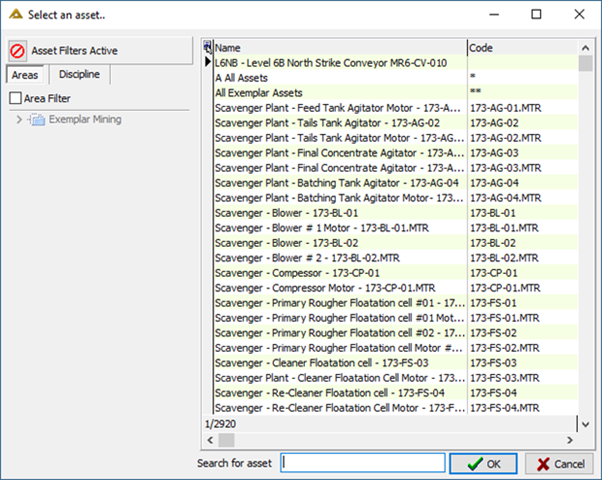
If a single asset has more than one meter reading, example: one asset has a meter reading for engine hours, percussion hours and powerpack hours, the codes for the different meters will be added as a suffix to the main asset code i.e. LHD001 ENGHRS.
The ![]() button will now be enabled. Click to enter the meter readings.
button will now be enabled. Click to enter the meter readings.
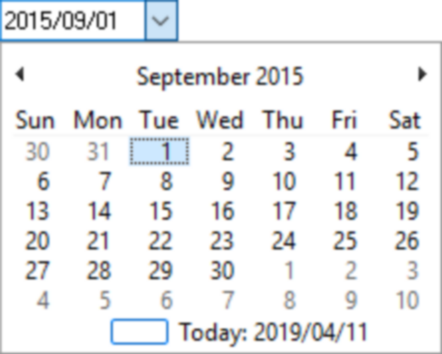
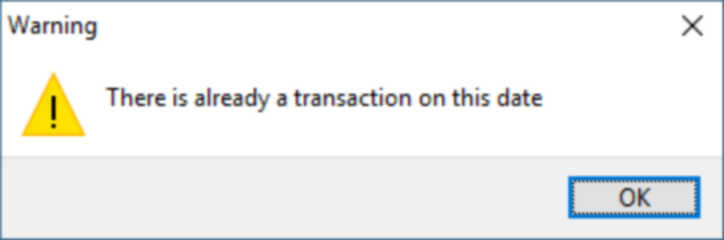
Select the Transaction Date using the drop-down arrow. This is when the reading was recorded. Only one transaction per day will be allowed.
The system will not allow posting another reading and will display a message to this effect.
Enter the 'Meter End Reading' or 'Run Time Units', enter the number of loads if applicable:
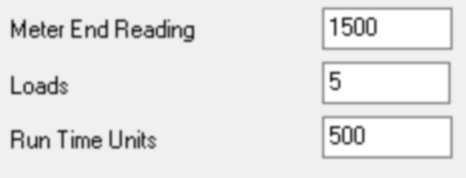
Click ![]() to save the meter reading.
to save the meter reading.
Selected Meter readings can be amended or deleted using the ![]() or
or ![]() buttons.
buttons.
The ![]() button is used to capture readings for multiple components linked to one asset instead of capturing the same information for each component separately. When you click on this button the following screen will be opened:
button is used to capture readings for multiple components linked to one asset instead of capturing the same information for each component separately. When you click on this button the following screen will be opened:
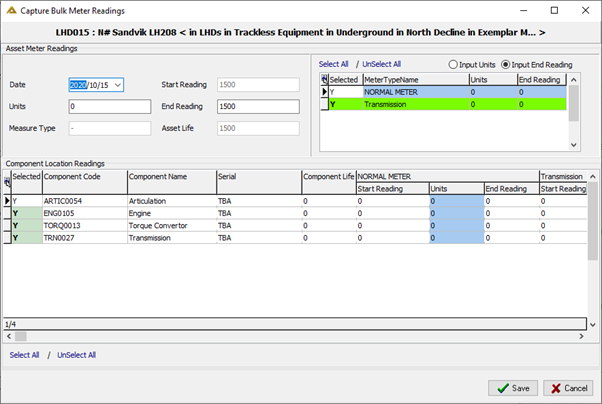
Meter types and/or components can be excluded from the new reading by double clicking on the line in the selected column. The flag will change from Y to N. To change from N to Y, double click again.
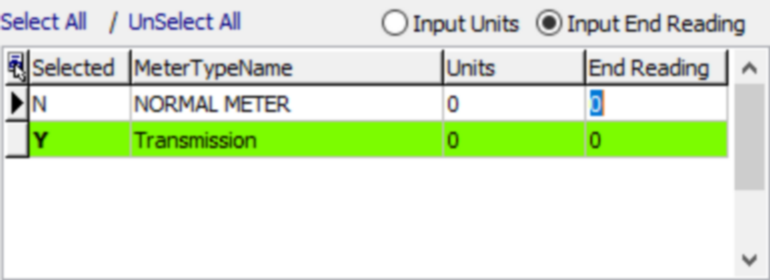
The 'Input Units' radio button allows you to capture the total 'Units' in the units field. The 'Input End Reading' radio button allows you to capture the end reading.
When you enter the units, all the components from the different locations will be populated with the same number of units. This can be changed manually if needed. Click on the ![]() button to save the changes made.
button to save the changes made.
New Meter
Each new meter added to an asset or component will have its own unique sequence number which will be displayed in the grid.
When a meter is replaced on an asset with a new or second-hand meter, this new meter will have its own reading. This reading needs to be recorded as the start reading.
Select the Asset then select the ![]() button.
button.
Enter the 'Meter Start Reading' and 'Meter End Reading'
Click on the ![]() button to save the new Meter Reading. All future meter readings will use the new meter reading just captured.
button to save the new Meter Reading. All future meter readings will use the new meter reading just captured.
Options – Reports
You can print a report on an asset reading history or a range of assets.
Select the ![]() button and choose the
button and choose the ![]() option.
option.
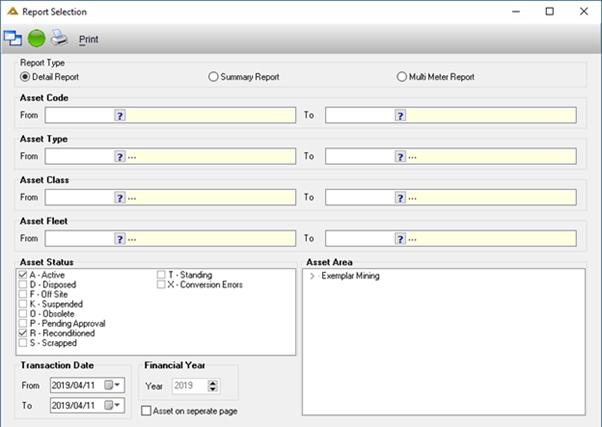
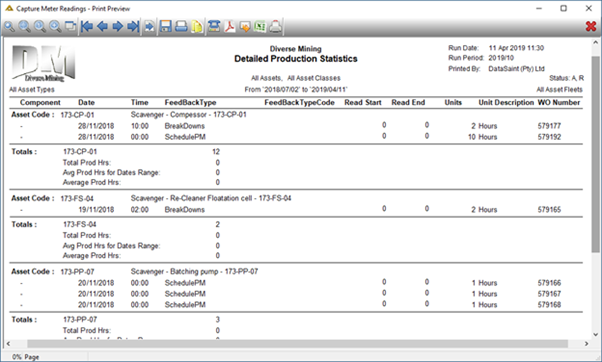
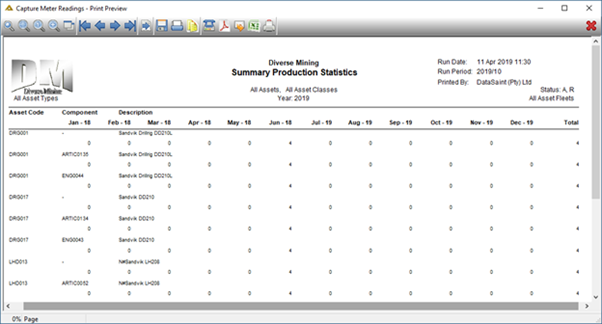
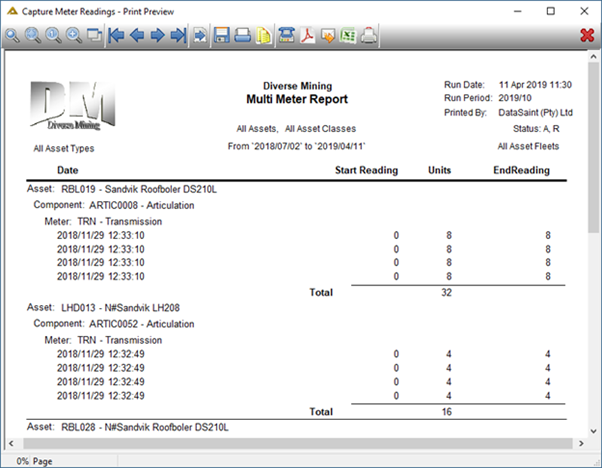
In the Report Type section, select the option of a Detailed Report, a Summary Report or a Multi Meter Report.
Select the Asset or range of Assets in the Asset Code box, using the pickers.
Select the date range in the Transaction Date box, using the drop down arrows. This can only be chosen for a detailed report.
Select the year using the drop-down arrows. This can only be chosen for a summary report.
If reporting on a range of assets you can select the option to view each asset on a separate page by selecting the 'Asset on Separate Page' tick box. If not then leave unchecked. This will be unchecked by default.
Select the ![]() button to view the print preview.
button to view the print preview.
Detailed Report Example
Summary Report Example
Multi Meter Report Example
Options – Import Spreadsheets
This function allows you to export a template and import a spreadsheet with bulk meter readings.
Select the ![]() button and choose the
button and choose the ![]() option.
option.
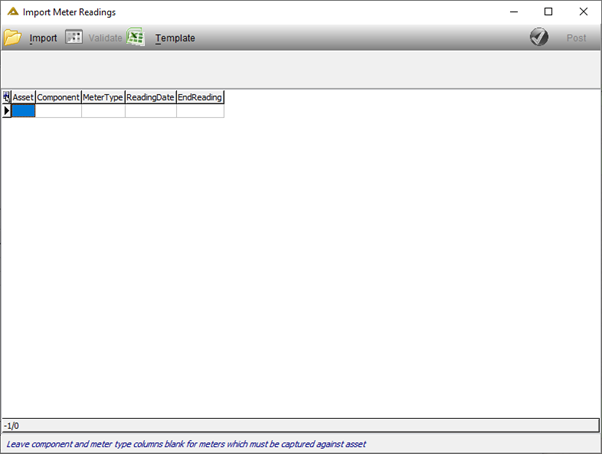
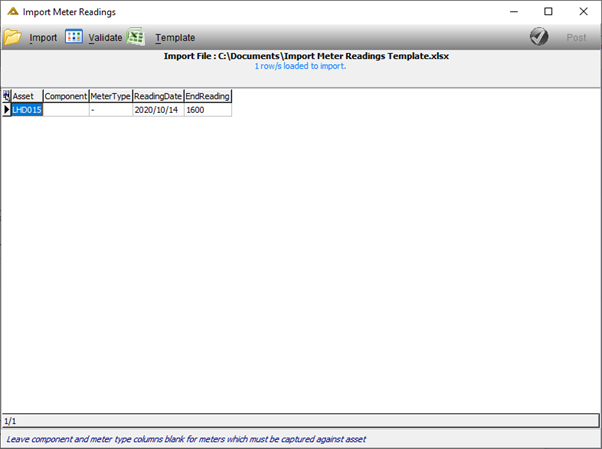
The ![]() button allows you to select a file from a saved location for import.
button allows you to select a file from a saved location for import.
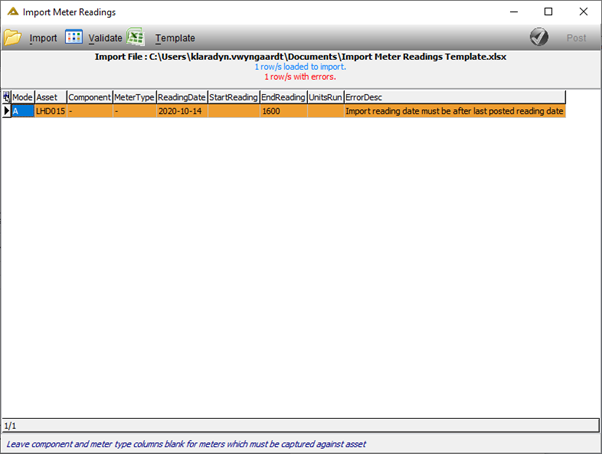
The ![]() button should be used to validate the imported data before it can be posted.
button should be used to validate the imported data before it can be posted.

Any validation errors will be displayed as follows:
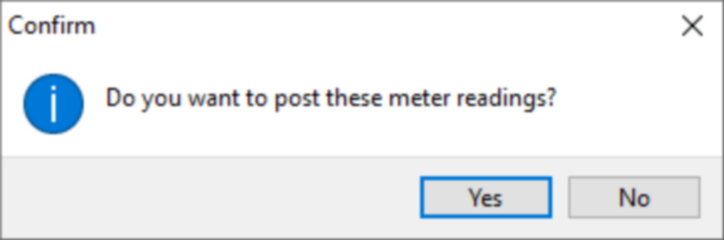
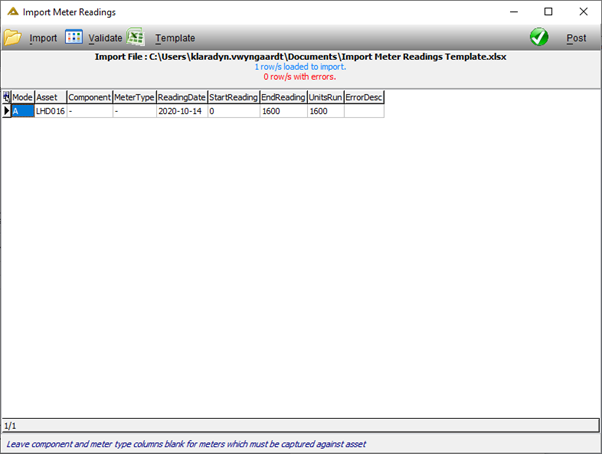
If 0 errors are found, you will be able to post:
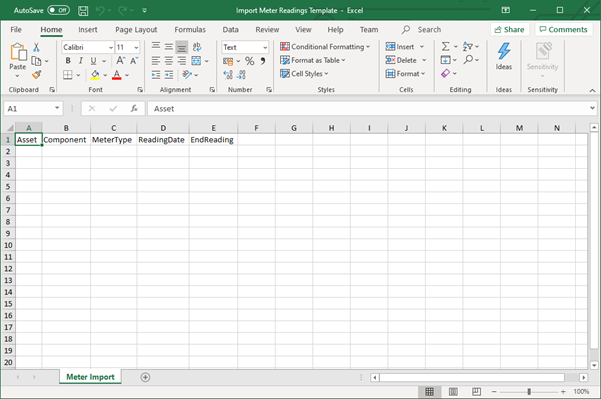
The ![]() button allows you to export a template file to complete for import.
button allows you to export a template file to complete for import.
The ![]() button allows you to post the imported data once all validation is successful.
button allows you to post the imported data once all validation is successful.