Overview
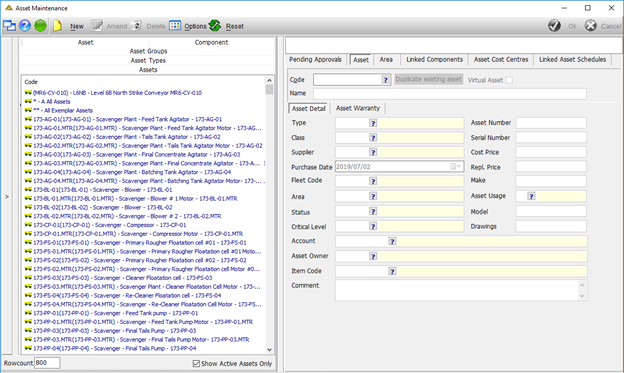
This application is used to create and maintain Assets and Components, as well as Asset Groups, Asset Types, Component Groups and Component Types. When you select the Assets/Components Groups tab and select a specific group, the types will be filtered according to the group selected. If you select a type, the assets/components will be filtered accordingly. If no group is selected, all types will be displayed when you select the types tab. If no type is selected, all assets/components will be displayed when you select the assets/components tab.
Function
Asset Maintenance
The Asset Groups Tab:
Select the Asset Group Tab:

The details for any asset group can be viewed by selecting the asset group in the tree on the left. The details for the selected asset group will be populated on the right.
Click on the ![]() button to create a new asset group:
button to create a new asset group:
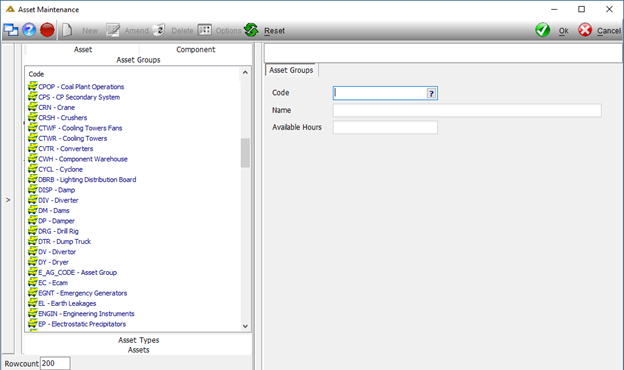
Enter the Asset Group Code, Asset Group Name and Available hours. (These are the available hours per day and may not exceed 24).
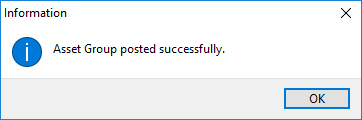
Click on the ![]() button to save the Asset Group. A confirmation dialog will be displayed:
button to save the Asset Group. A confirmation dialog will be displayed:
Selected Asset Groups can be amended or deleted using the ![]() and
and ![]() buttons.
buttons.
The Asset Types Tab:
Select the Asset Types Tab:

The details for any asset type can be viewed by selecting the asset type in the tree on the left. The details for the selected asset type will be populated on the right.
Click on the ![]() button to create a new asset type:
button to create a new asset type:
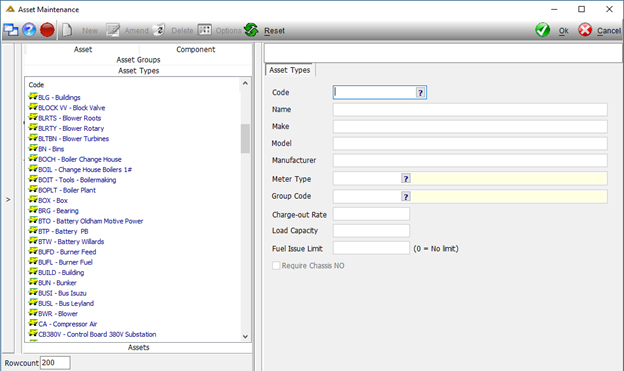
Enter the information as required for the new asset type. If you check the ![]() tick box, all assets belonging to that Asset Type will require a chassis number instead of a serial number. The system will prompt the user to enter a chassis number for all these asset types before they can save the asset.
tick box, all assets belonging to that Asset Type will require a chassis number instead of a serial number. The system will prompt the user to enter a chassis number for all these asset types before they can save the asset.
Selected asset types can be amended or deleted using the ![]() or
or ![]() buttons.
buttons.
The Assets Tab:
Select the Asset Types Tab:

The details for any asset can be viewed by selecting the asset in the tree on the left. The details for the selected asset will be populated on the right. The ![]() check box will be ticked by default, but can be unticked to view all assets.
check box will be ticked by default, but can be unticked to view all assets.
Click on the ![]() button to create a new asset.
button to create a new asset.
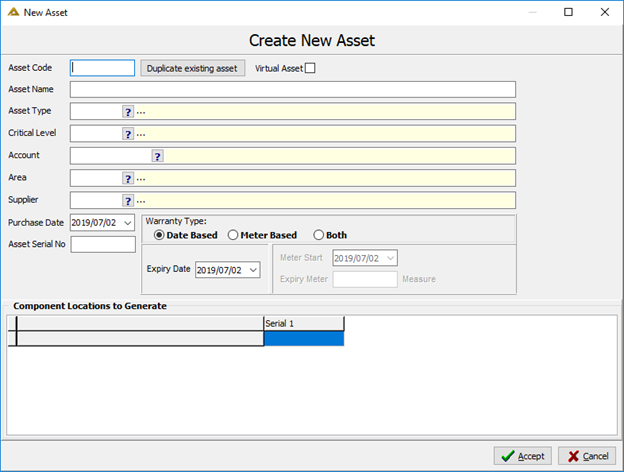
Manually enter the new asset code and name.
If you select the Virtual Asset tick box, the asset will be created as a virtual asset and will not be available for selection in the capture meter readings application. Virtual assets don't have components linked to them. They work similar to functional locations.
Use the lookup button to select the Asset Type, Critical Level, Account, Area and Supplier. Ensure the correct purchase date is entered. Enter the asset serial number and complete the warranty information.
Once all the details have been captured, click on the ![]() button to save.
button to save.
An asset's status can be changed to 'Suspended' when it has active transactions. When all transactions have been completed, the asset's status can be changed to 'Closed'. Closed and suspended assets will not be available for transactions.
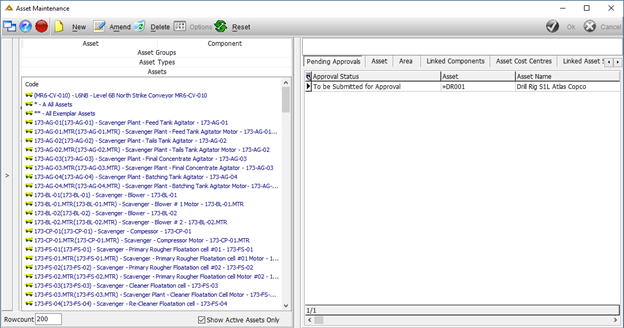
If Workflow is set up for the Assets & Components application, an extra tab will be available where all the outstanding Workflow approvals for the selected asset will be displayed.
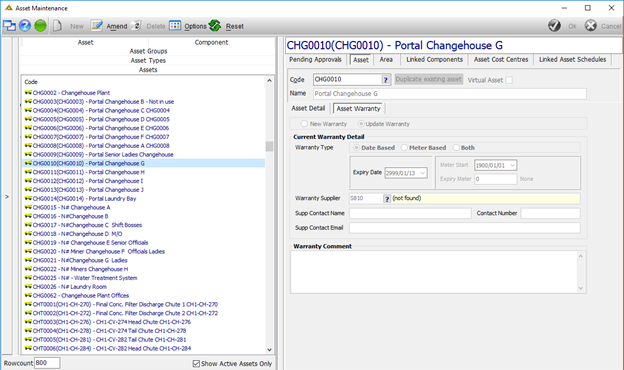
Click on an asset and select the Asset Warranty tab to view the warranty details for that asset:
Asset Area Maintenance
Choose an asset from the tree on the left and select the Area Tab.

Click on the ![]() button to link an asset to a new area.
button to link an asset to a new area.
An asset can only be linked to one area at any given time. If an asset is linked to an area from the 1st day of the month and the user attempts to add another area from today to a future date, the system will give a warning message that there is already an area linked to the asset for today and changes will not be saved.
Alternatively, click on the ![]() button to link the asset to a new area.
button to link the asset to a new area.
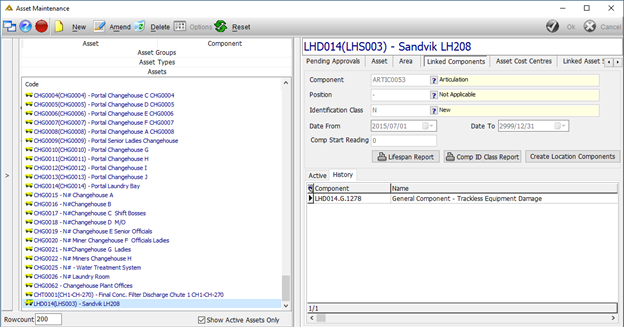
Linked Components Maintenance
This tab shows all the components linked to the selected asset.
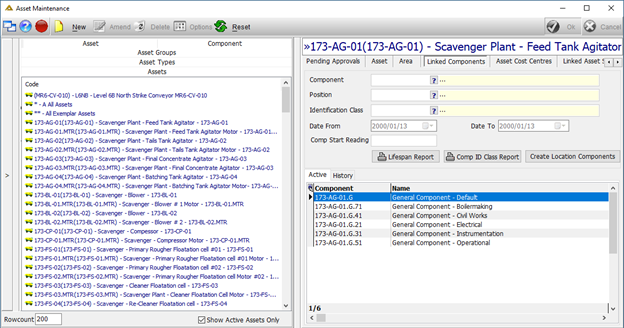
You can view active linked components or select the history tab to view previous linked components. Select a component from the grid to populate the details.
Click on the ![]() button to link a new component to the selected asset.
button to link a new component to the selected asset.
Select the Component, Position, Identification Class and Dates From and To using the pickers. Enter the component start reading.
Click on the ![]() button to save the link. Existing links can be edited or removed by using the
button to save the link. Existing links can be edited or removed by using the ![]() or
or ![]() buttons.
buttons.
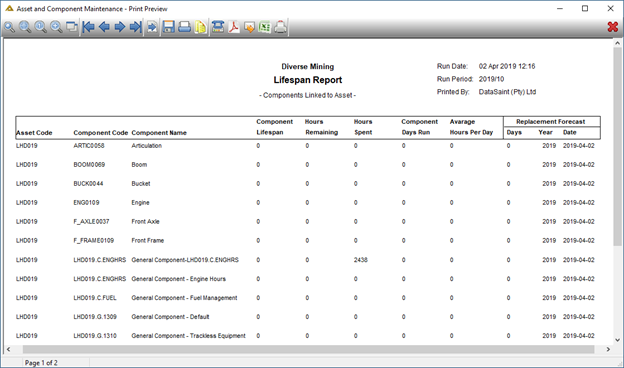
The ![]() button will generate a preview of the lifespan of the components linked to the asset.
button will generate a preview of the lifespan of the components linked to the asset.
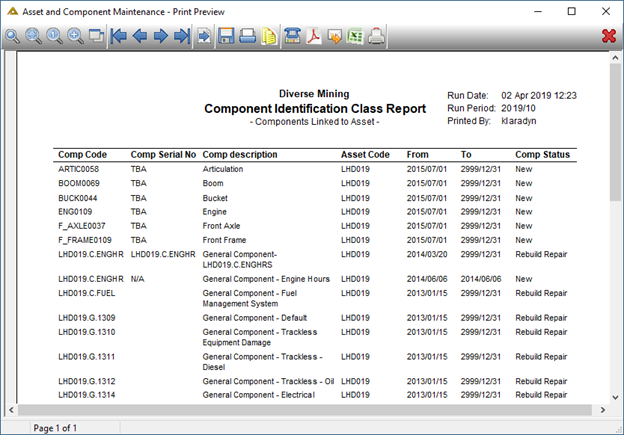
The ![]() button generates a preview of details for all the linked components such as serial numbers, component codes, etc.
button generates a preview of details for all the linked components such as serial numbers, component codes, etc.
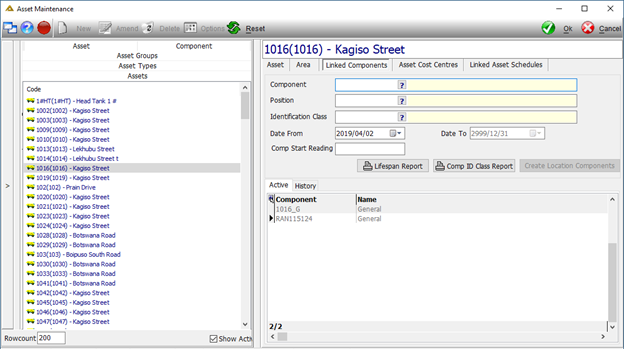
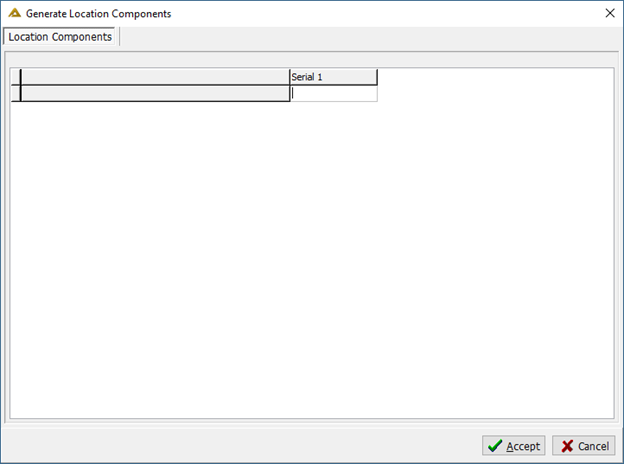
The ![]() button opens a screen where you can create specific location components:
button opens a screen where you can create specific location components:
If the component location functionality is not active, the 'Create Location Components' button will be replaced with a 'Create Default Components' button. When you click on the 'Create Default Components' button, the following screen can be viewed:
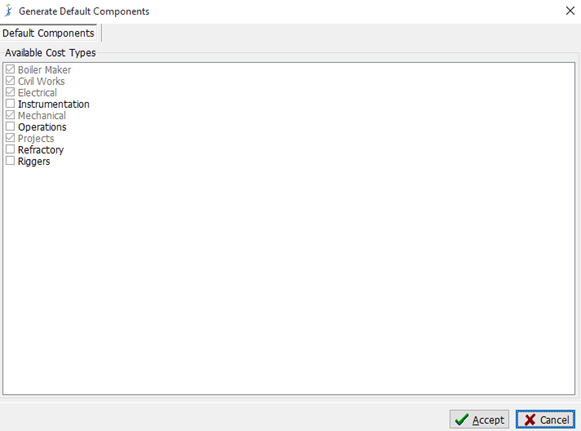
The user can tick boxes of the default components they wish to add.
Asset Cost Centres Maintenance
This tab is used to create cost centres for each asset. Costs will be charged against the default account if no maintenance cost type accounts have been set up for an asset.

Click on the ![]() button to link a cost centre to an asset. Alternatively you can edit or delete existing linked cost centres using the
button to link a cost centre to an asset. Alternatively you can edit or delete existing linked cost centres using the ![]() or
or ![]() buttons.
buttons.
When creating a new account type, you will have the option to select a default cost account or a maintenance cost type:
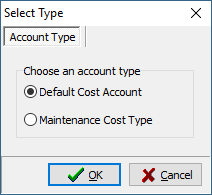
Accounts for disciplines like engineering, are referred to as maintenance cost types. These accounts will overwrite the default account where applicable. For example: If a schedule with an engineering cost type gets generated, it will use the engineering cost type account on the asset rather than the default account.
The Foreman link will determine the foreman which will be auto selected in applications like WO Capture and EWR Capture.
Select the account details and click on the ![]() button to save the changes.
button to save the changes.
Linked Asset Schedules Maintenance
Click on the ![]() button to link a schedule to an asset.
button to link a schedule to an asset.
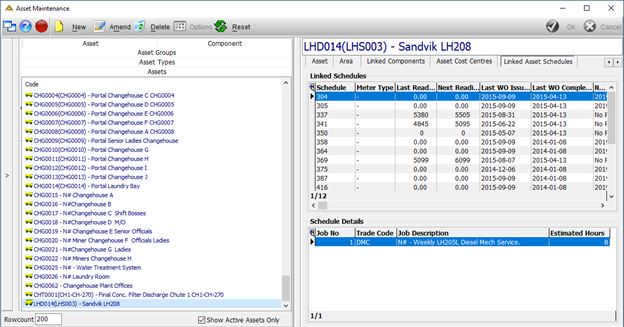
The following screen will be displayed. Select a Schedule Code using the picker.
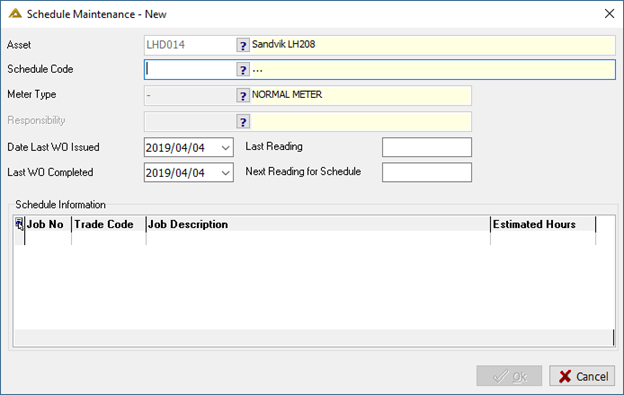
The detail of the selected schedule will be displayed in the grid.
Complete the last and next reading fields. These reading fields are optional and is used by the meter readings application.
Select the last WO issued and last WO completed dates. These dates will be used by the Auto Job Cards functionality to determine whether the job must automatically be generated when Auto Release is set to on.
Click on the ![]() button to save the changes.
button to save the changes.
The schedule will now be linked to the asset.
Selected schedules can be amended or deleted using the ![]() or
or ![]() buttons. If a schedule linked to an asset is suspended using the Suspend Schedule application, this link cannot be deleted until the schedule suspension ends by date or is manually stopped. You will only be able to link schedules to an asset if the schedules have been set up to use the selected asset type.
buttons. If a schedule linked to an asset is suspended using the Suspend Schedule application, this link cannot be deleted until the schedule suspension ends by date or is manually stopped. You will only be able to link schedules to an asset if the schedules have been set up to use the selected asset type.
Component Maintenance
The Component Groups Tab:
Select the component groups tab:

Click on the ![]() button to create a new component group.
button to create a new component group.

Enter the details as required and click on the ![]() button to save the new component group.
button to save the new component group.
Selected component groups can be amended or deleted using the ![]() or
or ![]() buttons.
buttons.
The Component Types Tab - Type Maintenance:
Select the component types tab:

Click on the ![]() button to create a new component type:
button to create a new component type:
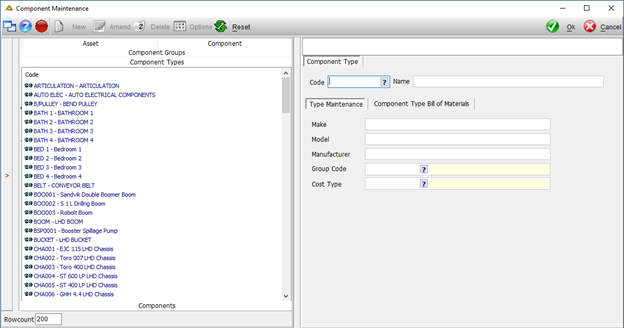
Complete all the fields as required and ensure that the correct group code is selected using the picker.
The selected cost type will determine the cost type for all components linked to the component type. The cost type is used to determine which foreman and cost centre must be used for non-scheduled jobs. For example: The system will try to find an electrical foreman to do work on the selected electrical component. The schedule cost type must match at least one of the components linked to the asset; otherwise the schedule cannot manually be generated. The system will use the general default component when automatically generating schedules that don't have a component that matched the schedule cost type.
Click on the ![]() button to save the new component type.
button to save the new component type.
Selected component types can be amended or deleted using the ![]() or
or ![]() buttons.
buttons.
The Component Types Tab - Component Type Bill of Materials:
This tab allows you to add the bill of materials for the selected component type. The bill of materials is a list of regularly used parts. This is used in the PM Toolbox application to capture parts more easily by selecting the bill of materials instead of having to search for each part on a large list of items.
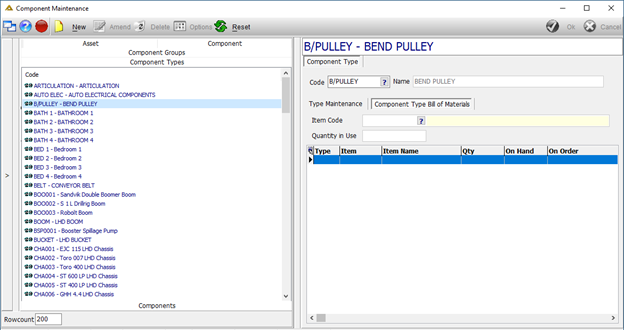
Component type bill of materials will apply to all the components linked to that type.
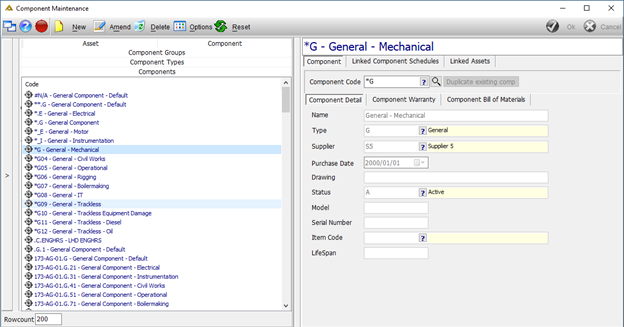
The Components Tab:
Select the components tab:

The details for any component can be viewed by selecting the component in the tree on the left. The details for the selected component will be populated on the right.
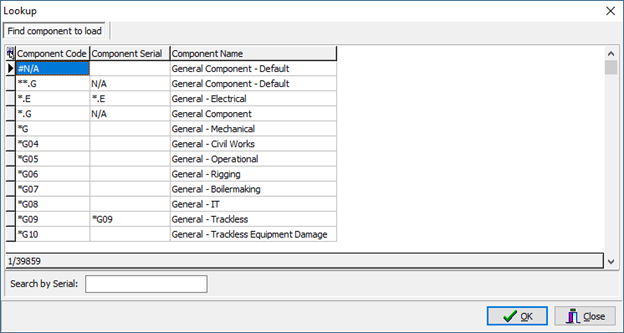
The ![]() button allows you to look up the component you wish to select. This screen also allows you to search for the component by serial number.
button allows you to look up the component you wish to select. This screen also allows you to search for the component by serial number.
The ![]() button allows you to duplicate an existing component and save it as an additional component. This feature can be used for similar components with different serial numbers.
button allows you to duplicate an existing component and save it as an additional component. This feature can be used for similar components with different serial numbers.
To create a new component, click on the ![]() button.
button.
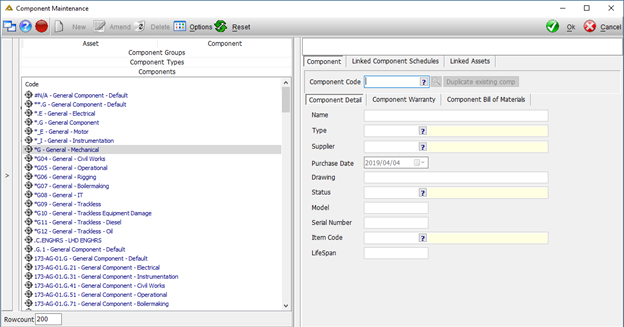
Complete the details as required and click on the ![]() button to save the component.
button to save the component.
Components can be amended or deleted using the ![]() or
or ![]() buttons.
buttons.
The warranty tab allows you to maintain component warranty information.

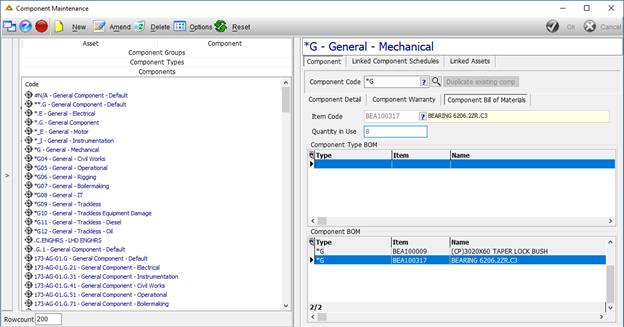
The component bill of materials tab allows you to maintain the bill of materials for the selected component. The difference between this bill of materials and the component type bill of material is that this will be linked to the individual component, where the type bill of materials will be linked to all components of that type. You can view both the component type bill of materials and the component bill of materials on this tab:
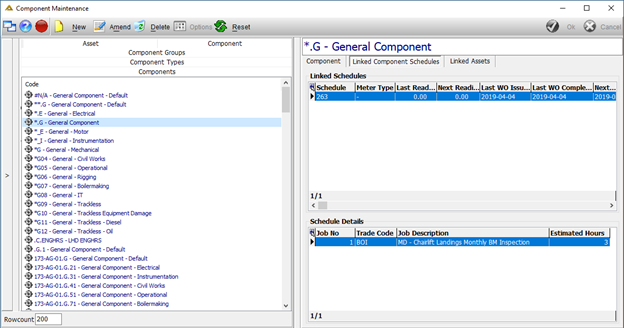
Linked Component Schedules Maintenance:
This tab allows you to view all linked schedules and schedule detail:
To create a new schedule link, click on the ![]() button. There has to be an existing schedule link for the selected component, if not, you will receive the following message:
button. There has to be an existing schedule link for the selected component, if not, you will receive the following message:
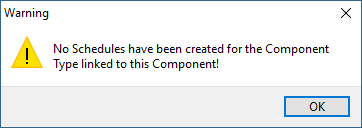
This means you have to use the Schedule Maintenance application to set up schedules for this component type. If already set up, the following screen will be displayed:
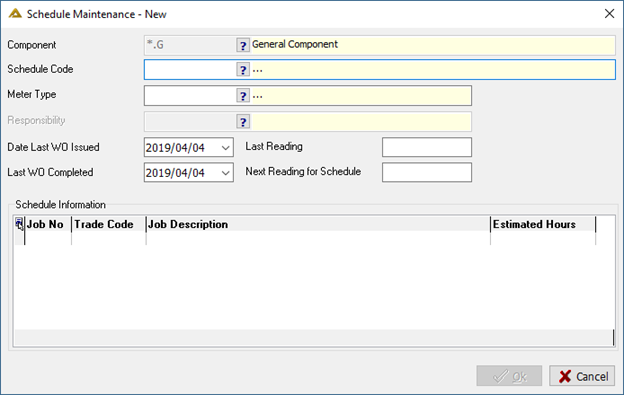
Complete the details using the pickers and click on the ![]() button to save. The new linked component schedule will be displayed in the grid.
button to save. The new linked component schedule will be displayed in the grid.
Linked Assets Maintenance:
This tab allows you to create asset links.
Click on the ![]() button to create a new link:
button to create a new link:
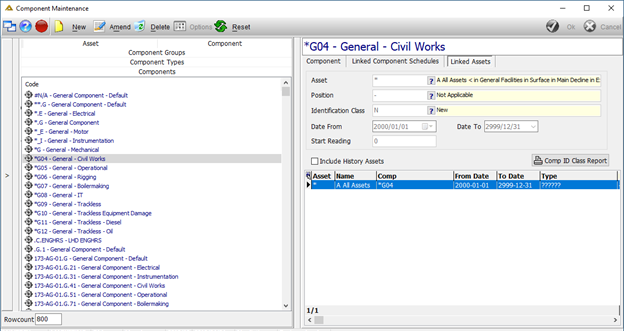
The 'Start Reading' is only important for components where meter readings are captured in hours. In other cases this field can be left blank.
Click on the ![]() button to save the asset link for the component.
button to save the asset link for the component.
The linked components tab keeps a log of when components have been linked to the asset. The 'Date From' and 'Date To' indicates when the component was linked to the asset. When the 'Date To' is less than or equal to the current date (today), the component is considered not to be linked to the asset anymore.
The ![]() button will change the 'Date To' of the selected component link to the current date. The component is then considered not linked to the asset anymore.
button will change the 'Date To' of the selected component link to the current date. The component is then considered not linked to the asset anymore.
The ![]() button can be used to change the selected component link.
button can be used to change the selected component link.
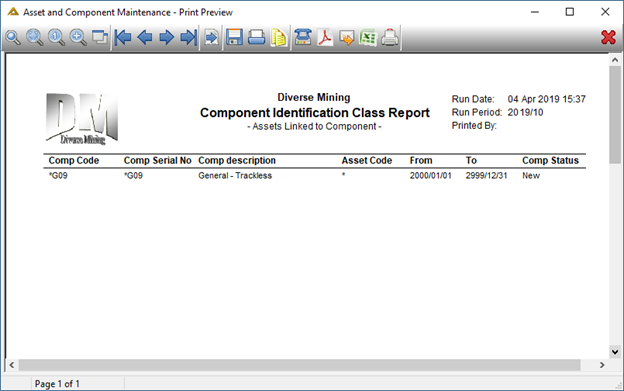
Component ID Class Report:
The ![]() button will generate a preview of the component links for the selected component:
button will generate a preview of the component links for the selected component:
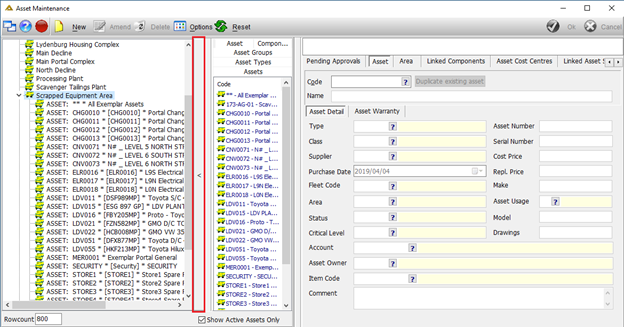
Filter by Area
Click on the long bar to the left of the screen as seen in the example below to filter the information by area. An area tree section will be displayed. You can select the same bar again at any time to display the normal list again.