Overview
This application is used to capture ADHOC work orders, they can be captured against an Asset or an account. ADHOC work orders can also be printed and amended from this application.
Function
When the application is opened, you will view the following screen:
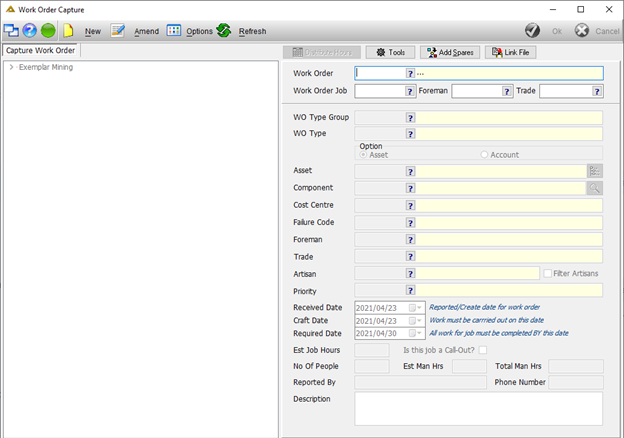
Click on the ![]() button to create a new work order and select a WO Type. The work order types are linked to profiles and some are client specific.
button to create a new work order and select a WO Type. The work order types are linked to profiles and some are client specific.
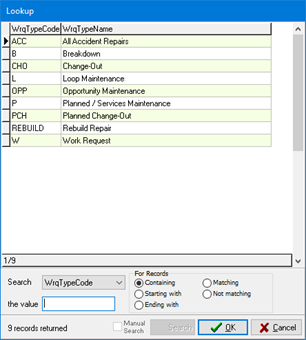
CHO is used for ad-hoc work orders and PCH for change out schedules. These work order types refer to the Component Change Out logic which requires specific set up.
If PM_NO_COMPONENT is active, selection of the component will be optional.
Select the Asset or Account option to create a work order for an asset or account.
![]()
Select the Asset or Account based on the chosen option. Then select a component.
The system automatically populates the cost centre of the asset, this can be changed if a different cost centre is going to be charged.
Now enter the Failure Code, Foreman, Trade, Priority, Estimated Job Hours, No of People and Estimated Man Hours. The Total Man hours will be calculated automatically.
Complete capturing the work order by editing the dates for captured and required. Enter a phone number and description. Once you have completed the information click on the ![]() button.
button.
If you have left out any of the information the work order will not be saved, and you will receive a message indicating the outstanding field:

If you have created a work order with the type CHO, when saving, the application will prompt whether you want to capture the change out information. You will also be able to view all active work orders against the selected asset. Select continue to still create the captured work order:
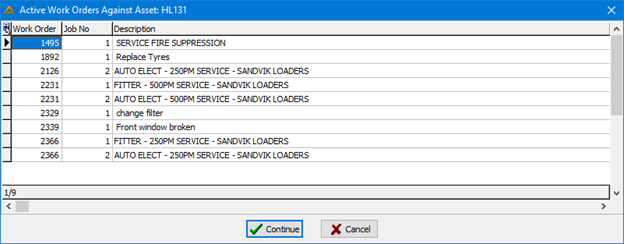
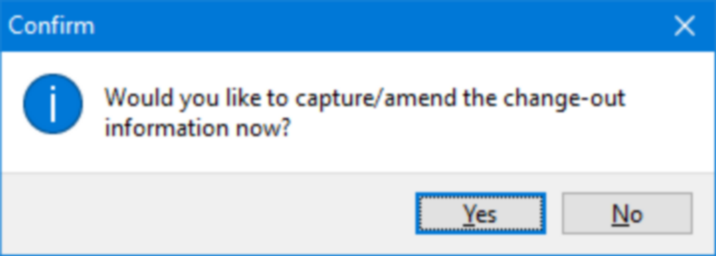
If no, the work order is saved as normal. The change out information can be added or amended at any later stage while the work order is still open. If yes, a new window will open allowing you to capture the meter readings of the selected component as well as enter the serial number and meter readings for the new component. When the 'Deactivate on Schedules' tick box is ticked, the old component will be de-activated on the component schedule. This will however only occur if the old component is set to Auto release Yes and only on capturing and posting of feedback on the work order.
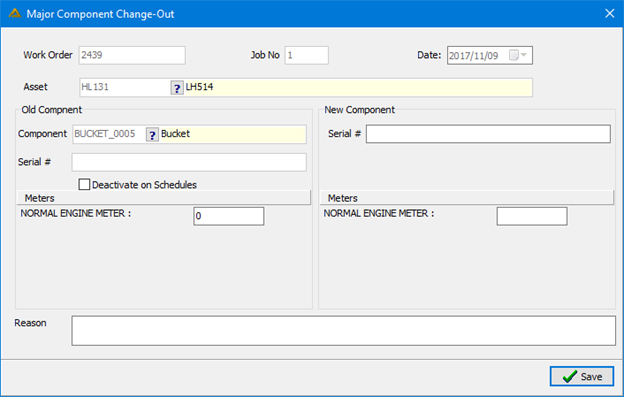
Note: Entering the new component details are not required at this stage, as in most cases this information will not yet be known. Clicking on the ![]() button will save the change out information in the database for the specific work order.
button will save the change out information in the database for the specific work order.
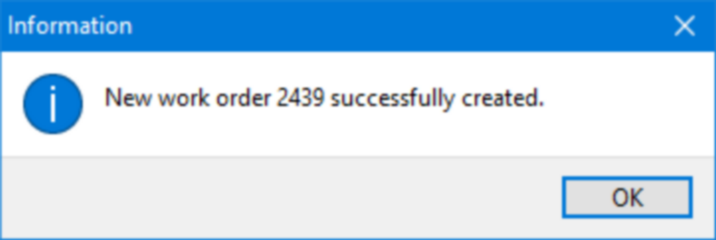
You will now have the option to add spares upon saving:
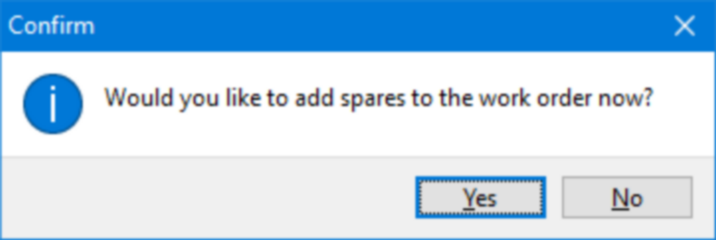
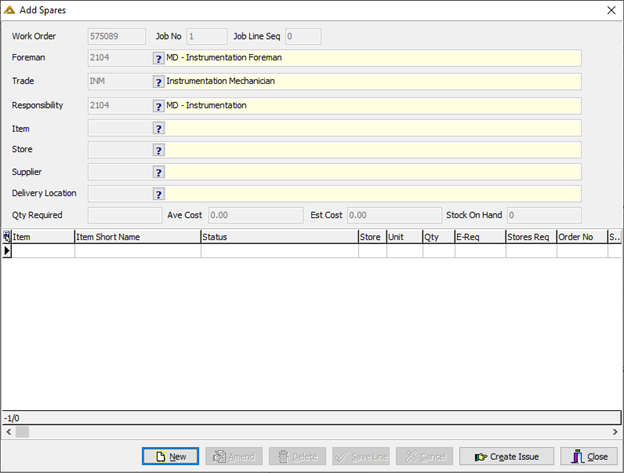
Click ![]() to display the following window and add spares:
to display the following window and add spares:
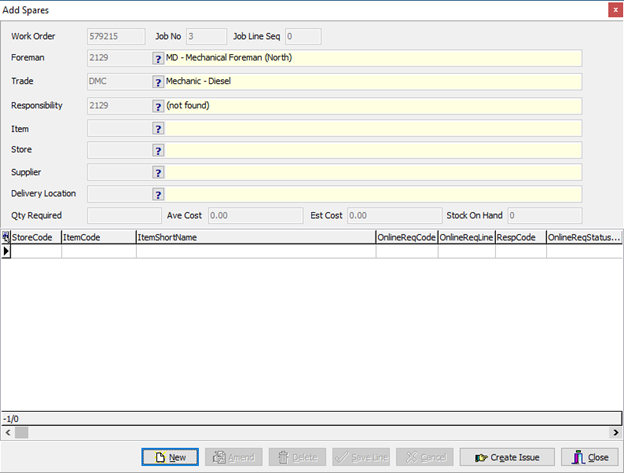
Click on the ![]() button to add spares to the work order.
button to add spares to the work order.
Once you have completed all the fields click on the ![]() button to continue. The line created will be saved and you have the option to create a stores issue where applicable:
button to continue. The line created will be saved and you have the option to create a stores issue where applicable:
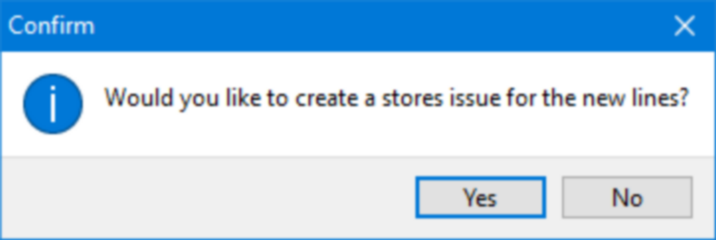
If you click on the yes button you will receive the following confirmation:
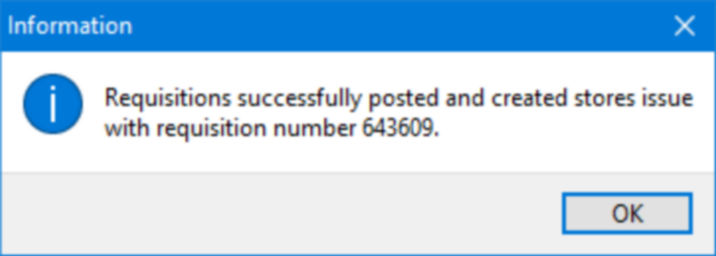
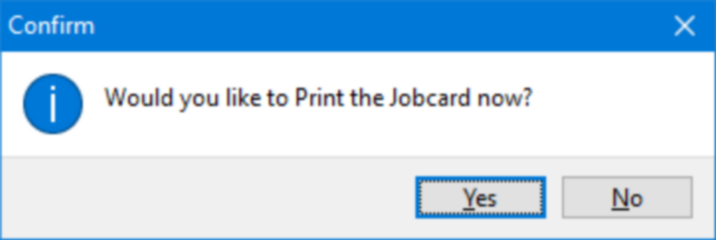
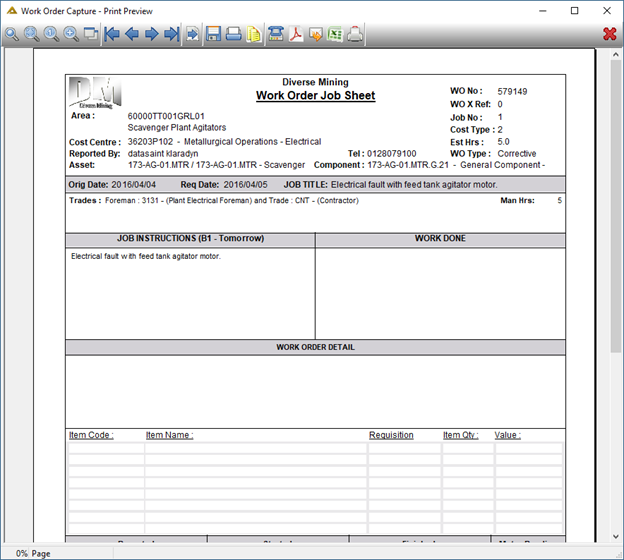
After clicking ![]() you can print a job card:
you can print a job card:
If parameter PM_ADHOC_SHOW_PONS is set to Y, all orders linked to the work order will also be displayed.
To amend a work order, select the work order that must be amended:
![]()
Select the work order job that must be amended:
![]()
Click on the ![]() button to start making changes to the job. Once completed, click on the
button to start making changes to the job. Once completed, click on the ![]() button save changes to the job. A confirmation message will ask if you would like to print the job card after saving the changes.
button save changes to the job. A confirmation message will ask if you would like to print the job card after saving the changes.
The ![]() button gives you the following options:
button gives you the following options:
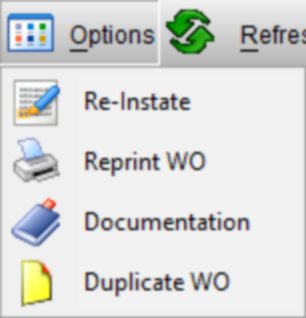
Re-Instate – Allows you to reinstate a closed/cancelled/completed work order.
Reprint WO – Allows you to reprint the work order job sheet.
Documentation – Allows you to view/attach documentation to the work order.
Duplicate WO – Allows you to create a new work order from an existing one by duplicating it.
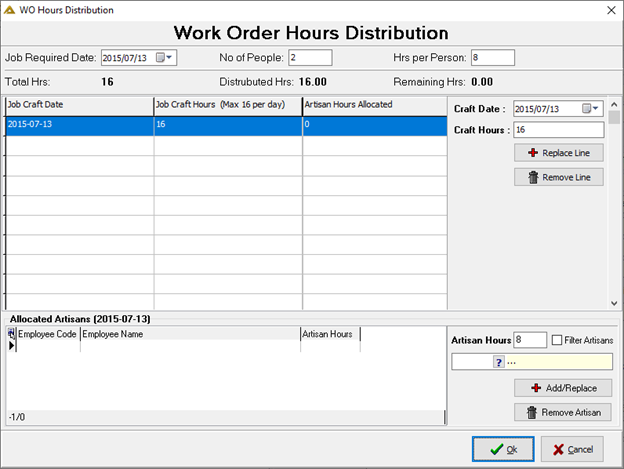
The![]() button allows you to distribute job hours between different artisans.
button allows you to distribute job hours between different artisans.
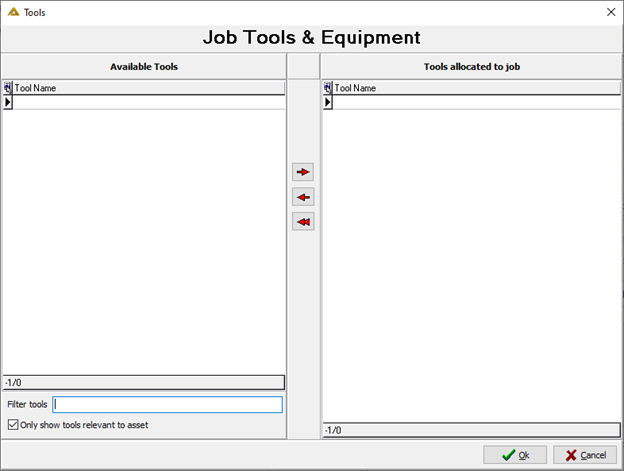
The ![]() button allows you to assign specific available tools and equipment to the work order.
button allows you to assign specific available tools and equipment to the work order.
The ![]() button allows you to add spares as described above.
button allows you to add spares as described above.
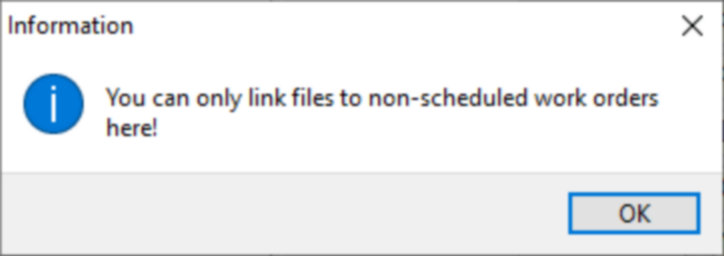
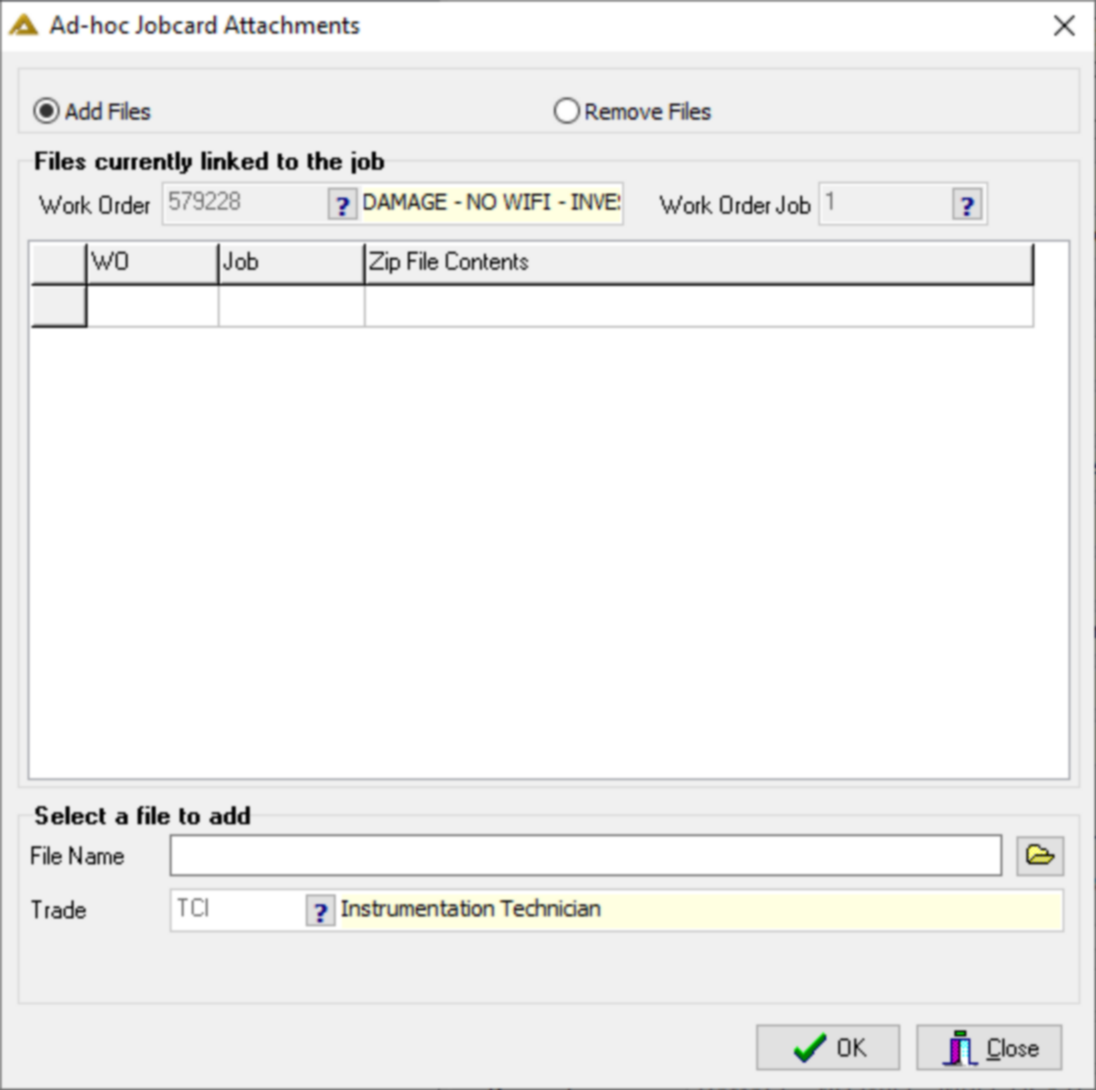
The button allows you to attach supporting documents to the selected work order. This is only applicable to non-scheduled work orders.
