Overview
The Unit Master application allows users to capture and maintain and report on Building, Owner, Unit, Area and Grade Master Data.
Function
Buildings
Buildings are used to group one or more Units together in one entity.
Buildings can also be imported from the Fixed Asset register into the Unit Master application as either an Asset with or without components, where the normal rules for Fixed Assets apply.
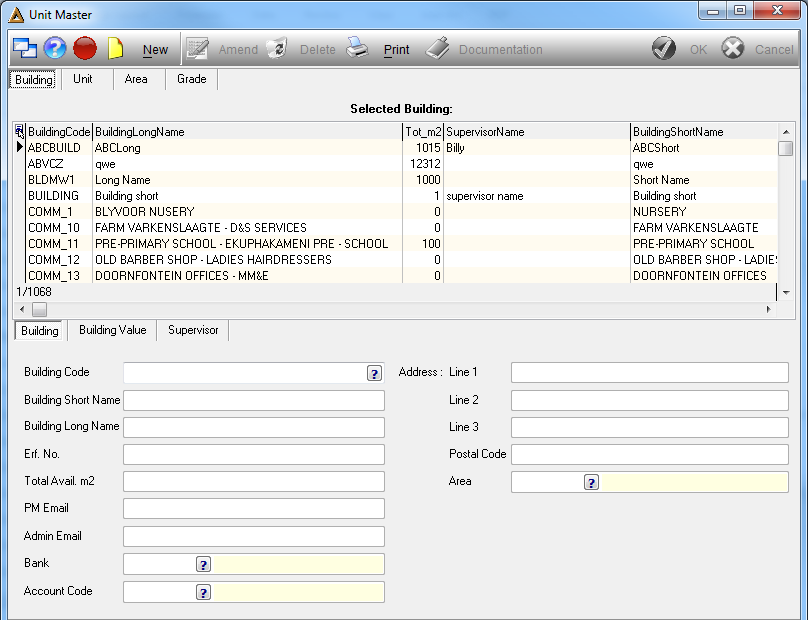
•Building Code - select the name of the building by clicking on the picker.
Once the building name has been selected, the following information will automatically be entered:
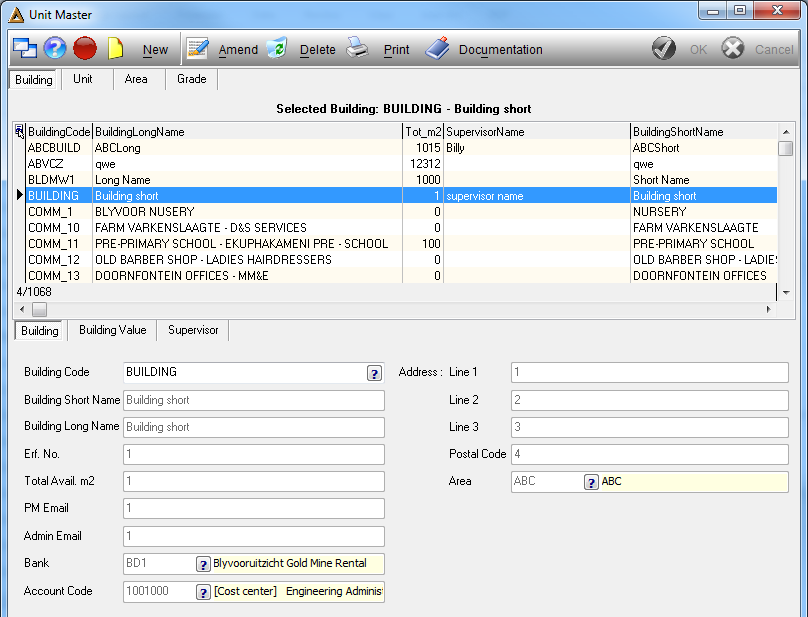
•In order to edit the building information click on ![]()
•In order to print the building report click on ![]()
Building Value
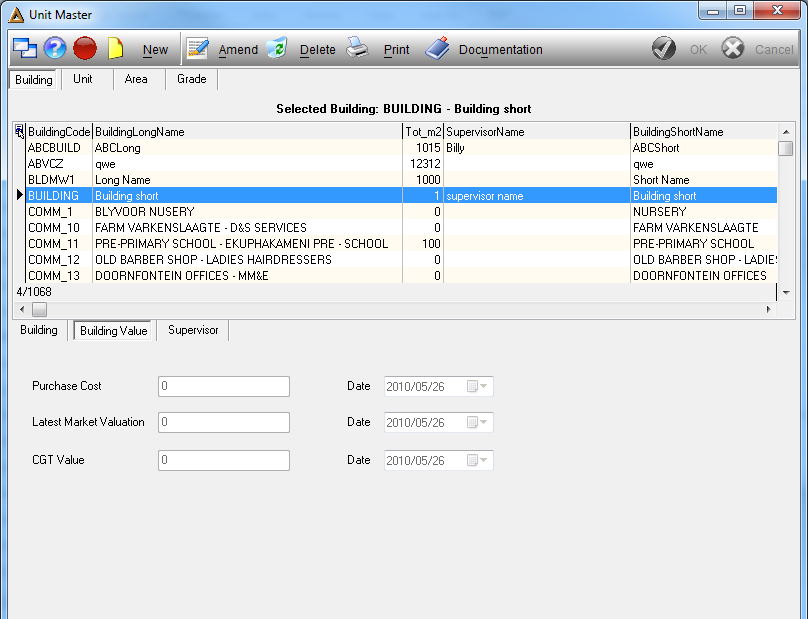
•Click on ![]() in order to edit the purchase cost, latest market valuation and the CGT value.
in order to edit the purchase cost, latest market valuation and the CGT value.
•Select the dates by clicking on the drop down arrow.
Supervisor
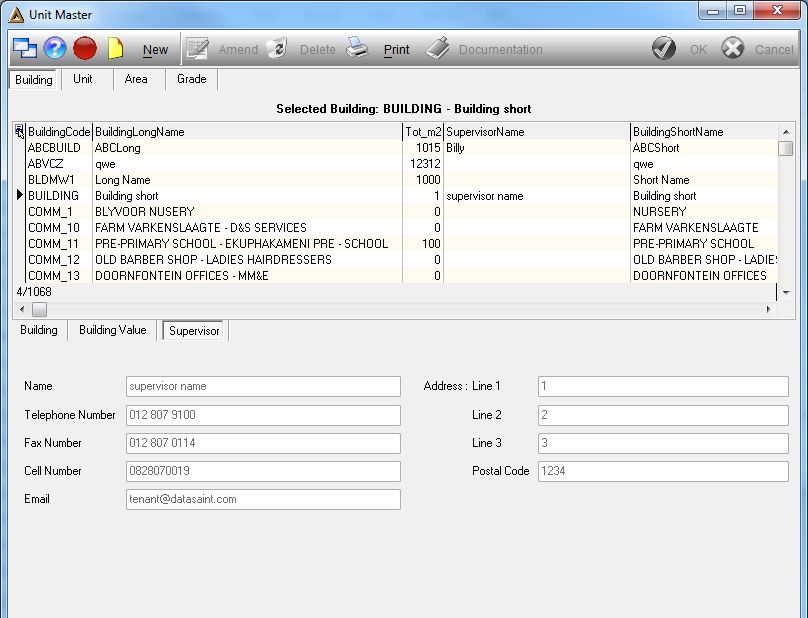
•Once the building code has been selected, all the supervisor details will automatically be entered. In order to edit this information click on![]() .
.
•Click on 'Ok' to post this information.
•Click on ![]() to generate6 the report.
to generate6 the report.
Units
Units are the main building blocks of the Property Module. A Unit will always belong to a Building and they are used to define Contracts.
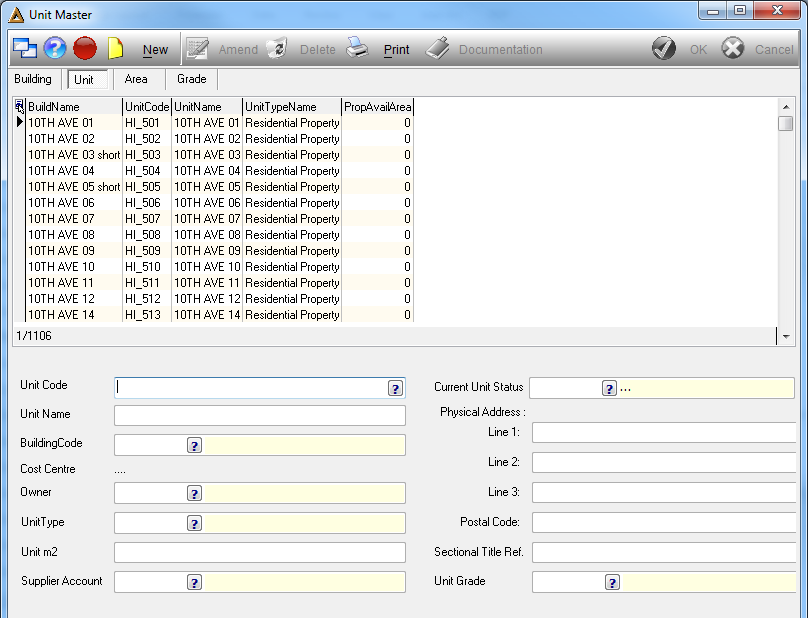
•Unit code - select the name of the unit by clicking on the picker.
Once the unit code has been selected, the following information will automatically be entered:
oUnit name
oBuilding code
oOwner
oUnit type
oUnit m2
oSupplier account
oCurrent unit status
oPhysical address
oSectional title ref
oUnit grade
•In order to edit this information click on ![]()
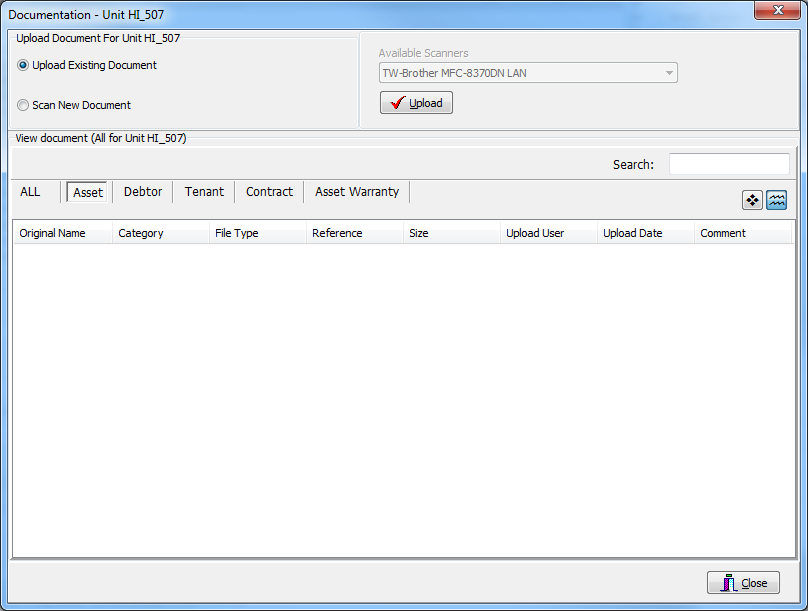
•In order to upload a document for the specific unit selected, click on ![]()
•Click on ![]() in order to generate the Owners report.
in order to generate the Owners report.
Areas
Areas are used to group Buildings together. Areas are used for reporting purposes and the Rent roll is approved per Area.
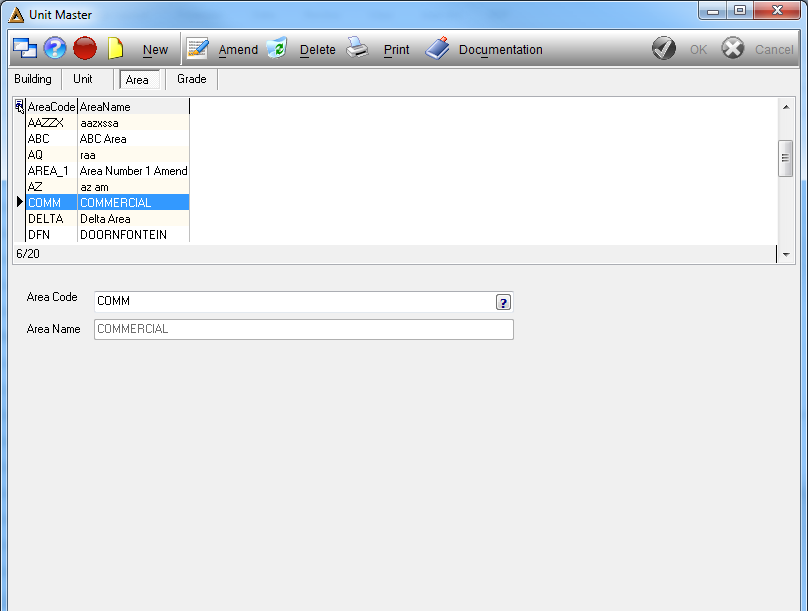
•Area code - select the name of the area by clicking on the picker.
•Area name - will automatically be entered once the area code has been selected.
•In order to edit the area name, click on ![]()
•To upload a document to the specific area code selected, click on ![]()
•Click on ![]() in order to generate the Areas report.
in order to generate the Areas report.
Grade
Grades are used to classify Units according to the quality of a Unit.
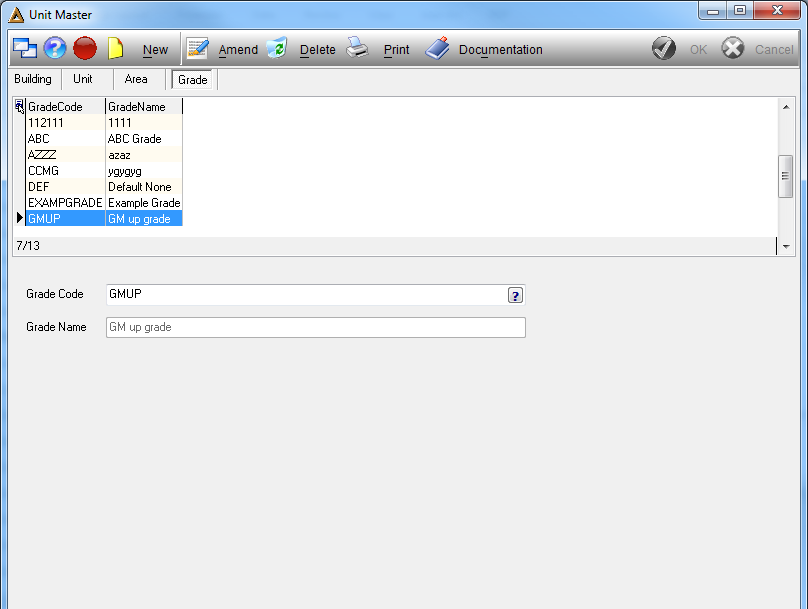
•Grade code - select the name of the grade by clicking on the picker.
•Grade name - will automatically be entered once the grade code has been selected.
•In order to edit this information click on ![]()
•To upload a document to the specific grade selected, click on ![]()
•Click on ![]() in order to generate the Grades report.
in order to generate the Grades report.
Applicable Parameters
Parameter |
Description |
PROP_BLDISUNT |
If Yes, Building and Unit is treated as the same thing in Unit Master. Else multiple Units can belong to one Building. |
PROP_USE_FA |
If Yes, users are forced to capture a Fixed Asset in the Fixed Asset Register first before allowing them to capture a Building, thus all Buildings must exist in the Fixed Asset Register. |
The Building Tab
The Building Tab contains the following:
-Building Grid lists all Buildings.
-Building Sub-Tab where the main details of the building can be captured/displayed.
-Building Value Sub-Tab where the Purchase Cost, Market Value, and CGT Value of the Building can be captured/displayed.
-Supervisor Sub-Tab where information regarding the Supervisor of the Building can be captured/displayed.
Capturing a New Building – PROP_BLDISUNT = No
To capture a Building, firstly click the ‘New’ button at the toolbar at the top of the application. This will allow you to enter values into the Building’s fields. Should you want to cancel capturing a new Building, click the ‘Cancel’ button at the toolbar at the top of the application.
A brief explanation of the Building’s fields is as follows:
Building Sub-Tab
-Building Code - char(10): This Code is unique to each building and is the used to identify each individual Building throughout the Property Module.
-Building Short Name - char(50): A short description of the Building.
-Building Long Name - char(50): A longer description of the Building.
-Erf. No - char(15): This is the number of the Stand/Lot where the Building is located.
-Total Avail m2 - decimal(9,18): Contains the total size of the property. The total size of the Units attached to the Building may not be more than this value. This value is also used to see how the Building is being utilized.
-PM E-Mail - char(100): The e-mail address of the person responsible for the Planned Maintenance of the building – not in use at the moment.
-Admin E-Mail - char(100): E-Mail address of the Administrator of the Building.
-Bank - char(15): Determines which Bank Details are to be displayed in reports.
-Account Code - char(15): Determines which cost centre the Building belongs to.
-Address - char(50): For reporting purposes, to display where the Building is situated.
-Area - char(15): Determines which area the Building belongs to.
Building Value Sub-Tab
-Purchase Cost - float: The Purchase Cost of the building. This is used for reporting (specifically the Property Portfolio Report).
-Purchase Date - datetime: The effective Date of the Purchase Cost.
-Latest Market Valuation - float: The Market Value of the Building. This is used for reporting purposes.
-Latest Market Valuation Date - datetime: The effective date of the Market Valuation.
-CGT Value - float: The Capital Goods Tax Value of the Building. This is used for reporting purposes.
-CGT Date - datetime: The effective date of the CGT Value.
Supervisor Sub-Tab
-This Tab contains the contact details of the Supervisor of the Building.
Once you have captured all the values of the Building, click the ‘OK’ button in the top panel of the application.
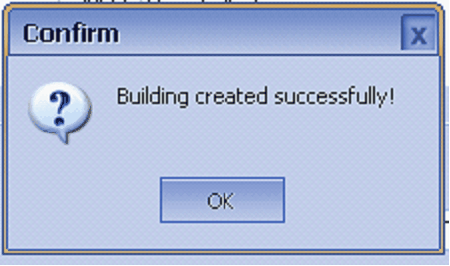
You have now successfully captured a new building.
Capturing a New Building – PROP_BLDISUNT = Yes
To capture a Building, firstly click the ‘New’ button at the toolbar at the top of the application. This will allow you to enter values into the Building’s fields. Should you want to cancel capturing a new Building, click the ‘Cancel’ button at the toolbar at the top of the application.
Continue to capture the Building’s details as per above explanation.
Once you have captured all the values of the Building, click the ‘Next’ button in the top panel of the application.

Upon clicking the ‘Next’ button, the dialog displayed above will appear. Click ‘OK’.
Once you have clicked ‘OK’, the Building Fields will be populated into the Unit fields where applicable. Complete the Owner, Unit Type and Grade fields and click ‘OK’.
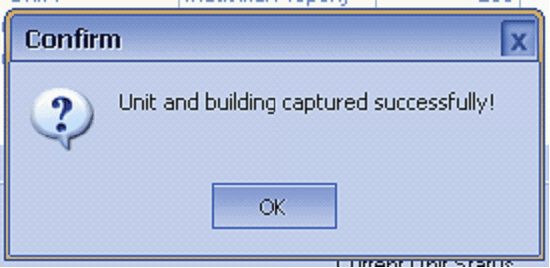
You have now successfully captured a new Building and Unit.
Amending an existing Building
There are two ways to select a Building for amendments:
1. Scroll to the desired Building using the Building Grid. Double-click on the desired record to select.
2. Use the Building Code Picker to select the desired Building, or type in the Building Code if you know it. Double-click on the desired Building to select it.
Once you have selected the desired Building you wish to Amend, the Building’s details will be populated in the Building fields.
To Amend the Building, click the ‘Amend’ button at the top panel of the application.
All Building fields except the Building Code will now be editable. Once you have made the desired changes, click the ‘OK’ button at the top panel of the application. Should you want to cancel your changes, then click the ‘Cancel’ button at the top panel of the application.
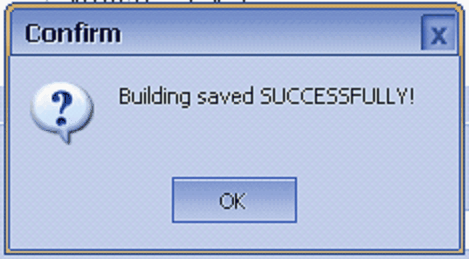
The changes to the Building have now been saved.
Deleting a Building
To delete a Building, select the desired Building using the Building Grid or the Building Code Picker as demonstrated earlier, and click the ‘Delete’ button at the top panel of the application.
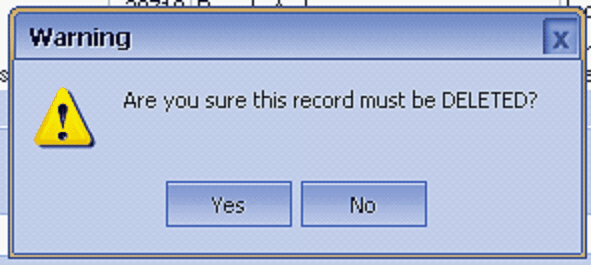
Confirm whether you want this Building to be deleted.
NOTE: Buildings with rent roll transactions posted against them will not be deletable.
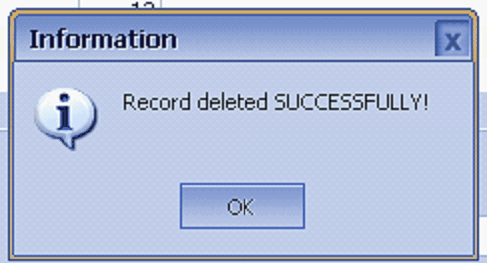
You have now successfully deleted the selected Building.
Selecting Building(s) for Reporting
There are two ways to select Buildings for reporting:
1. Scroll to the desired Building using the Building Grid. Double-click on the desired record to select. Click the ‘Report’ button at the top panel of the application.
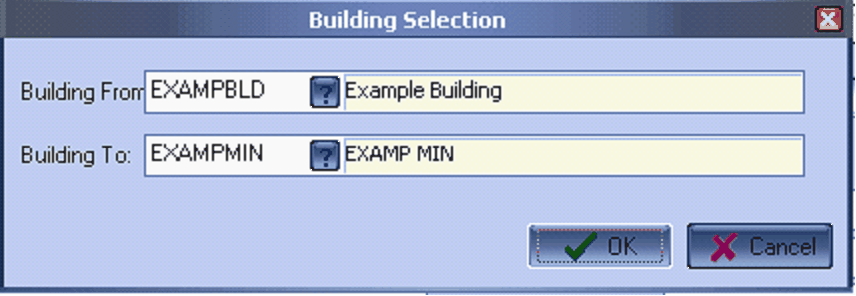
2. Without having a Building selected, click the ‘Report’ button at the top panel of the application. Then the dialog displayed above will appear. Select the range of buildings you want to be displayed in the report.After selecting the Buildings you want to be displayed in the report, click the ‘OK’ button on the dialog.
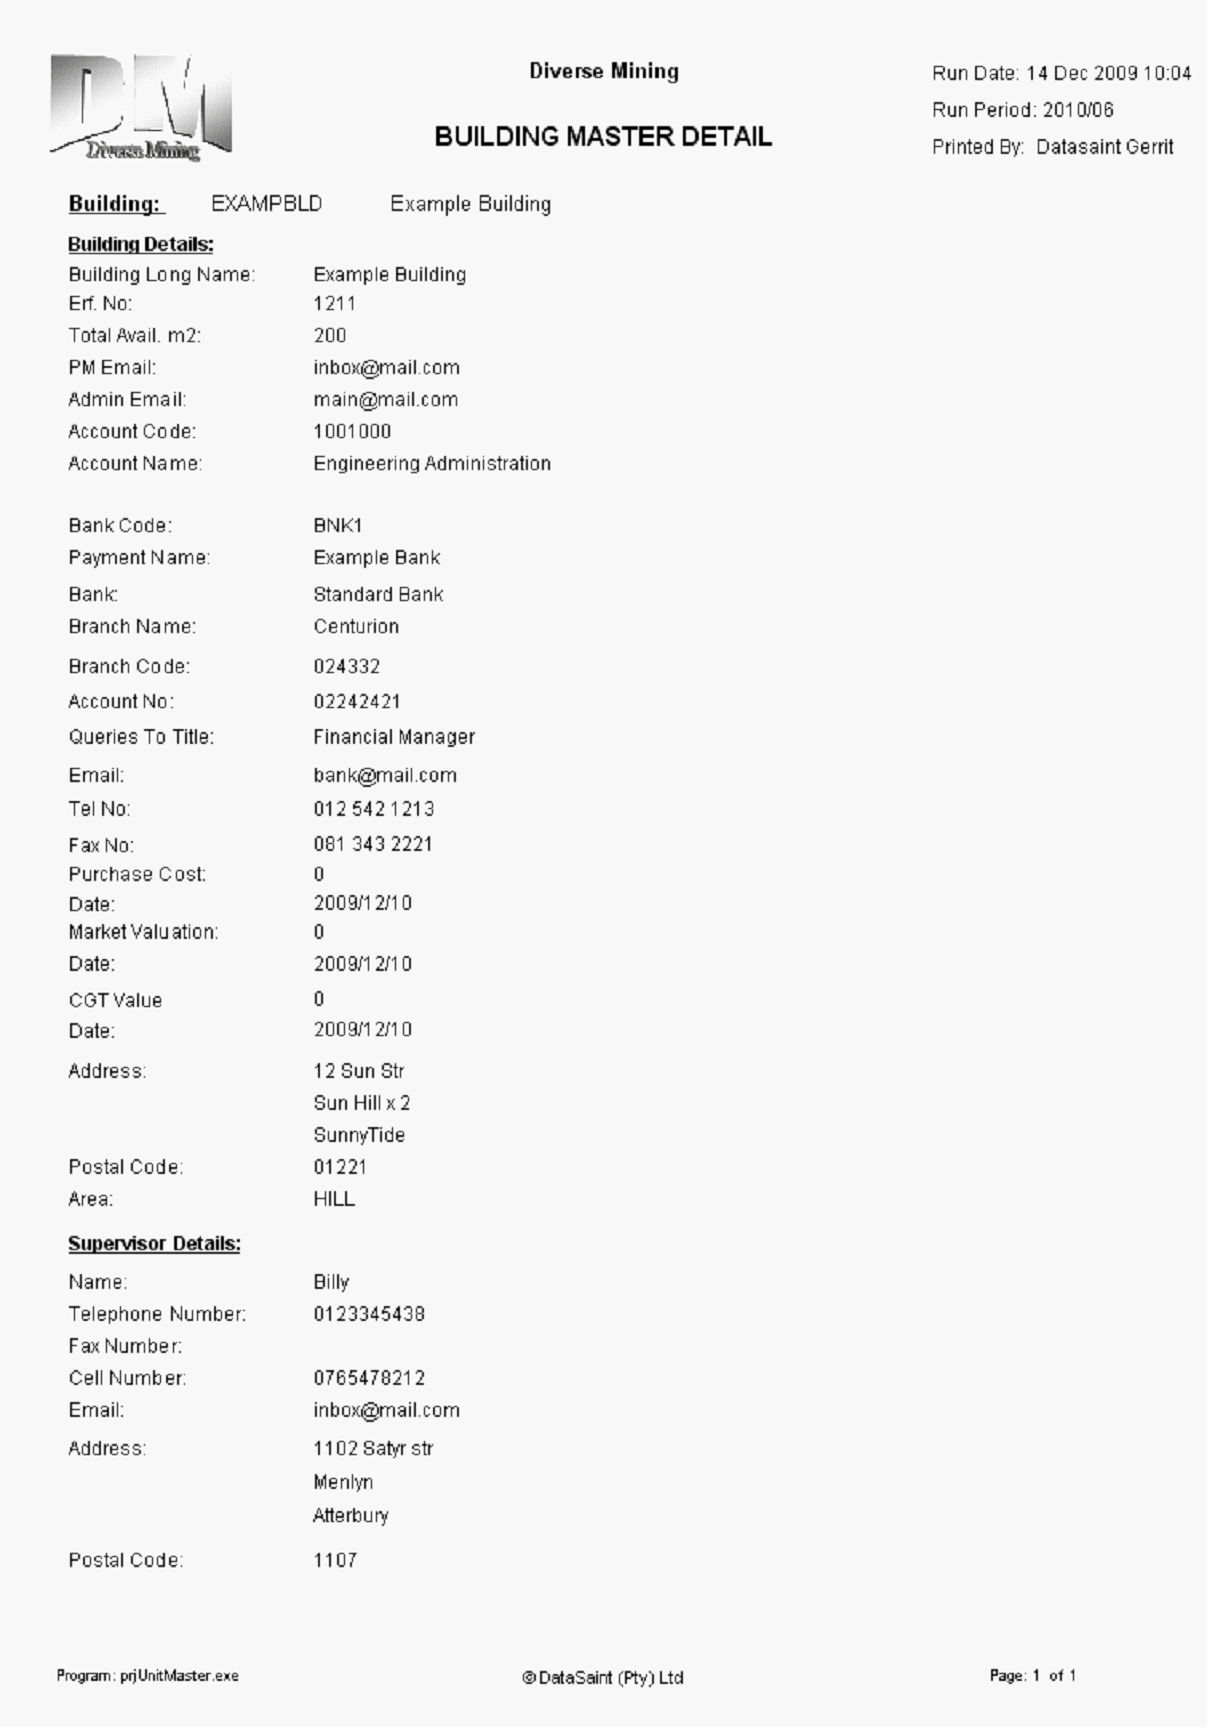
A preview of the report will appear with the report content looking like the picture above. This report displays the details for each Building on a separate page.
The Owner Tab
The Owner Tab exists of the following:
-Owner Grid where details of existing owners are displayed.
-Owner Fields which are used to capture new Owners or amend existing ones.
-‘Load Image’ button used to upload a logo for the Owner.
Capturing a New Owner
-To capture a New Owner, firstly click the ‘New’ button at the top panel of the application. This will allow you to enter values into the Owner’s fields. Should you want to cancel capturing a new Owner, click the ‘Cancel’ button at the toolbar at the top of the application.
-A brief explanation of the Owner’s fields is as follows:
-Owner Code: This code is unique for each Owner, and is used to identify Owners throughout the Property Module.
-Owner Name: The Owners Name.
-Telephone Number: The Owners Telephone Number.
-Third Party Property Checkbox: Determines whether the Owner is a third party or not.
-Account: If the Owner is a Third Party, this account will refer to the Owners account.
-Address: The Owners address.
Once you have captured the fields of the Owner, click the ‘OK’ button at the top panel of the application to save the Owner.
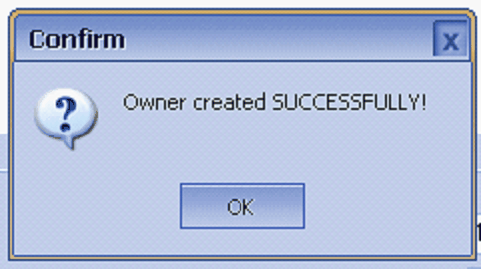
You have now successfully captured a new Owner.
Amending an existing Owner
There are two ways to select an Owner for amendments:
1.Scroll to the desired Owner using the Owner Grid. Double-click on the desired record to select.
2.Use the Owner Code Picker to select the desired Owner, or type in the Owner Code if you know it. Double-click on the desired Owner to select it.
Once you have selected the desired Owner you wish to amend, the Owners Details will have been populated in the Owner fields.
To Amend the Owner, click the ‘Amend’ button at the top panel of the application.
All Owner fields except the Owner Code will now be editable. Once you have made the desired changes, click the ‘OK’ button at the top panel of the application. Should you want to cancel your changes, then click the ‘Cancel’ button a t the top panel of the application.
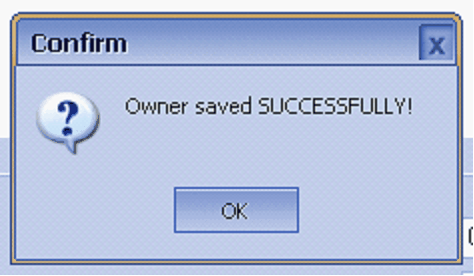
The desired changes have now been saved.
Uploading an Owner Logo
Owners can have custom logos uploaded which will be displayed in the reports of the property module. To upload a logo image, click the ‘Load Image’ button while Amending an existing Owner.
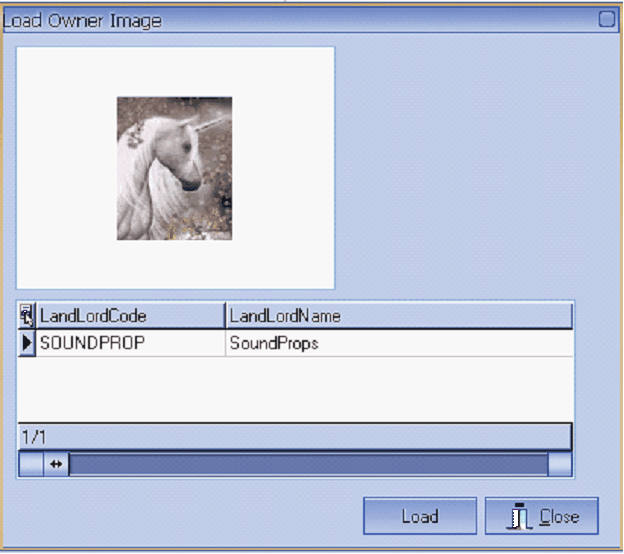
The dialog that then appears displays the current logo image for the selected Owner. Continue to click the ‘Load’ button to upload a new logo image and select the desired logo image.
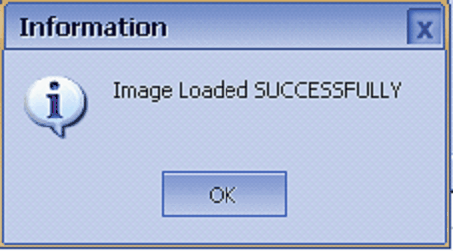
You have now successfully uploaded a logo image.
Deleting an Owner
To delete an Owner, select the desired Owner using the Owner Grid or the Owner Code Picker as demonstrated earlier, and click the ‘Delete’ button at the top panel of the application.
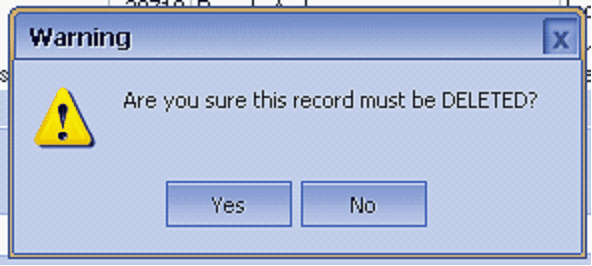
Confirm whether you want the Owner to be deleted.
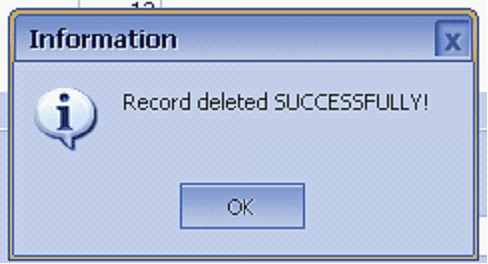
You have now successfully deleted the selected Owner.
Selecting Owner(s) for Reporting
There are two ways to select Owners for reporting:
1.Scroll to the desired Owner using the Owner Grid. Double-click on the desired record to select.
Click the ‘Report’ button at the top panel of the application.
2.Without having an Owner selected, click the ‘Report’ button at the top panel of the application. A dialog like the one shown below will appear. Select the range of Owners you want to be displayed in the report.
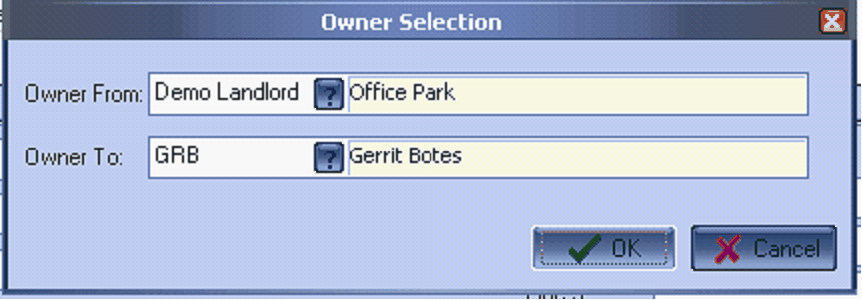
After selecting the range of Owners to report on, click the ‘OK’ button.
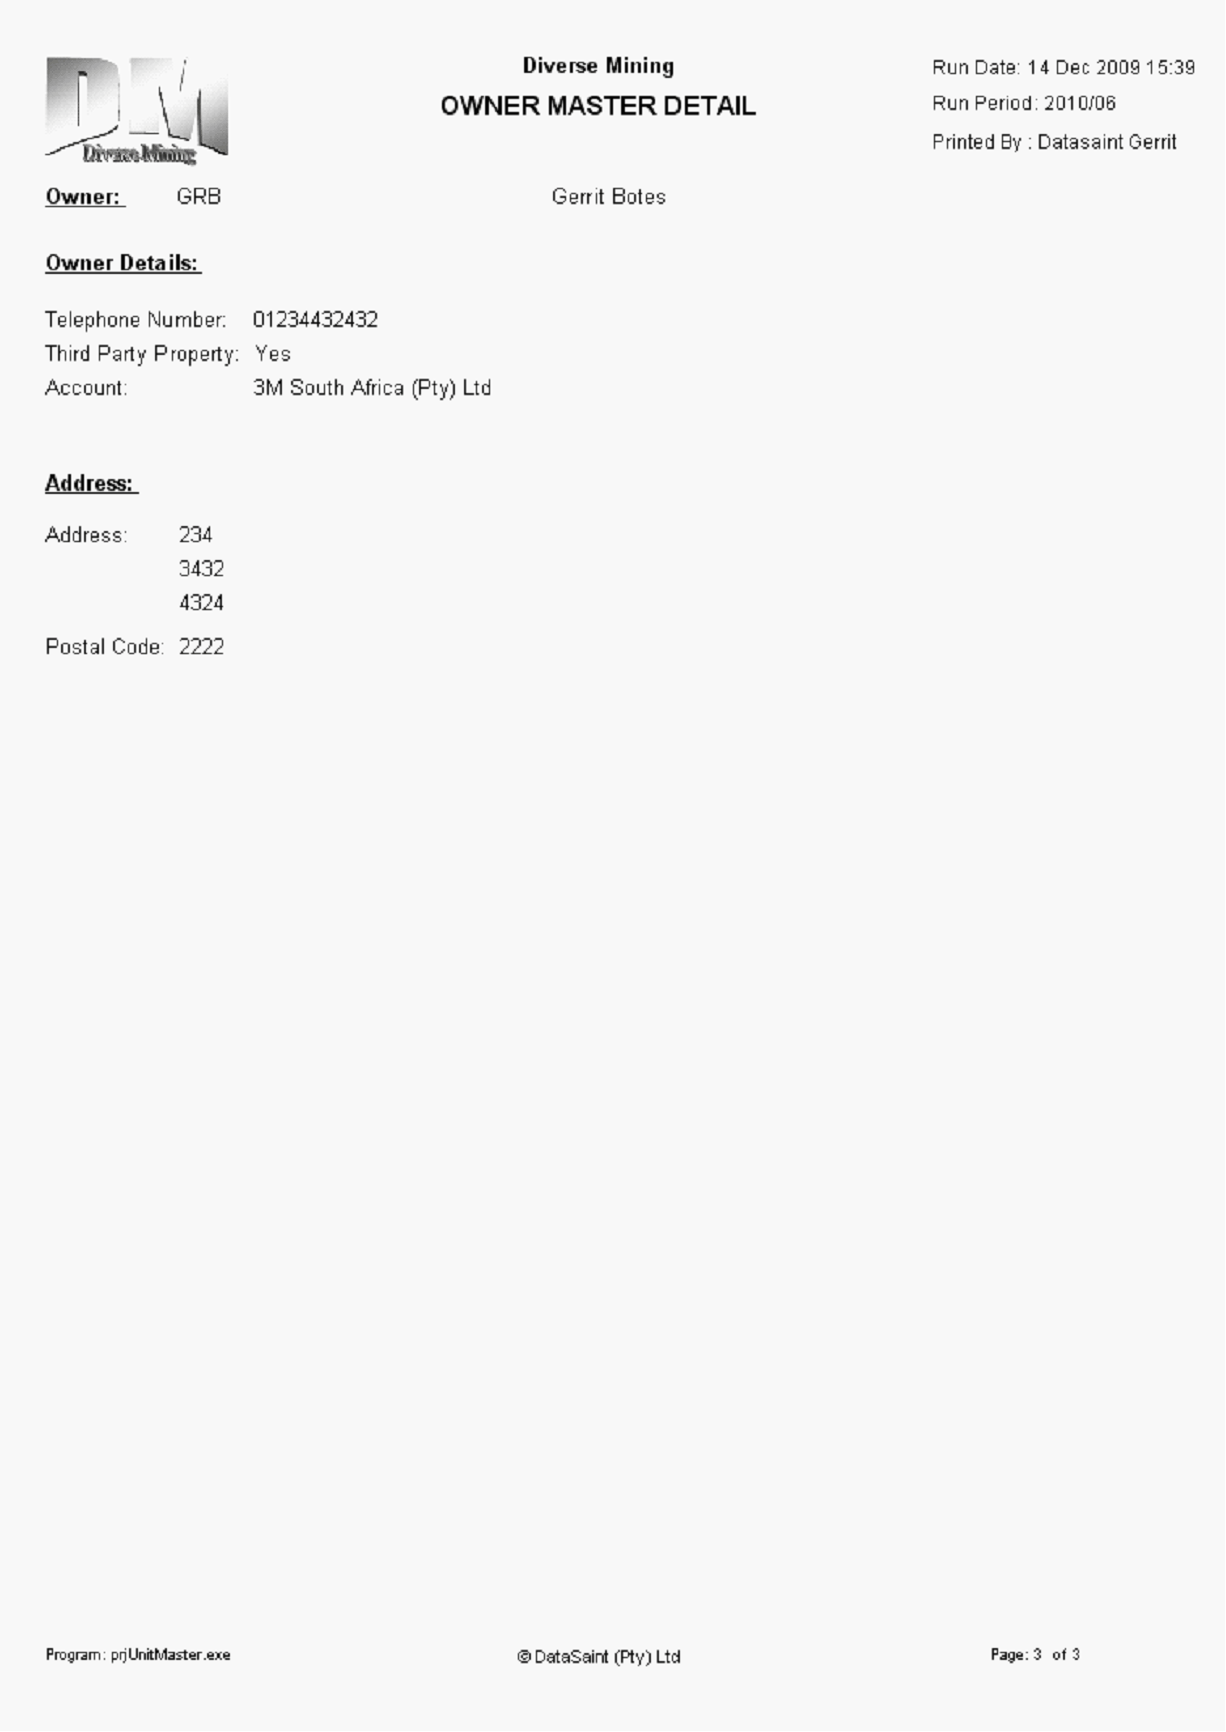
A preview of the report will appear with the report content looking like the picture above. This report displays the details for each Owner on a separate page.
The Unit Tab
The Unit Tab exists of the following:
-Unit Grid displaying information about existing Units.
-Unit fields where Unit Details can be captured/displayed.
Capturing a New Unit
To capture a new Unit, firstly click the ‘New’ button at the top panel of the application. This will allow you to enter values into the Units fields. Should you want to cancel capturing a new Unit, click the ‘Cancel’ button at the top panel of the application.
A brief explanation of the Units fields is as follows:
-Unit Code: This Code is unique to each Unit and is used to identify each individual Unit throughout the Property Module.
-Unit Name: The name of the Unit.
-Building Code: The Code of the Building which the Unit belongs to.
-Owner: The Landlord of the Unit.
-Unit Type: The type of Unit (e.g. Residential, Commercial). This is for reporting purposes.
-Unit M2: Size of the unit in square meters, combined total of all Units assigned to a specific Building may not be more than the Total Avail m2 value of the assigned Building.
-Supplier Account: For viewing purposes only, displays the account of the Owner if it is a Third Party.
-Current Unit Status: Current Status of the Unit, will always be ‘LV’ (Letable but Vacant) on Unit Creation, and cannot be amended in the Unit Master. The Unit Status determines whether it can be assigned in a Contract or not.
-Physical Address: Address where the Unit is situated, invoices can also be sent to this address.
-Sectional Title Ref: Unit reference, used for reporting purposes.
-Grade: Grade of the Unit, some Employees are only allowed to live in Units with a certain Grade, also used for reporting purposes.
Once you have captured all the values of the Unit, click the ‘OK’ button in the top panel of the application.
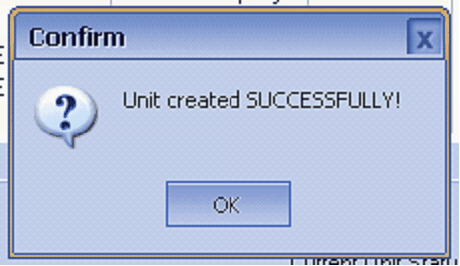
You have now successfully captured a new Unit.
Amending an existing Unit
There are two ways to select a Unit for amendments:
1.Scroll to the desired Unit using the Unit Grid. Double-click on the desired record to select.
2.Use the Unit Code Picker to select the desired Unit, or type in the Unit Code if you know it. Double-click on the desired Unit to select it.
Once you have selected the desired Unit you wish to amend, the Units details will be populated in the Unit fields.
To Amend the Unit, click the ‘Amend’ button at the top panel of the application.
All Unit fields except the Unit Code will now be editable. Once you have made the desired changes, click the ‘OK’ button at the top of the panel of the application. Should you want to cancel your changes, then click the ‘Cancel’ button at the top panel of the application.
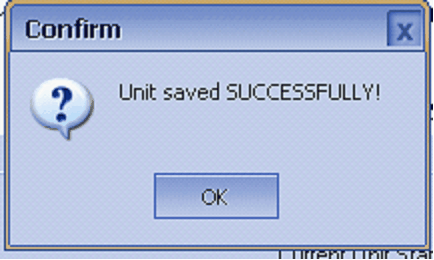
The changes to the Unit have now been saved.
Deleting a Unit
To delete a Unit select the desired Unit using the Unit Grid or the Unit Code Picker as demonstrated earlier, and click the ‘Delete’ button at the top panel of the application. Units can only be deleted if they don’t have any transactions or links.
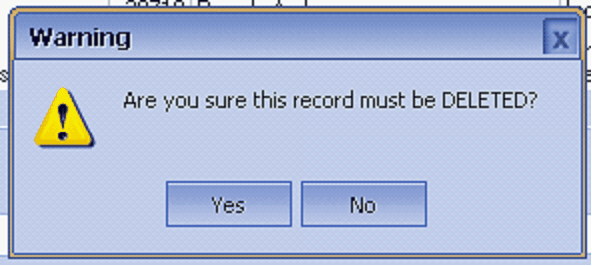
Confirm deletion of Unit.
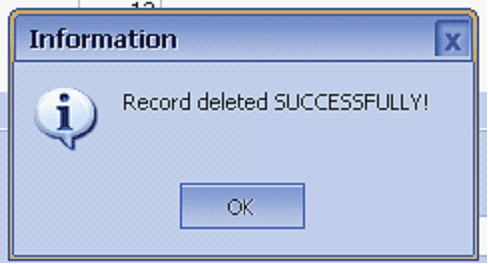
The selected Unit has now been deleted.
Selecting Unit(s) for Reporting
There are two ways to select Units for reporting:
1.Scroll to the desired Unit using the Unit Grid. Double-click on the desired record to select. Click on the ‘Report’ button at the top panel of the application.
2.Without selecting a Unit, click the ‘Report’ button at the top panel of the application. The dialog shown below will appear. Select the range of the Units you want to be displayed in the report.
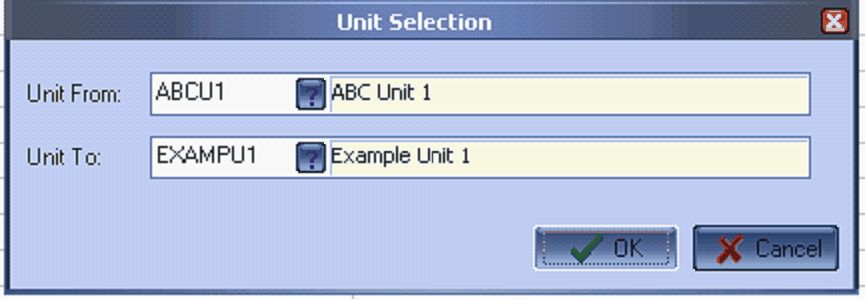
After you have selected the range of Units you want to be displayed in the report, click the ‘OK’ button.
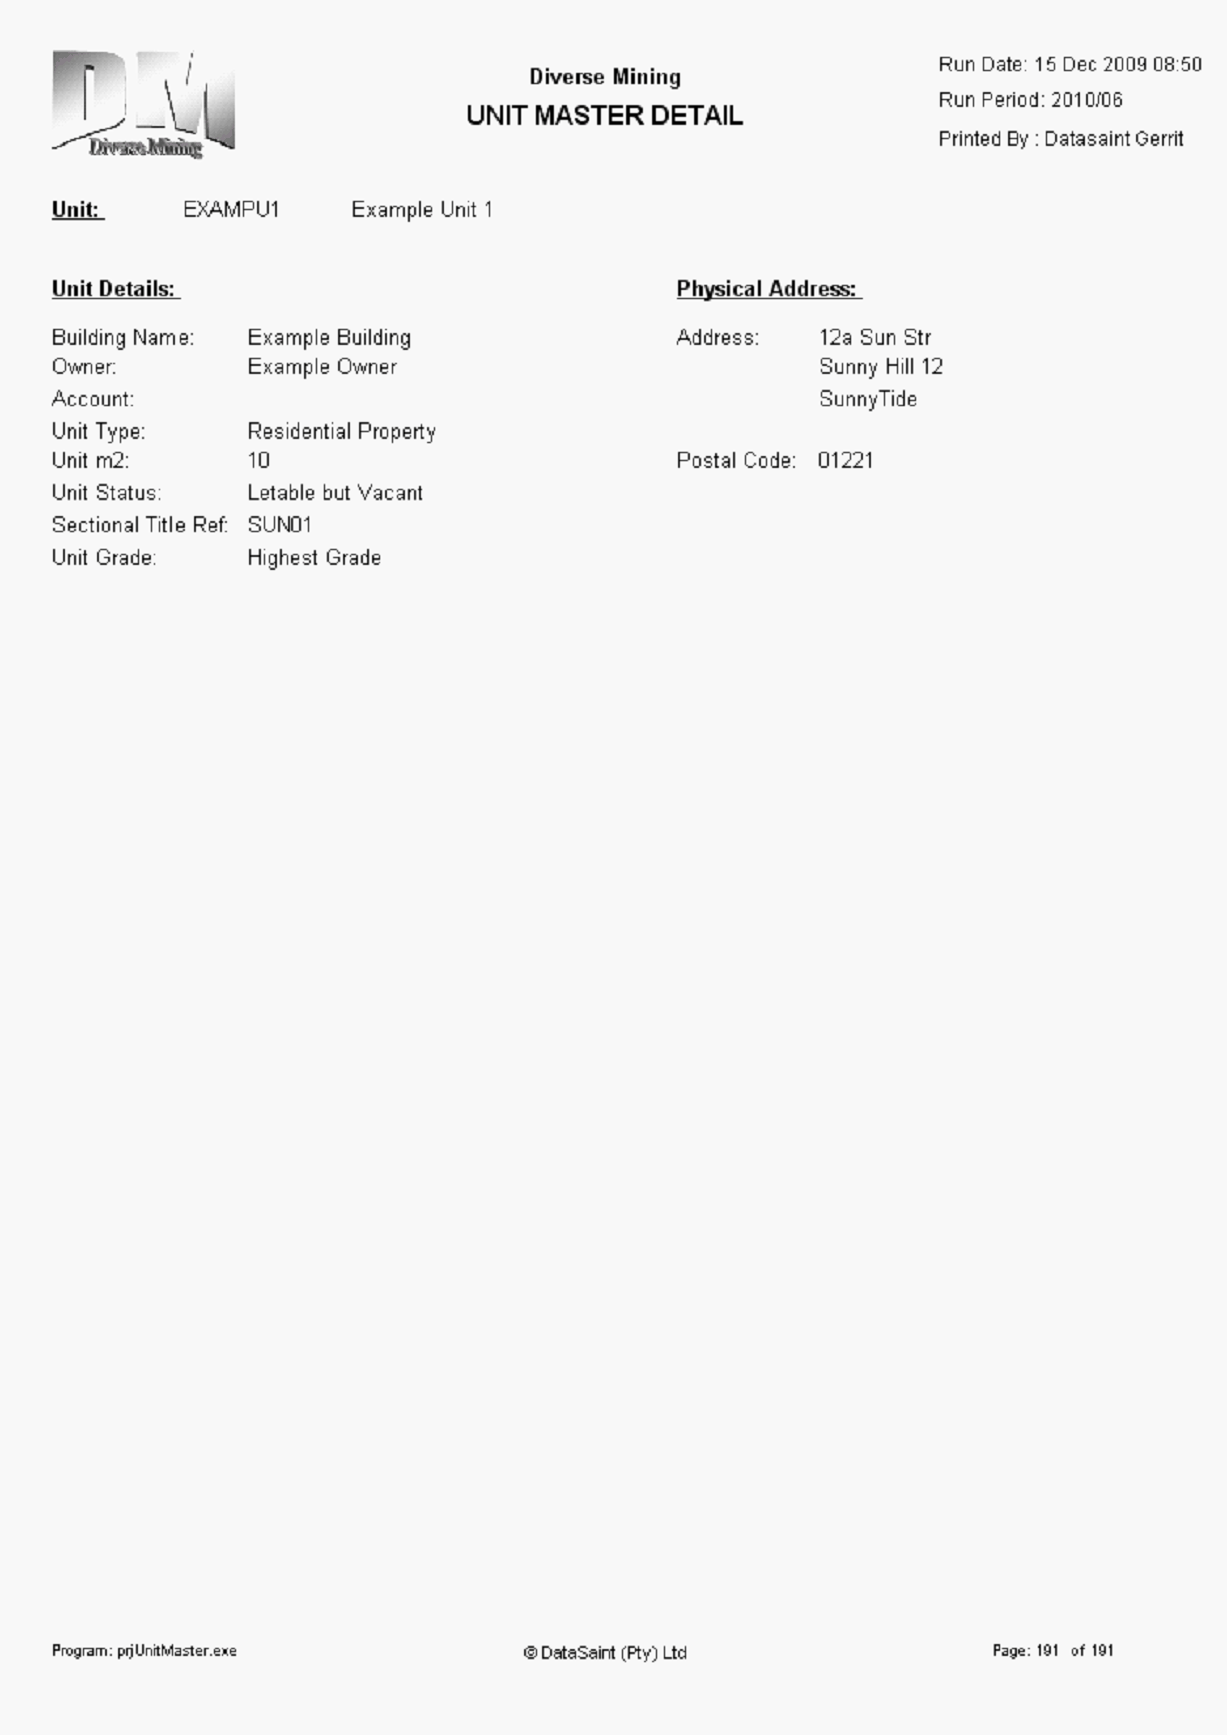
A preview of the report will appear with the report content looking like the picture above. This report displays the details for each Unit in the selection on a separate page.
The Area Tab
The Area Tab contains the following:
-Area Grid that lists all Areas
-Area fields where Unit Details can be captured/amended.
Capturing a New Area
To capture a new Area, firstly click the ‘New’ button at the top panel of the application. This will allow you to enter values into the Areas fields. Should you want to cancel capturing a new Area, click the ‘Cancel’ button at the top panel of the application.
A brief explanation of the Area fields is as follows:
-Area Code - char(10): This Code is unique to each Area and is used to identify each individual Area throughout the Property Module.
-Area Name - char(200): The Name of the Area
Once you have captured all the values, click the ‘OK’ button at the top of the application.
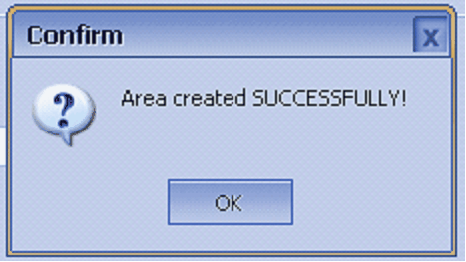
You have now successfully captured a new Area.
Amending an existing Area
There are two ways to select an Area for amendments:
1. Scroll to the desired Area using the Area Grid. Double-click on the desired record to select.
2. Use the Area Code Picker to select the desired Area, or type in the Area Code if you know it. Double-click on the desired Area to select it.
Once you have selected the desired Area you wish to Amend, the selected Areas details will be populated in the Area fields.
To amend the Area, click the ‘Amend’ button at the top panel of the application.
All Area fields except the Area Code will now be editable. Once you have made the desired changes, click the ‘OK’ button at the top panel of the application. Should you want to cancel your changes, then click the ‘Cancel’ button at the top panel of the application.
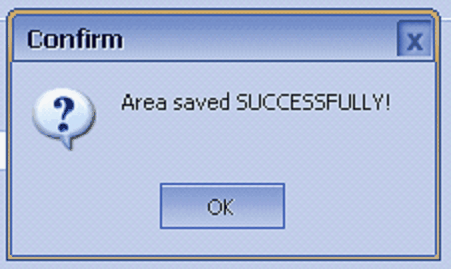
The changes to the Area have now been saved.
Deleting an Area
To delete an Area, select the desired Area using the Area Grid or the Area Code Picker as demonstrated earlier, and click the ‘Delete’ button at the top panel of the application. Areas can only be deleted if no Buildings belong to the selected Area.
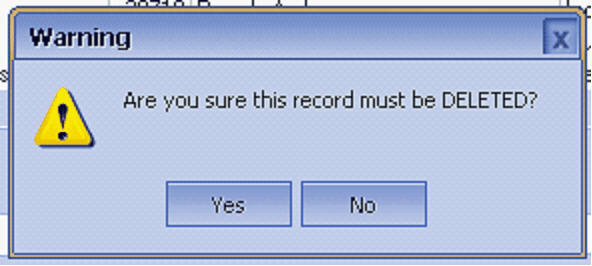
Confirm deletion of Area.
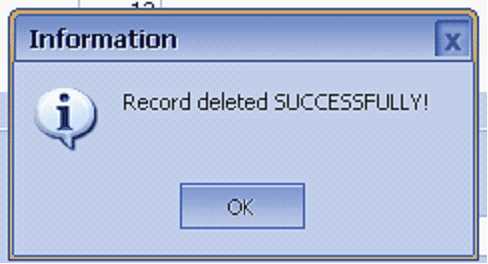
The selected Area has been deleted successfully.
Selecting Area(s) for Reporting
There are two ways to select Areas for reporting:
1. Scroll to the desired Area using the Area Grid. Double-click on the desired record to select. Click the ‘Report’ button at the top of the application.
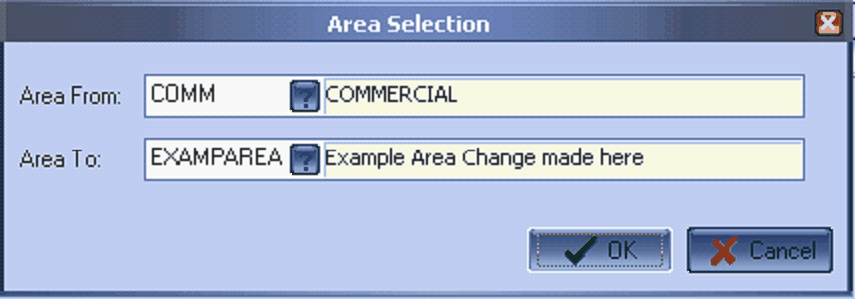
2. Without having an Area selected, click the ‘Report’ button at the top panel of the screen. The dialog shown above will appear.
After selecting the range of Areas you want to be displayed in the report, click the ‘OK’ button.
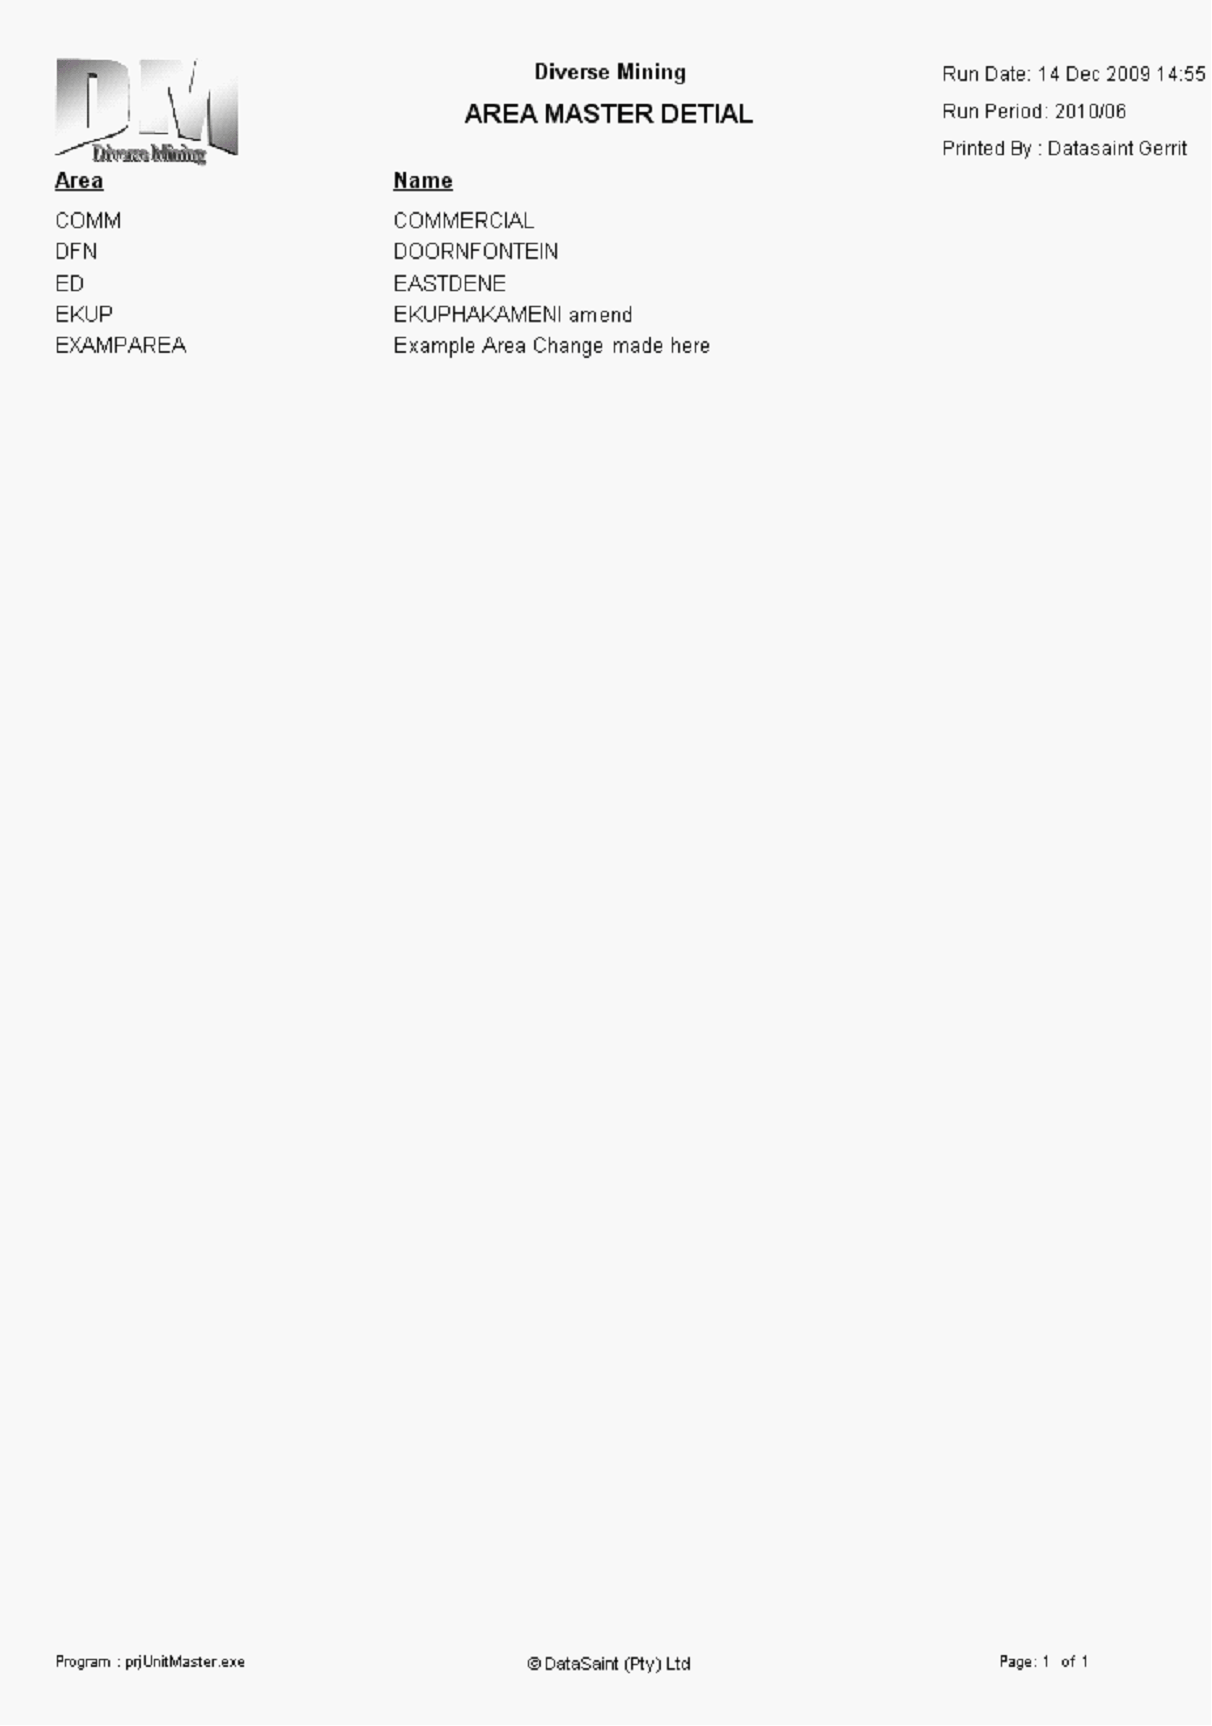
A preview of the report will appear with the report content looking like the picture above. This report displays the details for each Area in the selection.
The Grade Tab
The Grade Tab contains the following:
-Grade Grid that lists all Areas
-Grade fields where Unit Details can be captured/amended.
Capturing a New Grade
To capture a new Grade, firstly click the ‘New’ button at the top panel of the application. This will allow you to enter values into the Grade fields. Should you want to cancel capturing a new Grade, click the ‘Cancel’ button at the top panel of the application.
A brief explanation of the Grade fields is as follows:
-Grade Code - char(10): This Code is unique to each Grade and is used to identify each individual Grade throughout the Property Module.
-Grade Name - char(200): The Name of the Grade.
Once you have captured all the values, click the ‘OK’ button at the top of the application.
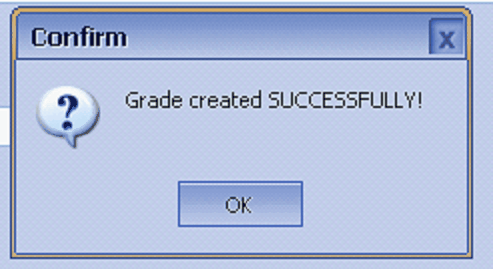
You have now successfully captured a new Grade.
Amending an existing Grade
There are two ways to select a Grade for amendments:
1. Scroll to the desired Grade using the Grade Grid. Double-click on the desired record to select.
2. Use the Grade Code Picker to select the desired Grade, or type in the Grade Code if you know it. Double-click on the desired Grade to select it.
Once you have selected the desired Grade you wish to Amend, the selected Grade details will be populated in the Grade fields.
To amend the Grade, click the ‘Amend’ button at the top panel of the application.
All Grade fields except the Grade Code will now be editable. Once you have made the desired changes, click the ‘OK’ button at the top panel of the application. Should you want to cancel your changes, then click the ‘Cancel’ button at the top panel of the application.
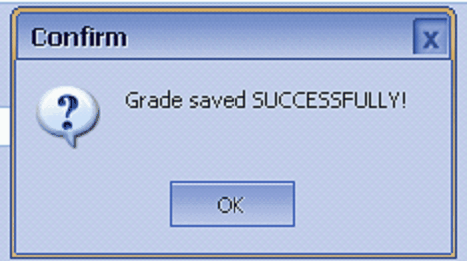
The changes to the Grade have now been saved.
Deleting an Grade
To delete a Grade, select the desired Grade using the Grade Grid or the Grade Code Picker as demonstrated earlier, and click the ‘Delete’ button at the top panel of the application. Grades can only be deleted if no Units are graded by the selected Grade.
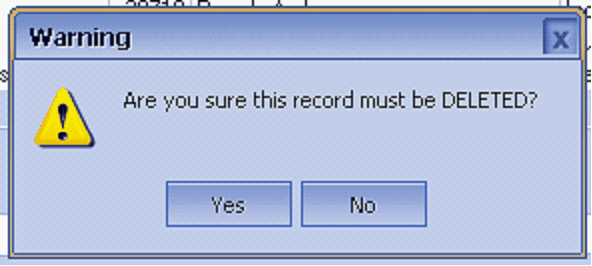
Confirm deletion of Grade.
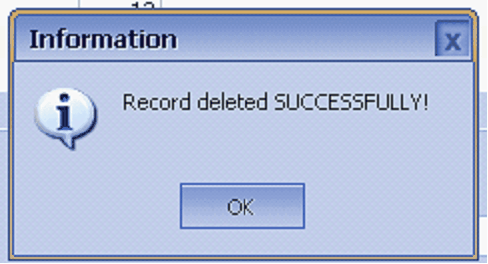
The selected Grade has been deleted successfully.
Selecting Grade(s) for Reporting
There are two ways to select Grade for reporting:
1. Scroll to the desired Grade using the Grade Grid. Double-click on the desired record to select. Click the ‘Report’ button at the top of the application.
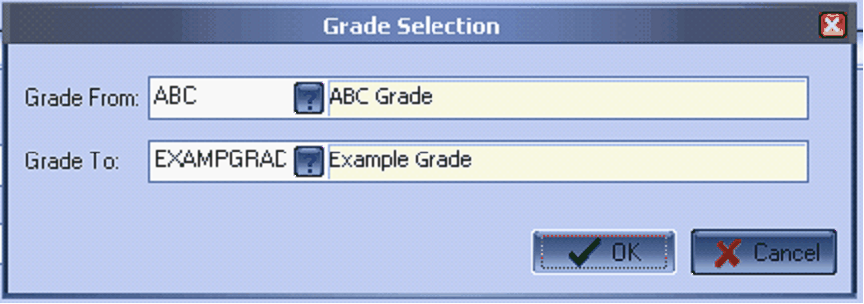
2. Without having a Grade selected, click the ‘Report’ button at the top panel of the screen. The dialog shown above will appear.
After selecting the range of Grades you want to be displayed in the report, click the ‘OK’ button.
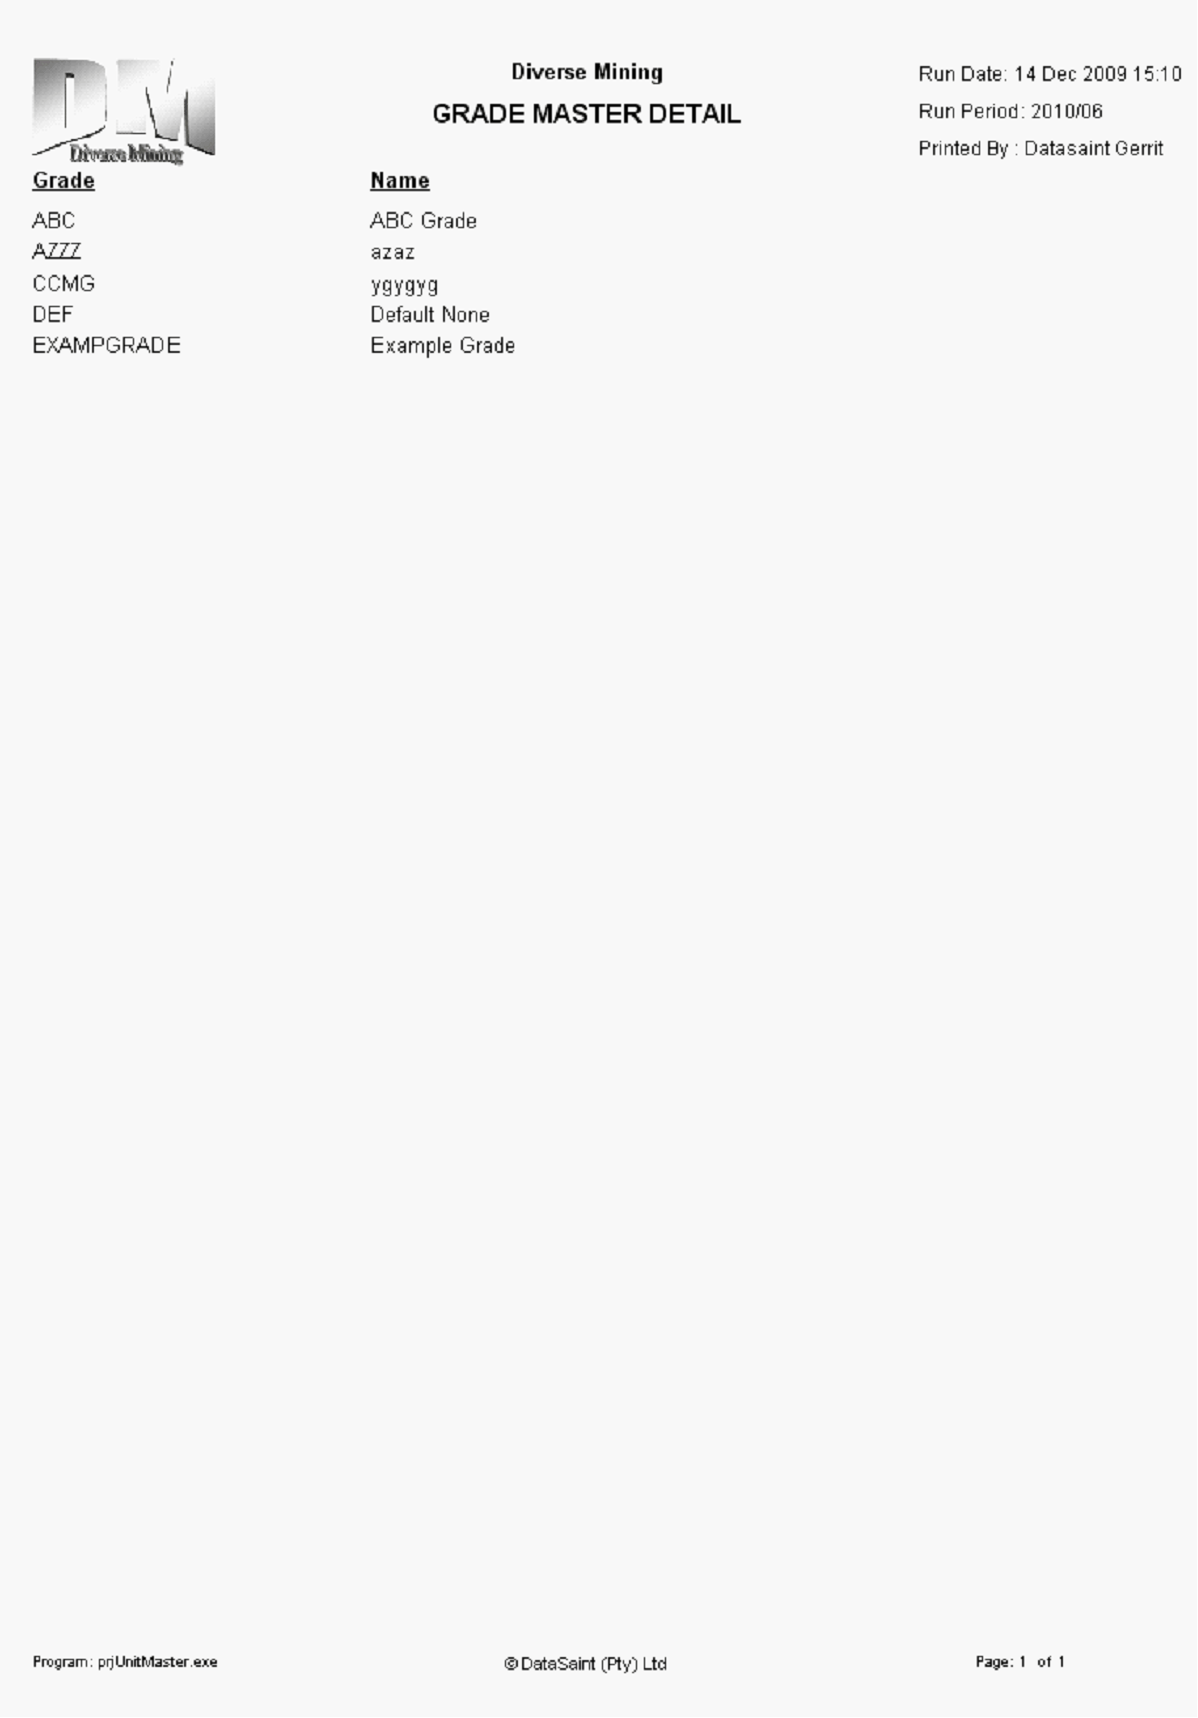
A preview of the report will appear with the report content looking like the picture above. This report displays the details for each Grade in the selection.
