Overview
This application allows you to capture, amend, cancel or release manual stores issues.
Rules Applied
•The system caters for various types of stores requisitions and requires specific data to be entered for each type.
•Input fields have specific limitations such as length and format (data type) which will be accepted. A warning message will be displayed when incorrect data is entered.
•The application will check if the quantities entered exceeds the asset fuel issue limit as per the Asset and Component Maintenance application when in use.
•When a stock take is in progress, you will not be able to action stock take items using this application if the parameter STK_TAKE_STOP_PROCESS is set to Y.
Function
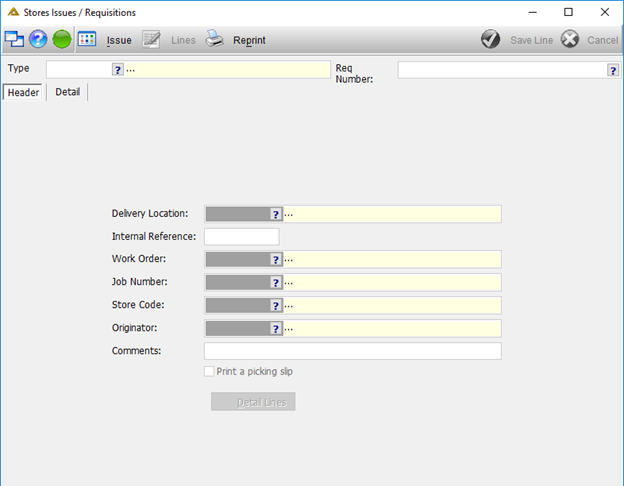
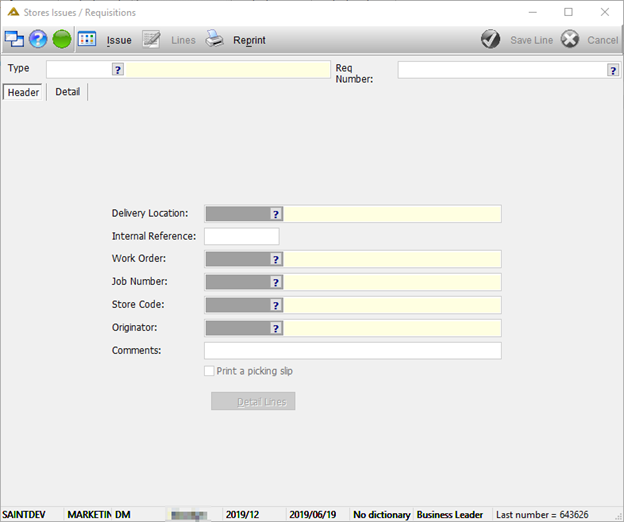
When the application is opened you will be able to view the following:
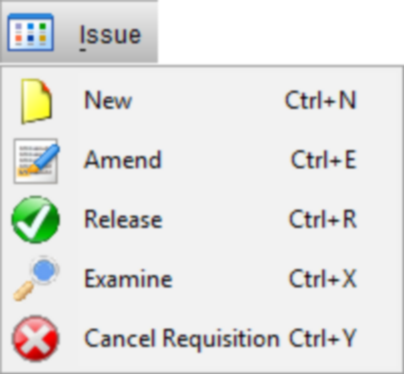
To capture a new stores issue, click on the ![]() button. Select the
button. Select the ![]() option:
option:
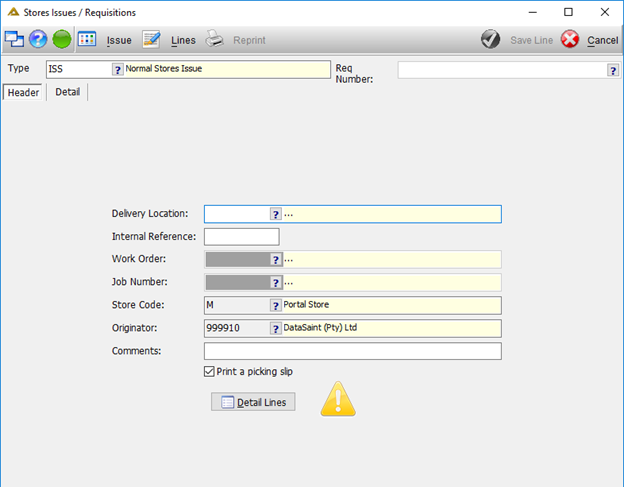
Some of the fields will automatically be populated but can be changed.
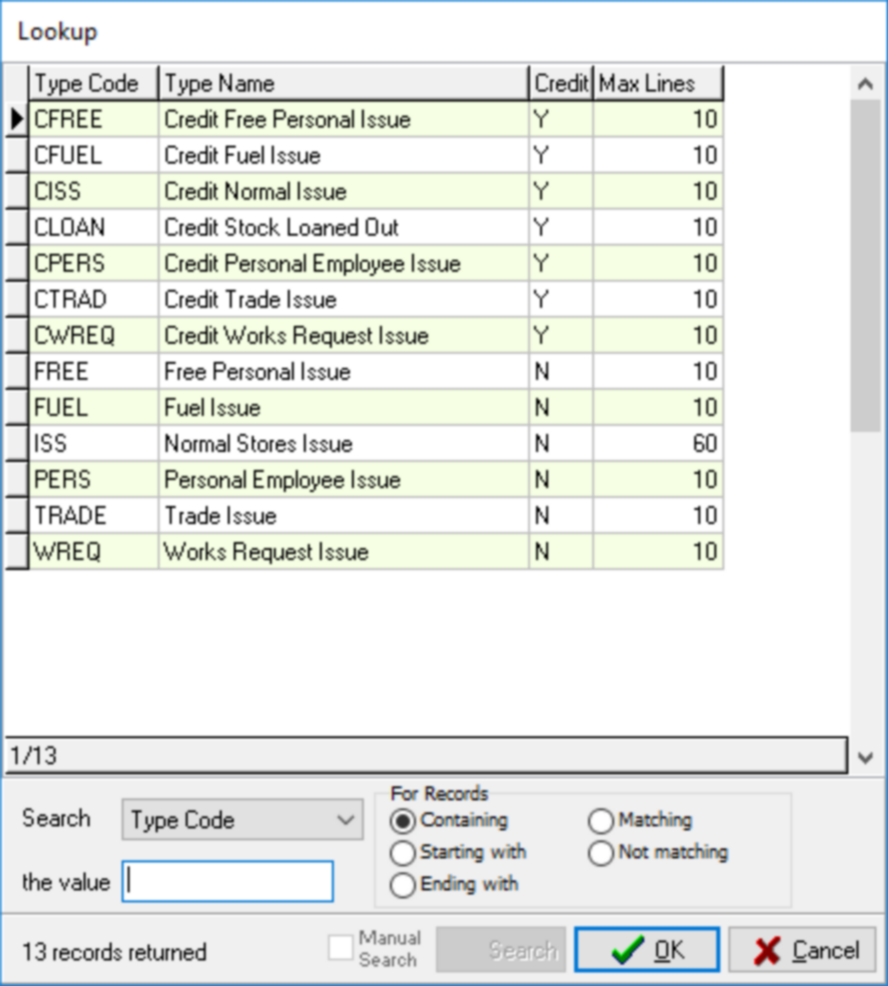
The available requisition types depend on your profile setup.
The  indicates that there are compulsory fields to be completed. When you hover over it with your cursor it will show which information still needs to be completed.
The Delivery Location and Internal Reference fields are compulsory.
The 'Work Order' and 'Job Number' fields will be available when the requisition type is Work Request Issue (WREQ).
Note: When crediting a Fuel Issue and the capture of Asset Meter Readings is compulsory, a confirmation message will be displayed, asking the user if the meter should also be reversed. If the user selects the 'Yes' button, the readings captured for this issue will be removed.
The Store Code and Originator fields will be populated automatically but can be changed.
The Comments entered in the 'Comments' field will be included on the picking slip.
The 'Print a picking slip' check box will be displayed based on the PICK_SLIP_PRINT parameter value. This is company specific. If not ticked a picking slip will not be printed and the requisition is released automatically, stock balance updated, and the costs will be updated for the relevant costing area. If this is ticked, the picking slip will be printed for the issuer to pick the stock and the requisition is not released yet. No updates are performed for stock or cost accounts.

Once all fields have been completed, click on the ![]() button to continue.
button to continue.
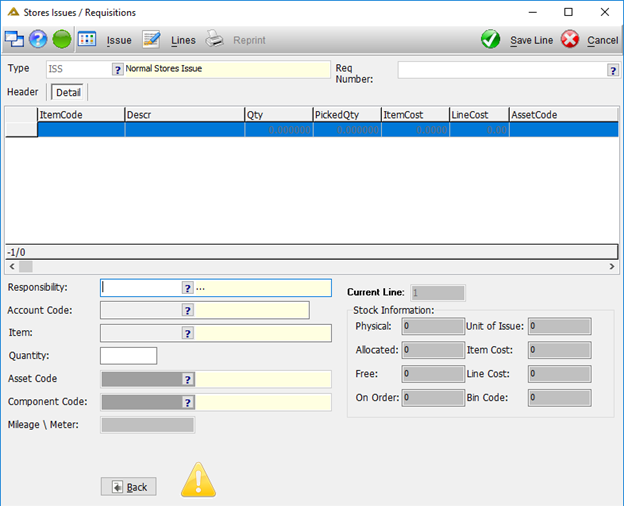
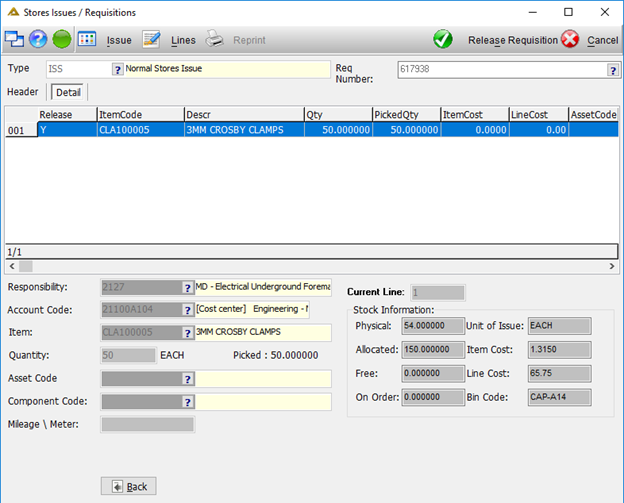
As with the Header tab, the yellow triangle indicates required fields have not been completed.
Responsibility – This is the approving responsibility.
Account Code – The account to be charged with the costs.
Item – Select the item you wish to issue. Once selected the Stock Information fields will be populated with information relevant to the item.
Quantity – Quantity required. Unit of issue will be displayed once the item is selected.
Asset Code – The asset for which the item is required.
Component Code – The component for which the item is required.
Mileage/Meter – Of the relevant asset/component.
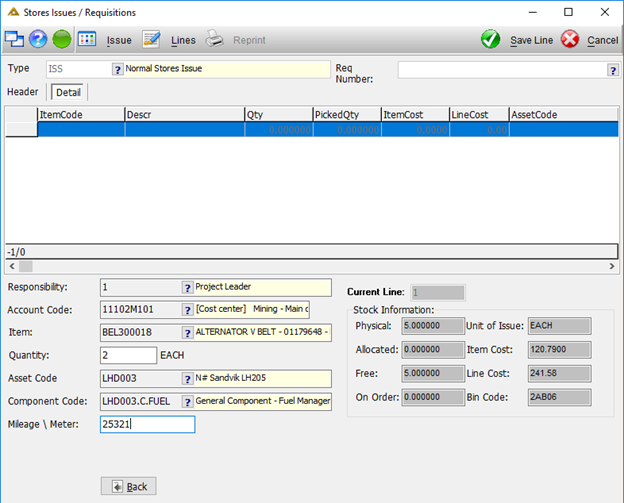
Once you have entered all the information, click on the ![]() button. The captured line will be displayed in the top grid:
button. The captured line will be displayed in the top grid:

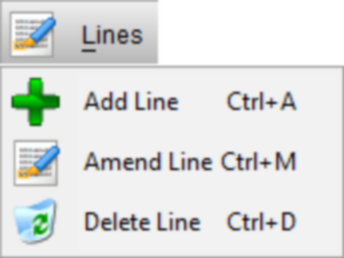
You can add, amend or delete lines by clicking on the ![]() button:
button:
Once you have completed capturing all the requisition lines, click on the ![]() button.
button.
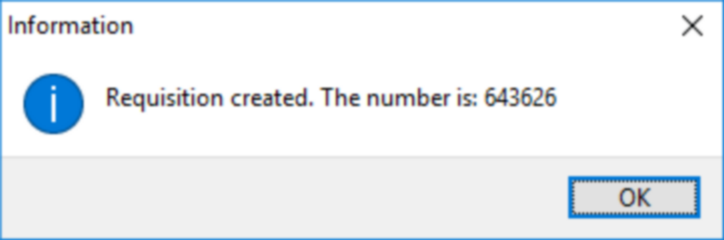
The ‘Header’ tab will be displayed again, and the last captured requisition number will be displayed at the bottom of the screen:
The ![]() option allows you to amend an existing requisition.
option allows you to amend an existing requisition.

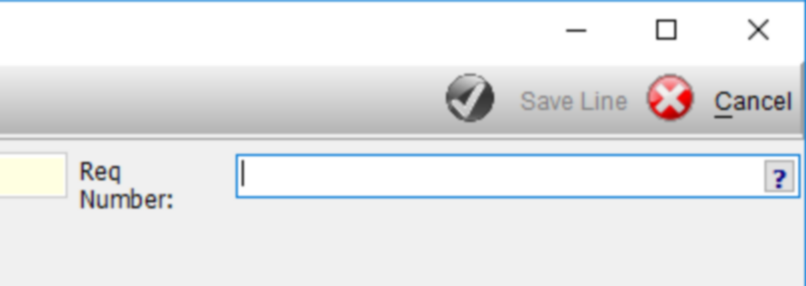
When you select this option, you will be able to select a requisition number using the picker, or you can enter it manually:
The fields will be populated with the details of the selected requisition where applicable.
The ![]() option allows you to release captured requisitions.
option allows you to release captured requisitions.
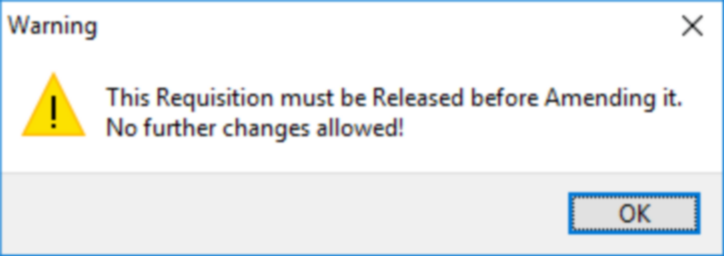
Only requisitions with status 'Picking slip printed' can be released. Before you will be able to release a requisition, it has to be printed using the Picking Slip Queue Check application. (This step is still required even if the tick box ‘Print a picking slip’ was ticked when the requisition was captured.
After selecting ![]() , you can search for the requisition you wish to release using the picker or enter it manually.
, you can search for the requisition you wish to release using the picker or enter it manually.

After selecting the requisition, click on the ![]() button:
button:
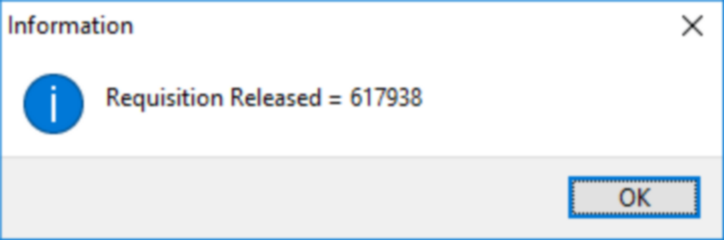
You will receive the following confirmation message:
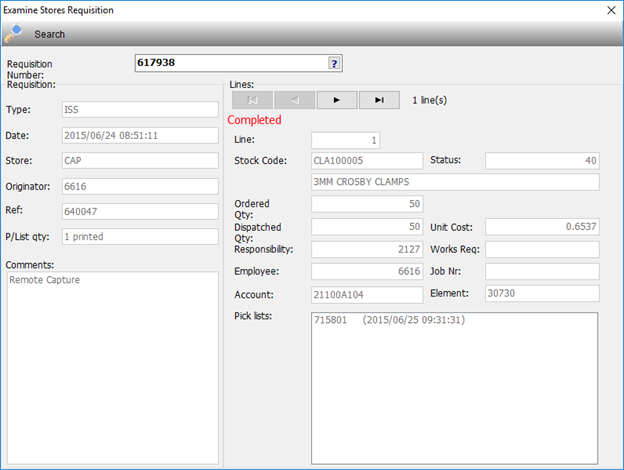
The ![]() option allows you search for and view the details for any requisition captured using this application:
option allows you search for and view the details for any requisition captured using this application:
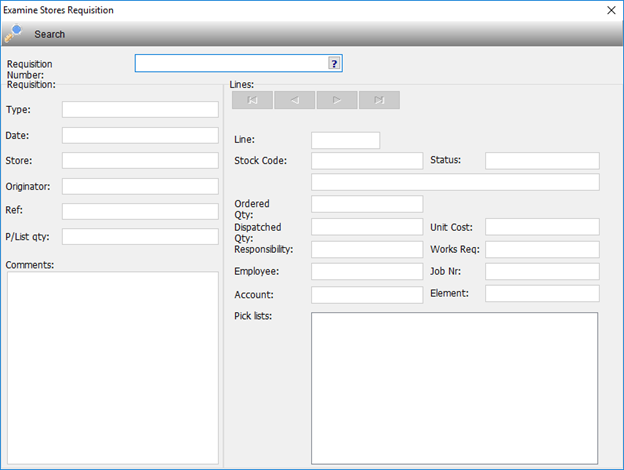
Manually enter the requisition number or select it using the picker. The details will be populated:
The ![]() option allows you to cancel a selected requisition.
option allows you to cancel a selected requisition.
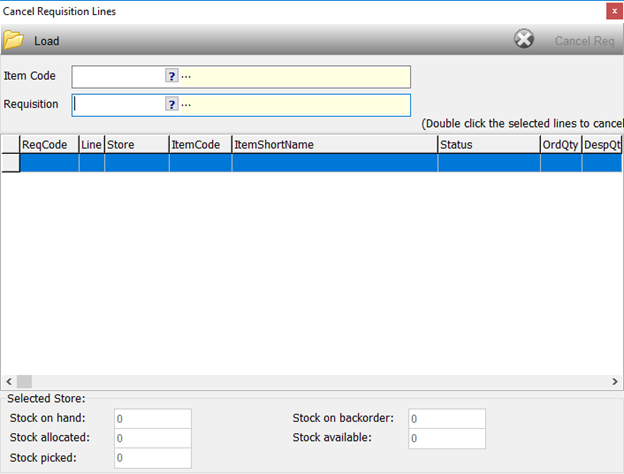
You can select a requisition to cancel by choosing the item code, the requisition numbers will be filtered according to this. Or by choosing a requisition number. Click on the ![]() button to load the details of the selected requisition. Double click on the line you wish to cancel. Click on the
button to load the details of the selected requisition. Double click on the line you wish to cancel. Click on the ![]() button to cancel.
button to cancel.
You will be required to provide a reason for cancelling the requisition:
Once completed, a confirmation message will be displayed:
The ![]() button gives you the following options (This button will only be available if you have Access Level - Other which is updated using the Profile Maintenance application):
button gives you the following options (This button will only be available if you have Access Level - Other which is updated using the Profile Maintenance application):
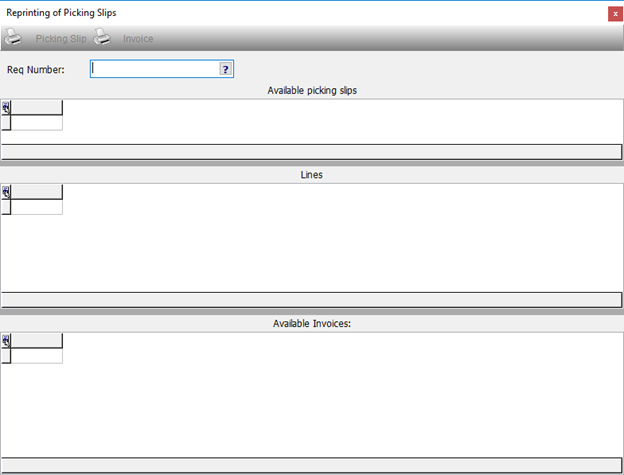
Manually enter the requisition number or select it using the picker. The details of the selected requisition will be displayed:
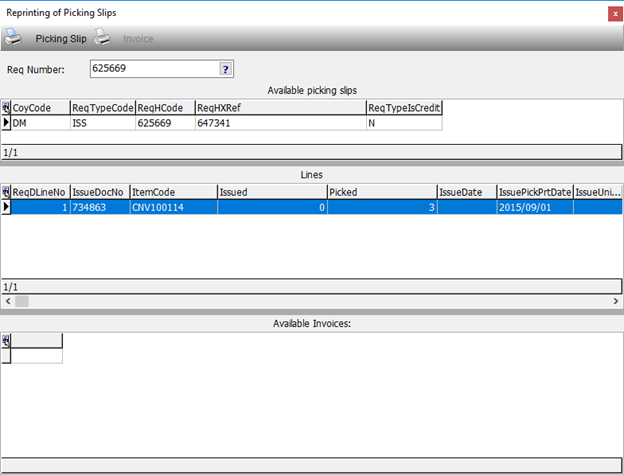
From here you can either print a Picking Slip or an Invoice (if an invoice is available and displayed in the grid).

No print preview will be displayed. The picking slip will be printed directly to your default printer.