Overview
This application shows all the components which are sent to workshops or stores for repairs. When a component needs repairs the user will send it to the workshop, if the workshop cannot repair the component the item is sent to the stores which will then send it to the respective supplier. Components needing repair work can also be sent straight to the stores to be returned to the supplier.
This application also generates a report for components:
•Issued, not yet received
•Issued, received, not dispatched yet
•Issued, received, dispatched, No RFQ yet
•Issued, Received, RFQ, no P.O yet
•Issued, Received, RFQ, P.O, No GRV yet
Function
Viewing the Components Sent to Stores\Workshop
When the application is opened all the components will appear in the display grid.
Select the 'Store' or 'Workshop' option to view the components under that option. The components viewed are all old and new documents. To view only the new documents select the 'Exclude Updated Documents' option.
The ![]() button updates the system for any new components which might have been sent while the user was using the application.
button updates the system for any new components which might have been sent while the user was using the application.
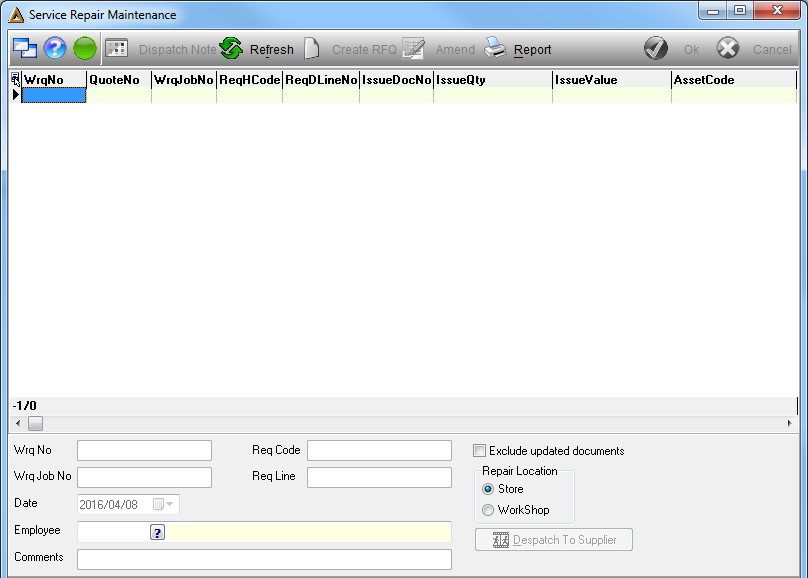
Updating a New Document
New documents are updated when the component is received by the respective location, stores or workshop. Select the 'Exclude Updated Documents' option to view only the new documents.
Click on the relevant document line and select the 'Update' button.
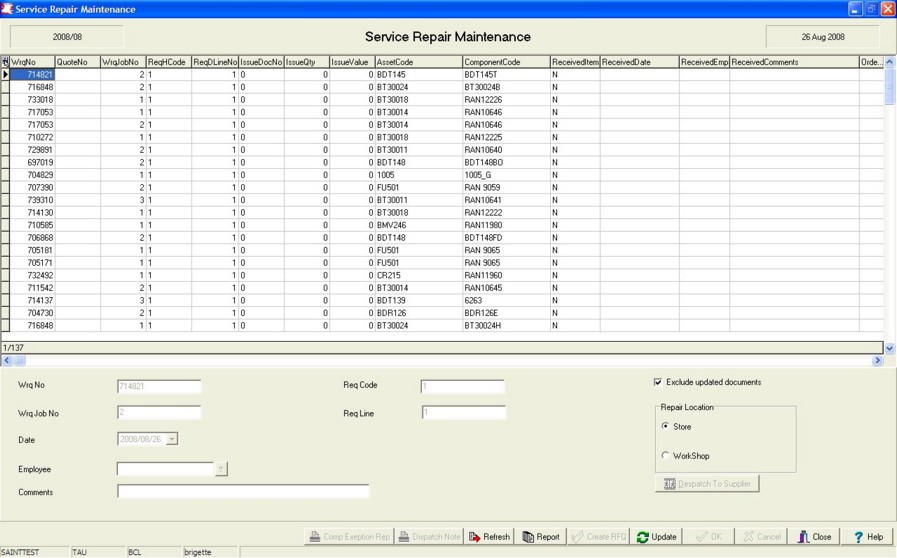
The following fields will be open for update:
•Employee - select any employee code which is relevant to the document, using the picker
•Comments - enter any relevant comments to the document
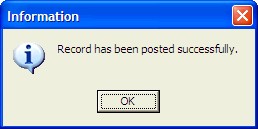
Select the 'Ok' button to save the update. The following message will appear to confirm that the update was saved. Select 'Ok' to continue.
Dispatch a Component from Workshop
Only components which have been updated can be dispatched. When the workshop needs to send the component back to the supplier for repair or exchange, the component needs to be dispatched to stores. Stores will then dispatch the component to the suppliers.
If the component is repaired the workshop can send the component back to the originator.
Click on the relevant record line to dispatch and select the 'Dispatch to Store\Orig' button. The following screen will appear allowing the user to select where the component must be dispatched to.
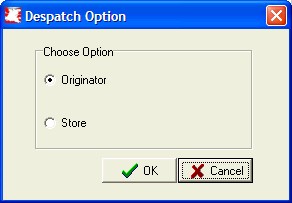
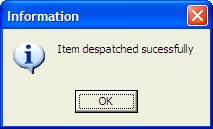
After selecting the option, select the 'Ok' button. The following message will appear to confirm that the transaction was performed properly. Select the 'Ok' button continue.
Dispatch a Component from Stores
Only records which have been updated can be dispatched. The supplier dispatches components from stores to suppliers.
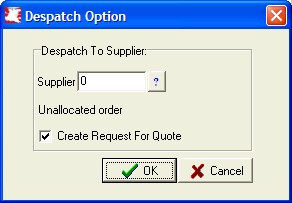
Click on the relevant record line and select the 'Dispatch to Supplier' button. The following screen will appear allowing the user tot select the supplier to send the component to, using the picker.
Check the 'Create Request For a Quote' option to create a RFQ and send it to the relevant buyer for the supplier. The system automatically performs this operation.
Select 'Ok' to continue.
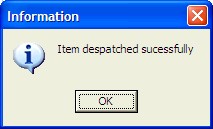
The following message will appear to confirm that the transaction was performed properly. Select the 'Ok' button continue.
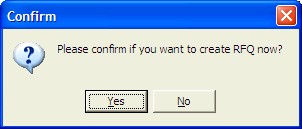
The next screen will ask the user if they would like to generate a RFQ immediately, select 'Yes' to create a RFQ.
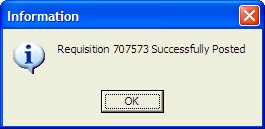
The last message will confirm that the RFQ was created and posted, along with the RFQ number. Select 'Ok' to continue.
Printing a Dispatch Note
The supplier removing the faulty component from the premises needs a dispatch note to confirm that the component may leave the premises.
Click on the component to create a dispatch note for. Select the 'Dispatch Note' button. The system will automatically generate the print preview for the dispatch note.
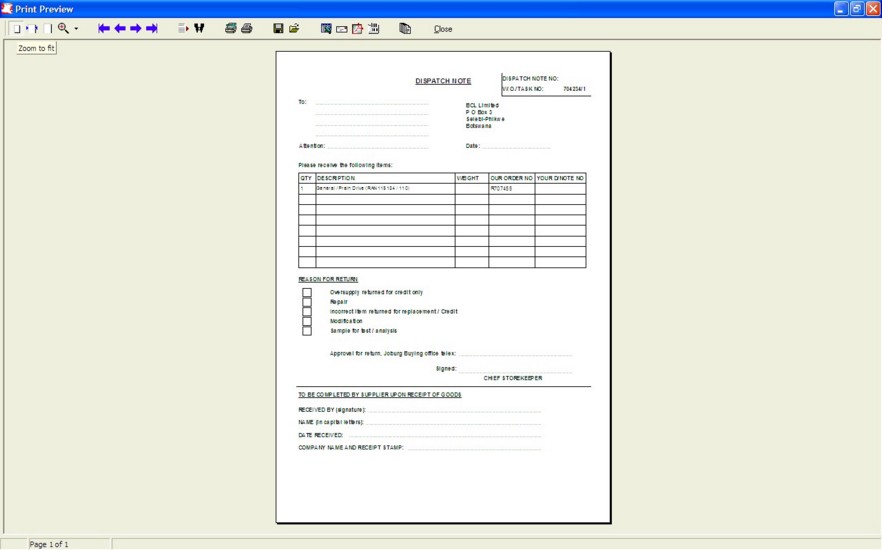
Select 'Print' from the preview.
Printing a Component Exception Report
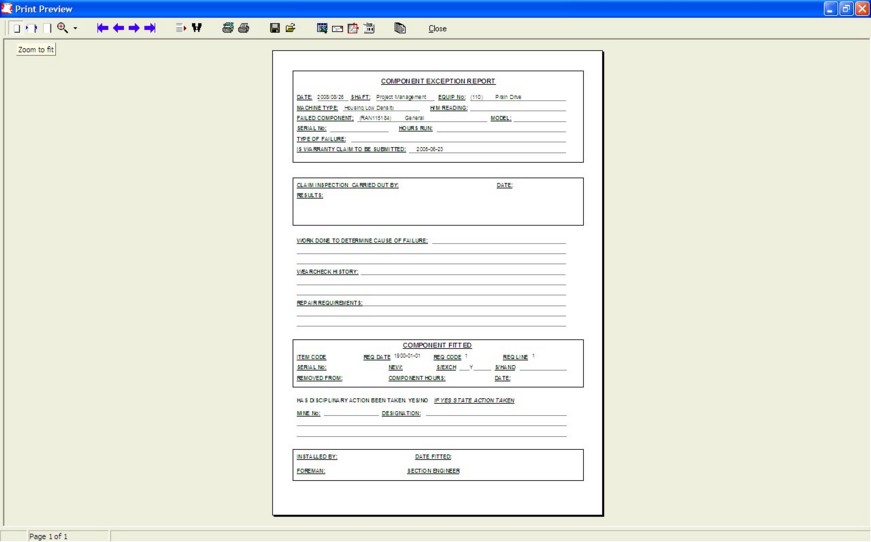
The component exception report contains the failure details of the component and must accompany the dispatch note to the supplier.
Click on the component to print the report for and select the 'Comp Exception Report' button. The system will automatically generate the print preview.
Generating a Report on Status of Records
Select the 'Report' button, the following screen will appear allowing the user to select the option to generate the report for.
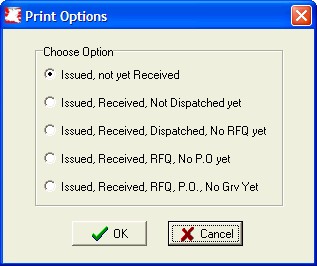
Check the option and select the 'Ok' button to generate the results.
![]()