Overview
The Appointment Capture application allows users to schedule appointments under the Appointments tab. Once the patient arrives for his appointment, the user can create the patients visit, thereafter printing the visit cards/lists.Under the Visits tab, the user can view detailed information such as:
•All visits for patient/date specified (top tab)
•Any procedures done for the selected visits (bottom tab)
Function
Create a New Patient Record
When the application opens, select the Doctor to schedule an appointment for, using the picker.
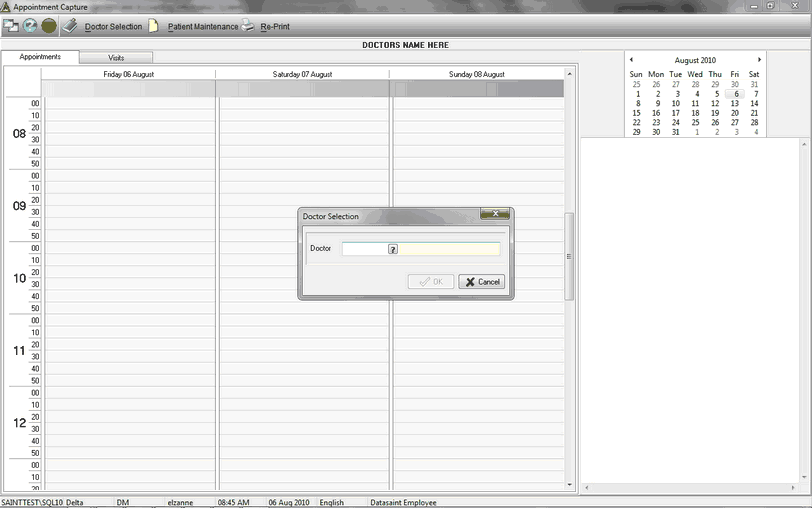
Select the ![]() button to create a new patient record. The patient maintenance screen will open.
button to create a new patient record. The patient maintenance screen will open.
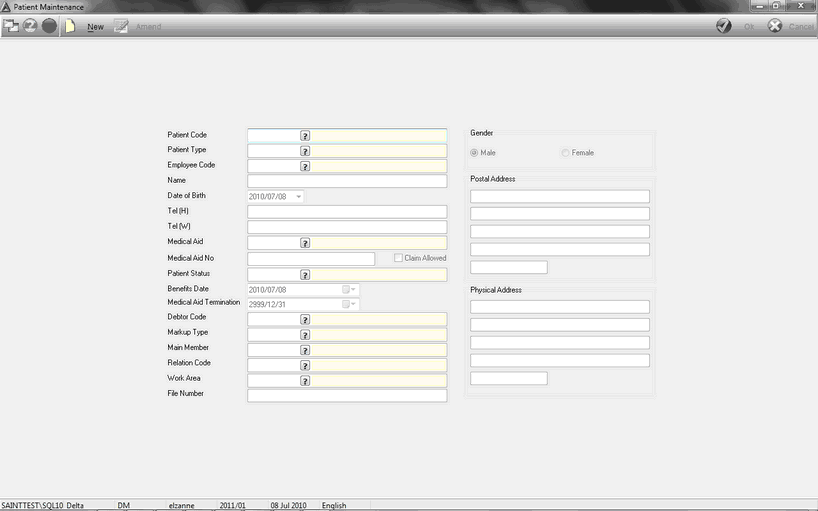
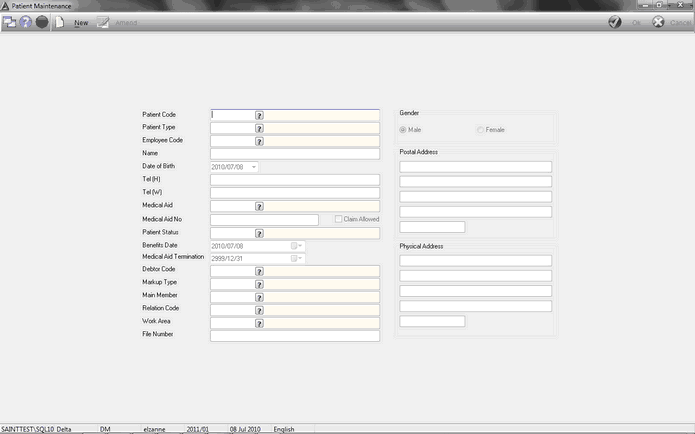
Select the ![]() button to start a new record, alternatively select an existing patient using the picker in the Patient Code field and select the 'Amend' button to edit a patient's record.
button to start a new record, alternatively select an existing patient using the picker in the Patient Code field and select the 'Amend' button to edit a patient's record.
Enter\Select the following information:
•Patient Type - select the type of patient using the picker.
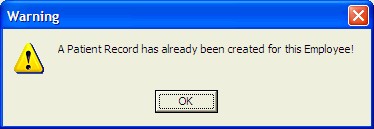
•Employee Code - select the employee code using the picker, if a patients record already exists the following message will appear. Select 'Ok' to continue and select another employee record.
•Name - enter the name of the patient.
•Date of Birth - select the date of birth of the patient.
•Tel - enter the contact numbers for work and home.
•Medical Aid - select the medical aid name using the picker.
•Medical Aid Number - enter the medical aid number.
•Claim Allowed - select this option if claims may be made against the medical aid.
•Patient Status - select the patient status:
oActive
oClosed
oSuspended
•Benefits Date - select the date for the medical aid benefits received using the drop down arrow.
•Medical Aid Termination - select the termination date of the medical aid using the drop down arrow.
•Debtor Code - select the debtor using the picker.
•Mark-up type - select the mark up % using the picker.
•Work Area - select the patients work area using the picker.
•File Number - enter the patients file number.
•Gender - select the gender of the patient:
oMale
oFemale
•Postal Address - enter the patients postal address.
•Physical Address - enter the patients physical address.
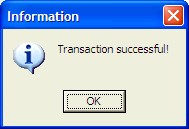
Select the 'Save' button to save the record. The system will prompt the following message to confirm that the record was saved successfully. Select 'Ok' to continue.
Create an Appointment
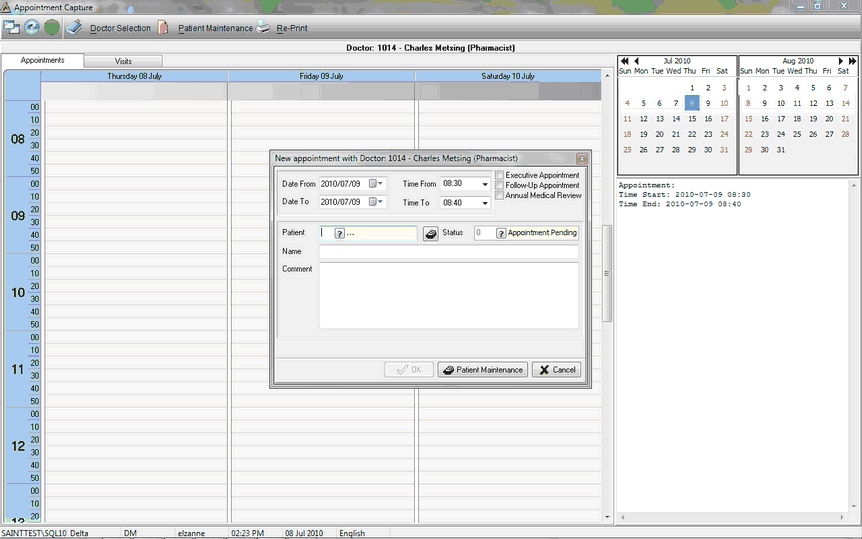
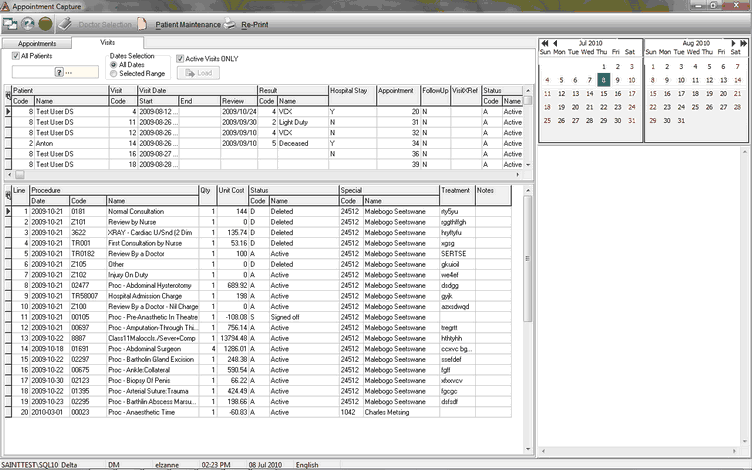
The appointment capture screen has two tab screens:
•Appointments Tab - appointments are scheduled under this tab.
•Visits Tab - invoices for visits are viewed, visit cards can be printed and visits list can be printed.
To create an appointment, the user must first select the doctor for which the appointment must be made:
•When the application is opened, the 'Doctor Selection' screen will appear. The user must select the doctor using the picker.
•Alternatively, select the 'Doctor Selection' button and the same screen will appear.
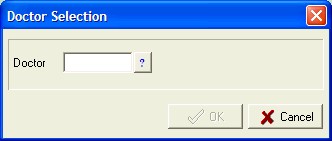
When the doctor has been selected, select the 'Ok' button.
The user must now select the date for the appointment. In the top right corner is a calendar, use the left and right arrows to select the correct month and click on the correct date. The date will appear in the top bar of the diary screen.
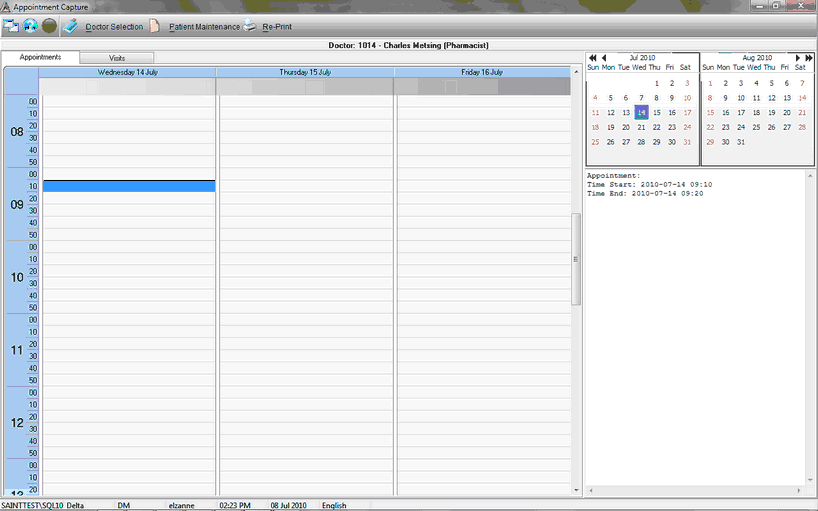
Right click on the diary screen and select the 'New Appointment' option.
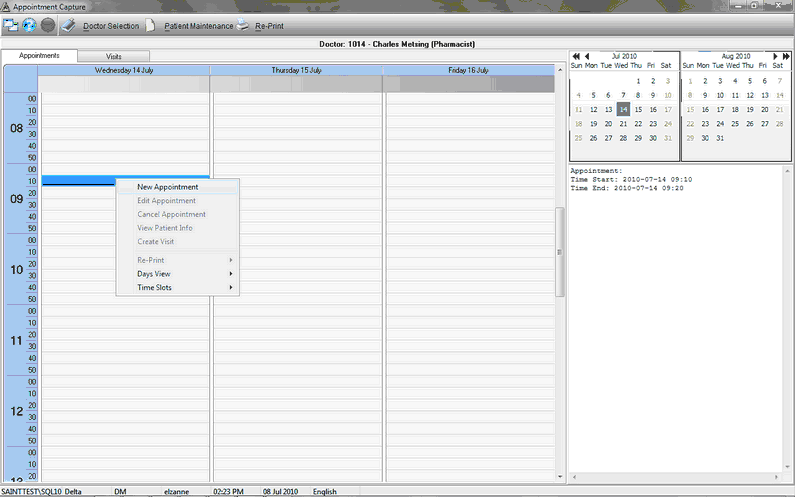
The appointment generation screen will appear, select\enter the following information:
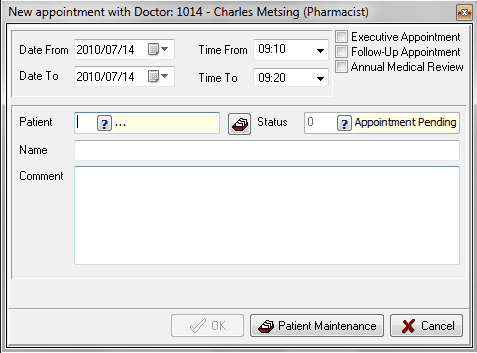
•Date Range - select the date for the appointment using the drop down arrow.
•Time Range - select the time from and to for the appointment using the drop down arrow.
•Executive Appointment - select this option if the patient is an executive (part of higher management)
•Follow-Up Appointment - Select this option if this is a follow – up appointment. The user will need to enter an X-Ref / reference relating to the previous appointment. Alternatively, use the picker to look up the previous appointments listed for the patient.
•Annual Medical Review: Select this option if this is the patient’s Annual Medical Review.
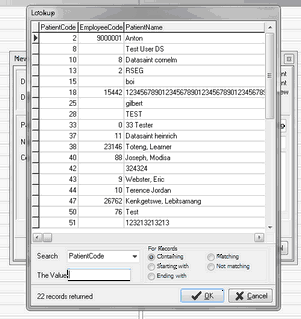
•Patient - select the patient scheduling the appointment using the picker.
•Status - select the status of the appointment.
•Name - this will automatically be set when the patient is selected.
•Comment - enter any relevant comments.
If the patient records need adjustment select the 'Patient Maintenance' button. The patient maintenance screen will open where the user can create a new patient or edit an existing record.
Select the 'Ok' button in the new appointment screen to save the appointment.
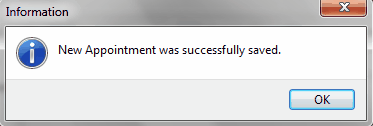
The system will prompt the following message to confirm that the appointment has been saved. Select 'Ok' to continue.
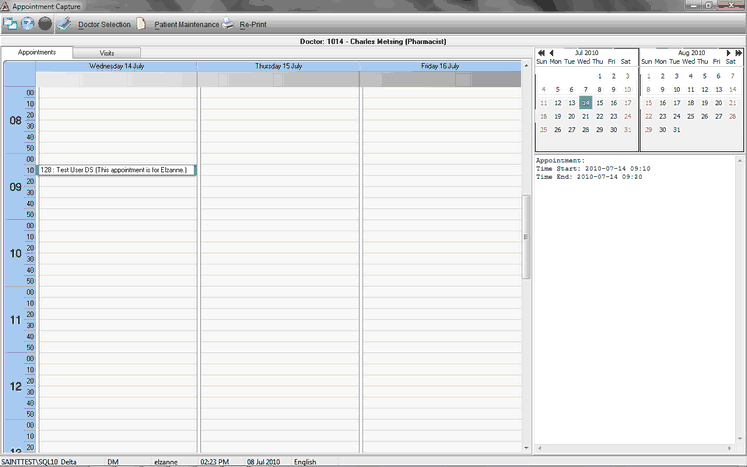
The appointment will appear in the diary screen.
Edit an Appointment
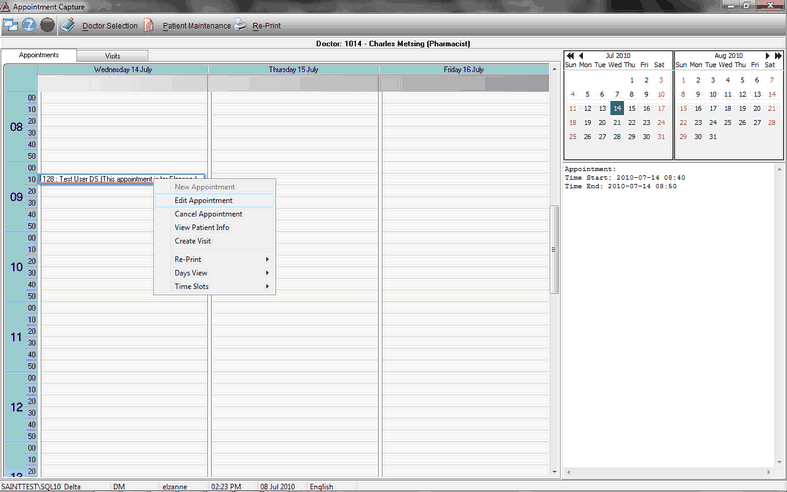
Select the appointment in the diary screen to edit and right click on it. Select the 'Edit Appointment' option.
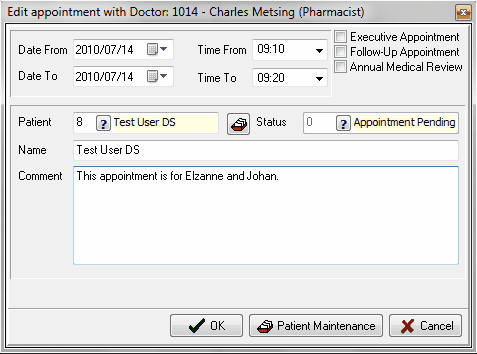
The 'Edit Appointment' screen will appear where the user can edit the appointment. Select the 'Ok' button to save the changes made.
Cancel an Appointment
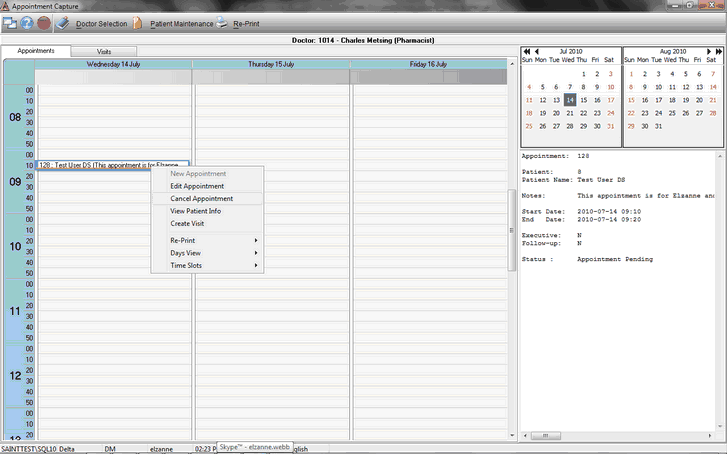
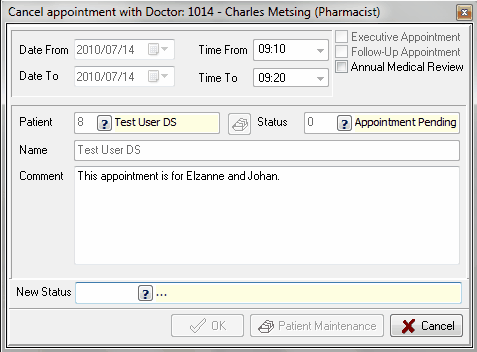
The 'Cancel Appointment' screen allows the user to select the appointment in the diary screen to cancel.
Before being able to cancel an appointment, the user must select a New Status for the visit, such as Patient didn’t show, for example. Thereafter, the user must select ‘Ok’ to cancel the appointment. The user will be prompted to confirm that he/she would like to cancel the appointment; click ‘Yes’ to continue.
View Patient Information
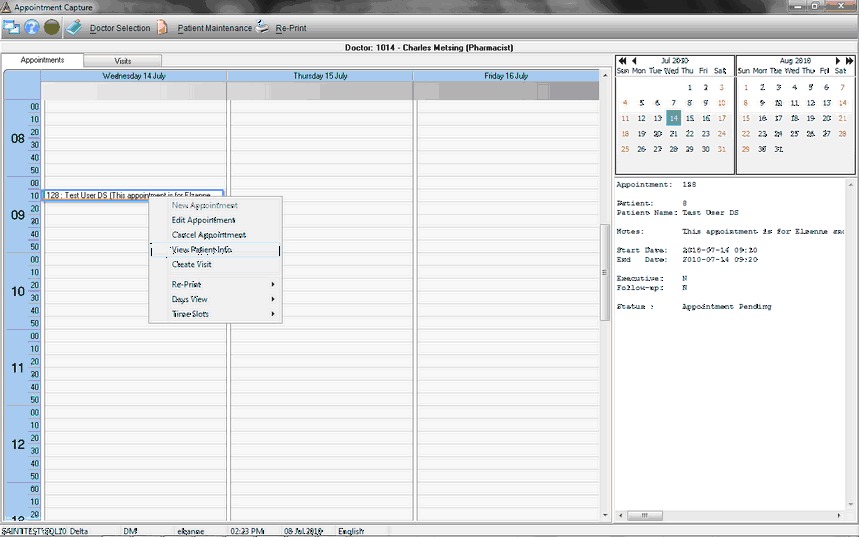
Select the appointment in the diary screen to view and right click on it. Select the 'View Patient Info' option.
The easy view screen will appear with the patients information.
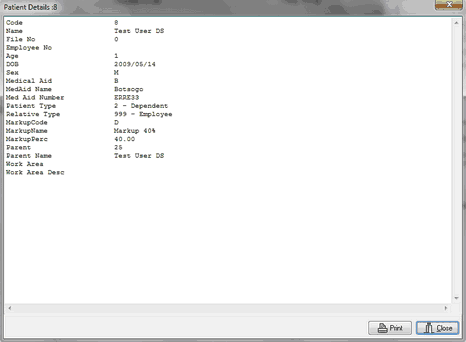
The user can print the information, simply select the 'Print' button.
Create a Visit Card
When the patient comes for his\her appointment the user can create a visit card, which confirms the appointment.
In the diary screen, select the appointment for which to create a visit card by right clicking on the appointment, and selecting the 'Create Visit' option.
The system will prompt the below message, to confirm if the user would like to create a visit card. Select 'Yes' to create.

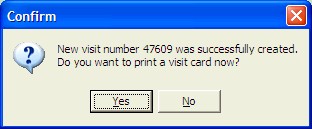
If 'Yes' was selected the system will create a visit card number and prompt the following message. Select 'Yes' to print the visit card.
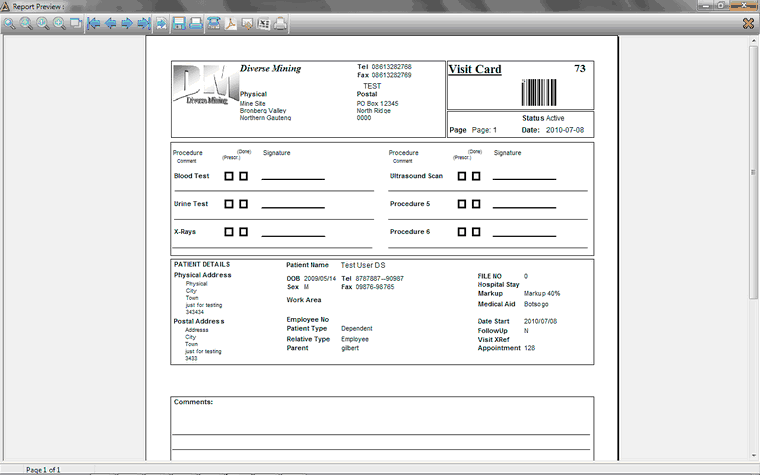
Print Preview
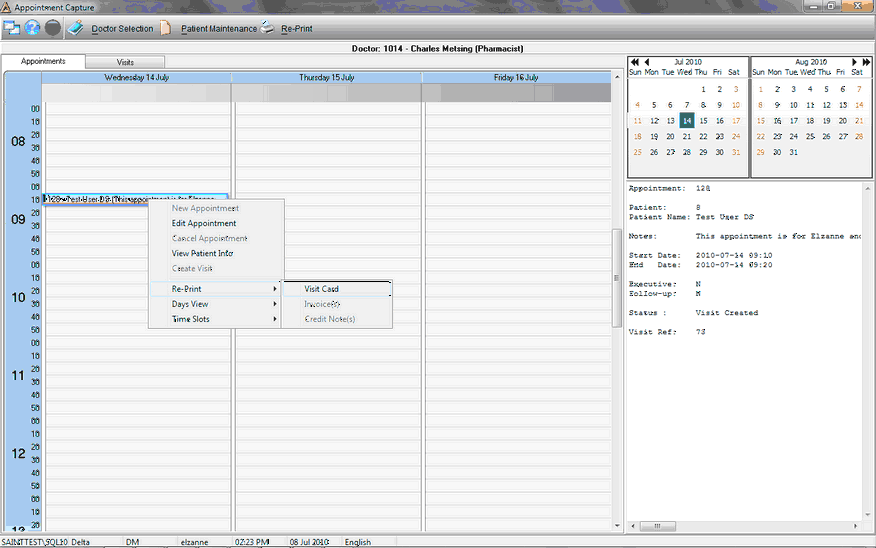
Reprint Visit Card
Right click on the appointment and select the 'Re-print' option. Only appointments for which visit cards have been printed can be re-printed.
The system will generate the print preview.
The user can also select the 'Re-Print' button. The print options screen will appear, where the user can select which option to print.
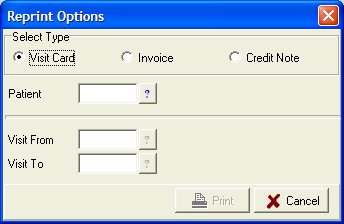
Select the following information:
•Type - select the type of form to re-print:
oVisit Card
oInvoice
oCredit Note
•Patient - select the patient to re-print for using the picker.
•Visit - select the visit range to print for using the pickers.
Select the 'Print' button to generate the print preview.
Change the Day View
To change the day view in the diary screen, right click on the diary screen and select the 'Days View' option.
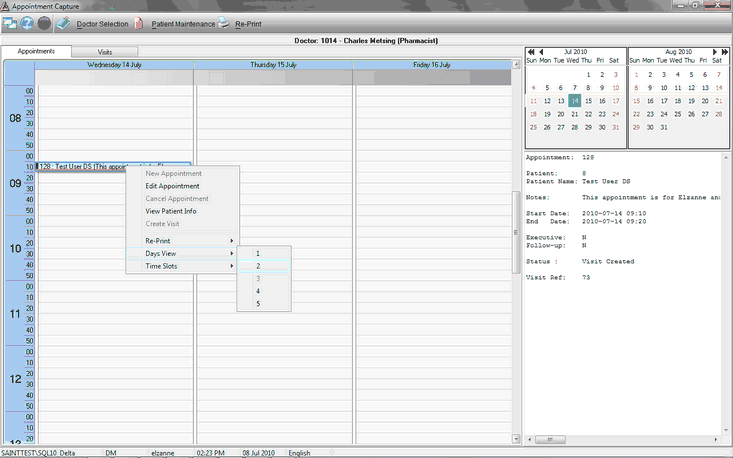
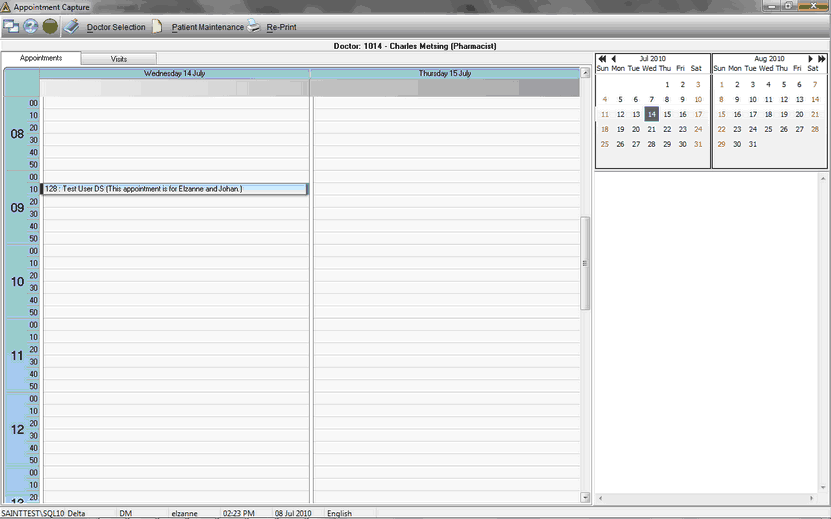
Select the number of days needed to view simultaneously; 1, 2, 3, etc.
2 Day View
Change the Time Slots
To edit the time slots on the diary screen, right click in the diary screen and select the 'Time Slots' option.
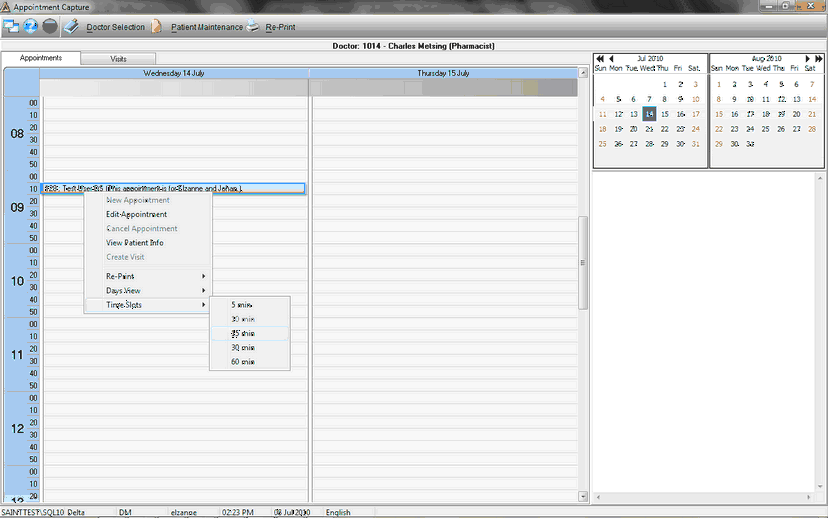
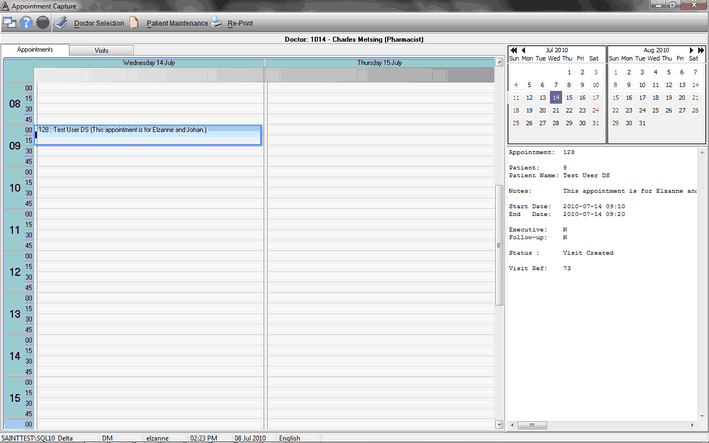
Select the time spacing for each hour eg. 5 min, 10 min, 15 min, 30 min or 60 min time slots.
15min Time Slot
View Visit Invoices
Open the Visits Tab.
Select the following information:
•All Patients - select this option to view all patients invoices.
•Patient - use the picker to view an individual patient's invoice\s.
•Date Selection - select the date range:
oAll Dates
oSelected Range, select the range on the calendar in the top right corner.
•Active Visits Only - select this option to include visits with an active status only.
Select the 'Load' button to generate the results.
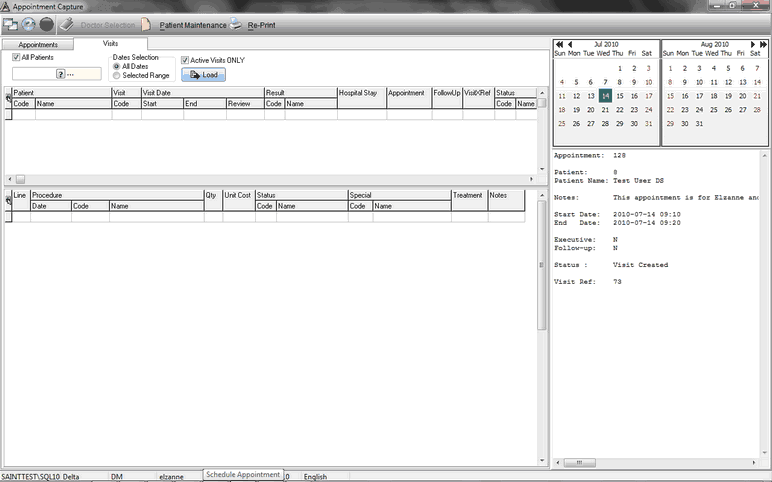
The patient's visits will appear in the top grid and the invoices per visit appear in the bottom grid.
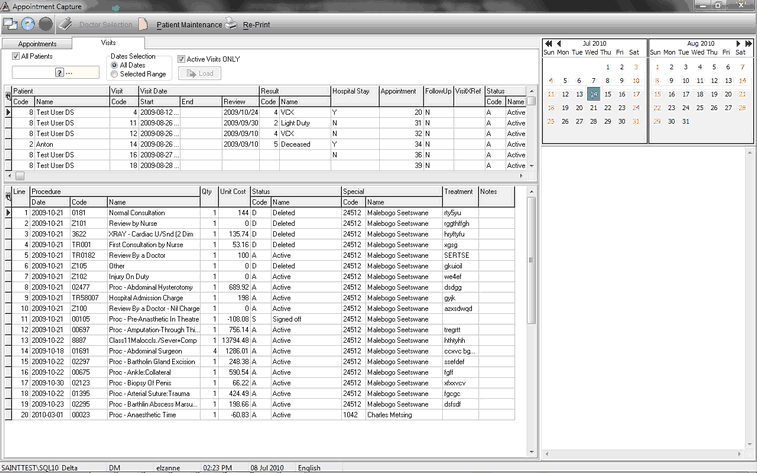
Print Visit Card
Right click on the visit line in the top grid and select the 'Print Visit Card xxxx' option.
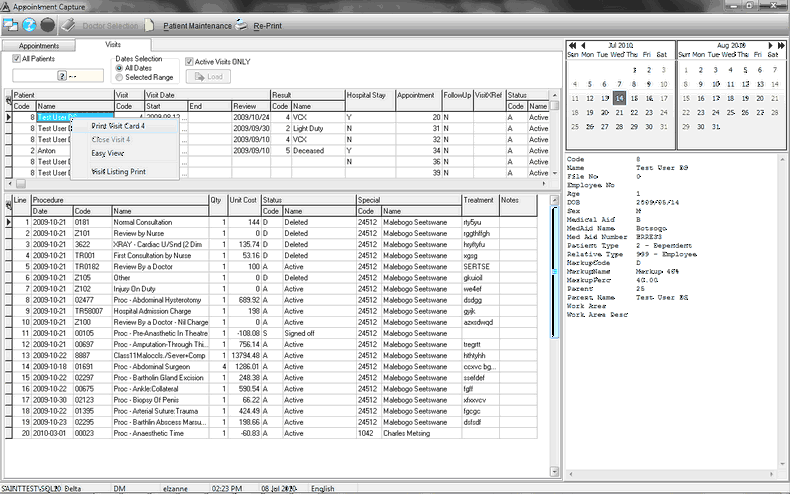
The system will generate the print preview.
Easy View
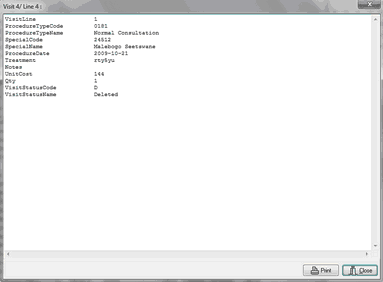
The patient's visit record and invoice lines can be viewed as easy view.
Simply right click on the line and select the 'Easy View' option.
The system will populate the easy view screen with the information for viewing.
Print Visits Listing
Right click in the top grid and select the 'Visit Listing Print' option.
The system will generate the report.
![]()