Overview
This application allows the user to create and maintain the structure of user defined reports like balance sheets and income statements.
A report structure consists of:
•The report lines
•Account range per line
•Sub totals and totals
Function
This application consists of four tabs:
•Report Types tab
•Lines Per Report tab
•Account Range per Line tab
•Totals and Sub Totals tab
Report Type Tab
The user selects the type of report for use.
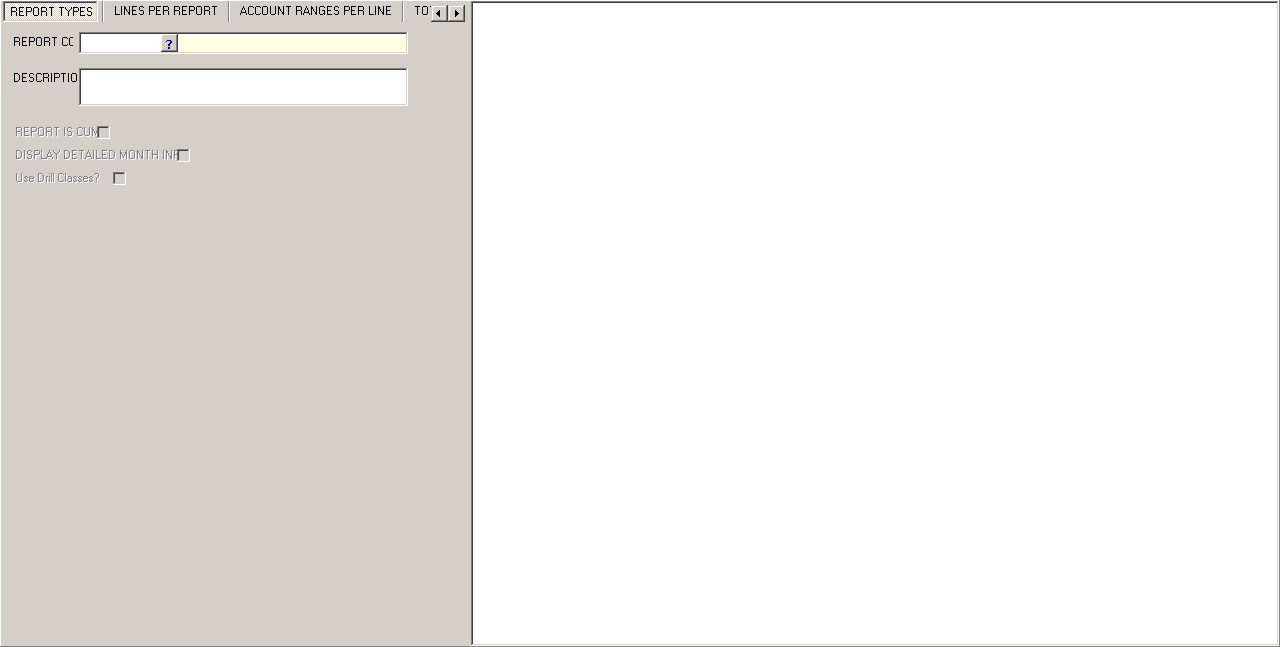
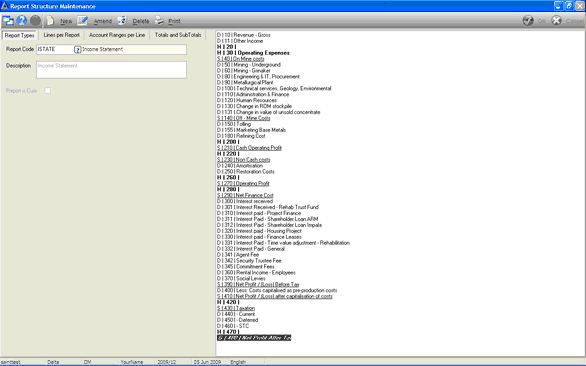
•Select the report type using the picker in the Report field.
•The report will appear in the display screen on the right.
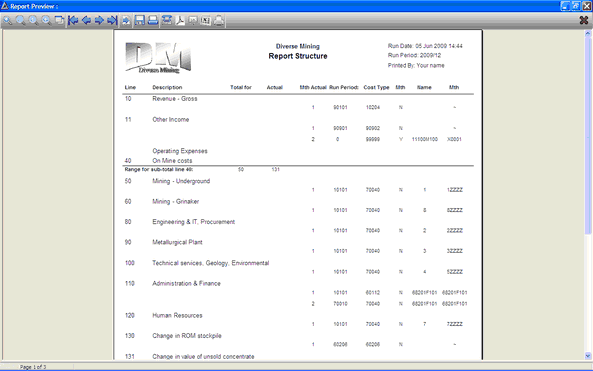
Print The Details
Select the 'Report' button to generate a print preview of the report. The user can select print from the preview.
Lines per Report Tab
All the lines from the report chosen will appear in the display screen to the left.
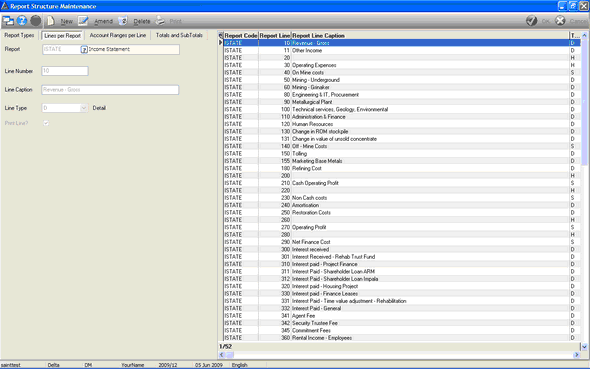
Create a New Line
Select the 'New' button to create a new report line.
Use the picker to select the type of report the line will be created for.
Enter the following information:
•Line Number - enter the number of the line for the report
•Line Caption - enter the full name of the line for the report
•Line Type - select the type of line you are creating using the drop down arrow:
oH - heading, this line will appear above the detail lines
oD - detail, the details lines form the body of the heading
oG - grand total, this is a line with a grand total figure
oS - sub total, this is a line with a sub-total figure
•Print Line - check the selection box if the line created must appear on the report when printed
Select the 'Ok' button to save the new line. The system will prompt the user with the following message to confirm that the new line was created successfully.
Select 'Ok' to continue.
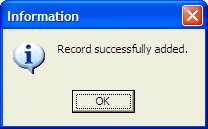
The new line will appear in the display screen on the left.
Amend an Existing Line
To change the details of an existing line, the user must click on the relevant line in the display grid, on the left, and select the 'Amend' button.
The following fields will be open for adjustments:
•Line Caption
•Line Type
•Print Line
To save the changes made select the 'Ok' button.
The system will prompt the user with the following conformation message that the amendments were successfully saved.
Select 'Ok' to continue.
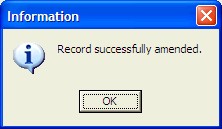
Delete an Existing Line
To erase an existing line the user must click on the relevant line in the display grid, on the left, and select the 'Delete' button.
The system will prompt the user with the following confirmation message. Select 'Yes' to erase.
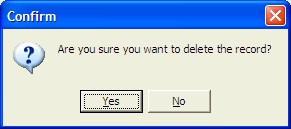
The following message will appear notifying the user that the line was deleted. Select 'Ok' to continue.
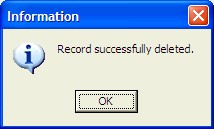
Account Ranges per Line Tab
This tab allows the user to link a range of accounts to a single line.
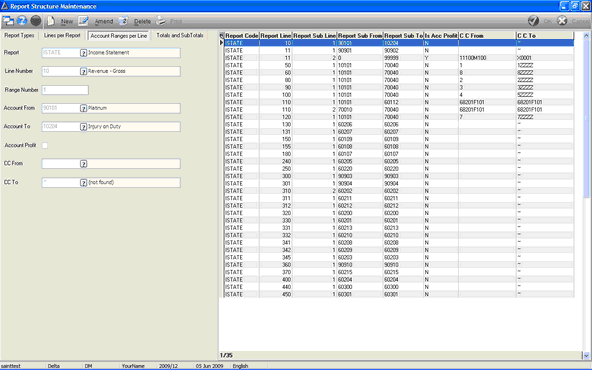
Create a New Account Range
To create a new account range, select the 'New' button.
Enter the following information:
•Report -select the report type using the picker:
oBalance Sheet
oIncome Statement
•Line Number - select the number of the line you are creating the account range for
•Account - select the account 'From' and 'To' using the picker
•Account Profit - check the selection box to include this
•Cost Center - select the cost center 'From' and 'To' using the picker
Select the 'Ok' button to save the record.
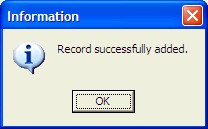
The system will prompt the user with the following message to confirm that the new record was saved. Select 'Ok' to continue.
Amend an Existing Account Range
To amend existing records click on the relevant line in the display grid and select the 'Amend' button.
The following fields will be open for amendments:
•Account 'From' and 'To'
•Account Profit
•Cost Center 'From' and 'To'
To save the changes select he 'Ok' button.
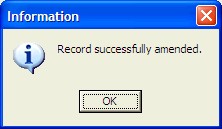
The following message will appear to notify the user that the changes were saved successfully.
Select 'Ok' to continue.
Delete an Existing Account Range
To erase an existing record the user must click on the relevant line in the display grid and select the 'Delete' button.
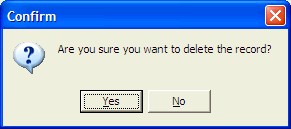
The following message will appear to confirm that the user would like to delete the record.
Select 'Yes' to delete.
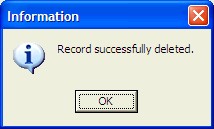
The second message will confirm that the record was deleted. Select 'Ok' to continue.
Totals and Sub Totals Tab
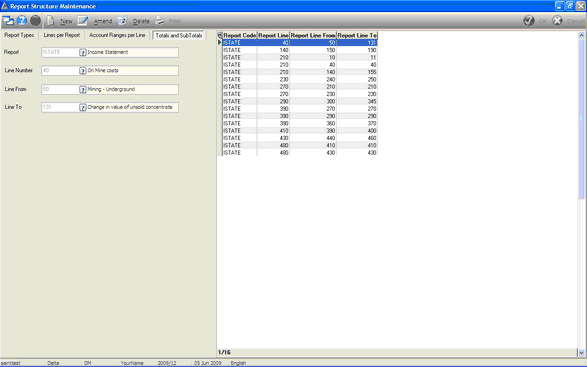
This tab allows the user to maintain which lines are added up to form the total value for the Total or Sub Total lines.
Assign New Lines to Total\Sub Total lines
Select the 'New' button.
Enter the following information:
•Report - select the type of report using the picker
•Line Number - select the line number you are going to assign other lines to
•Line - select the lines 'From' and 'To' which will be added up to form part of the Total\Sub Total line using the picker
Select the 'Ok' button to save the details.
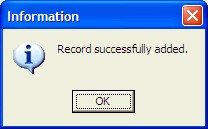
The following message will appear confirming that the new record was saved. Select 'Ok' to continue.
Amend Existing Information
Click on the line you want to change in the display grid on the right. Select the 'Amend' button.
The 'Line To' field will be active for any changes.
When complete select the 'Ok' button to save the changes.
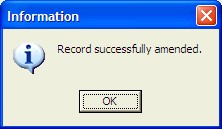
The following message will appear to notify the user that the changes were saved. Select 'Ok' to continue.
Delete an Existing Record
Click on the line you want to erase in the display grid on the left and select the 'Delete' button.
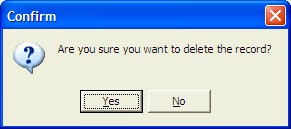
The following message will appear to confirm that the user wants to erase the following record.
Select 'Yes' to continue.
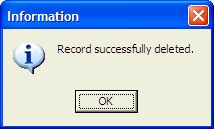
The next message will appear to confirm that the record was deleted.
Select 'Ok' to continue.
![]()