Overview
This application is used by the cash office. It allows for capturing new cheques or process held cheques for suppliers, debtors or other account types. Once it is posted the cheque can then be printed. Workflow options are available. If parameter NeedRoe = Y, the application will not be available for use unless the exchange rates for the current day have been captured.
Function
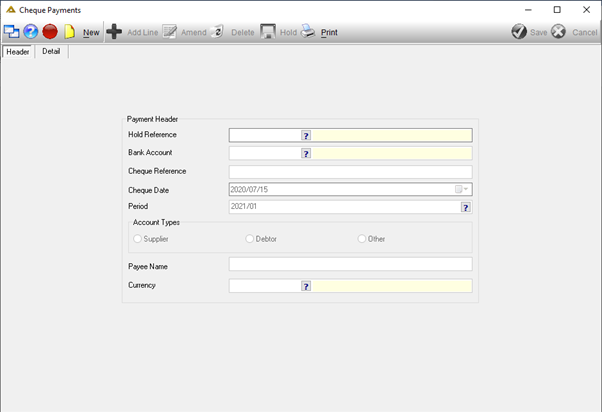
Your level of access rights will determine which actions you will be allowed when using this application. Only access level 3 - Other will be allowed to post payments. All other access levels will only be able to hold payments.

Example screen of access level View/Edit/Create:
Example screen of access level Other:
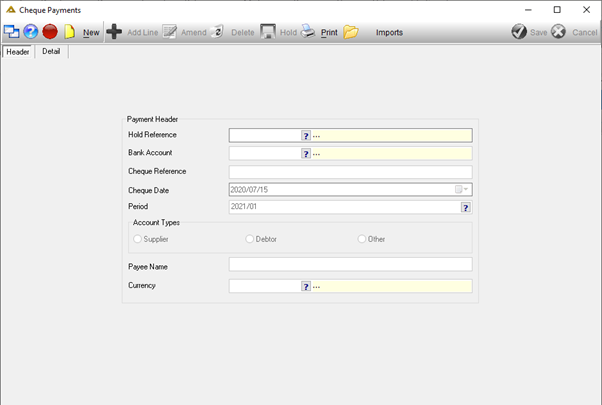
Notice there is now an ![]() button. The
button. The ![]() button is enabled on the Detail tab with access rights other allowing you to post held journals. Alternatively, you will only be able to hold the captured payment.
button is enabled on the Detail tab with access rights other allowing you to post held journals. Alternatively, you will only be able to hold the captured payment.
If you are using the translation functionality, a translation button will be available:

To create a new payment, click on the ![]() button. The fields will become active. Enter the details as required. The hold reference field will automatically be populated.
button. The fields will become active. Enter the details as required. The hold reference field will automatically be populated.
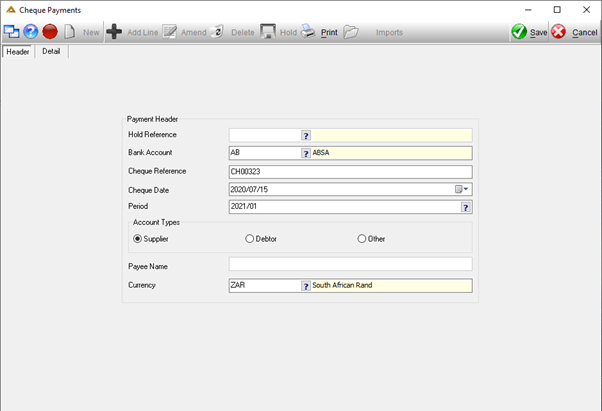
When you have completed the details for the Header tab click on the ![]() button to continue. The Detail tab will be opened.
button to continue. The Detail tab will be opened.
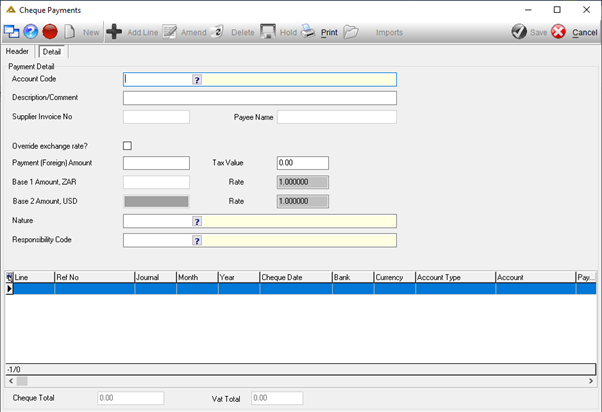
Once you have completed the details, click on the ![]() button.
button.
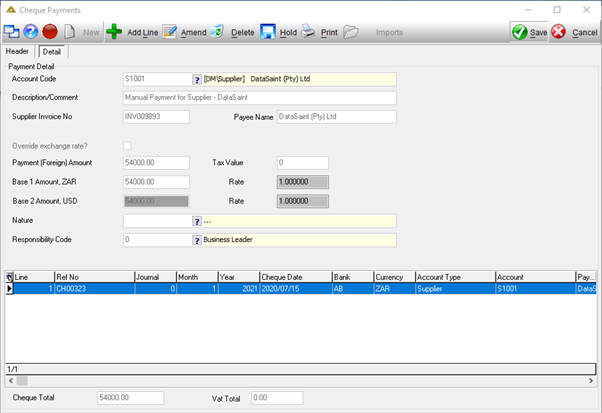
The payment line will be created.

When you have completed capturing all payment lines you will have the following options:
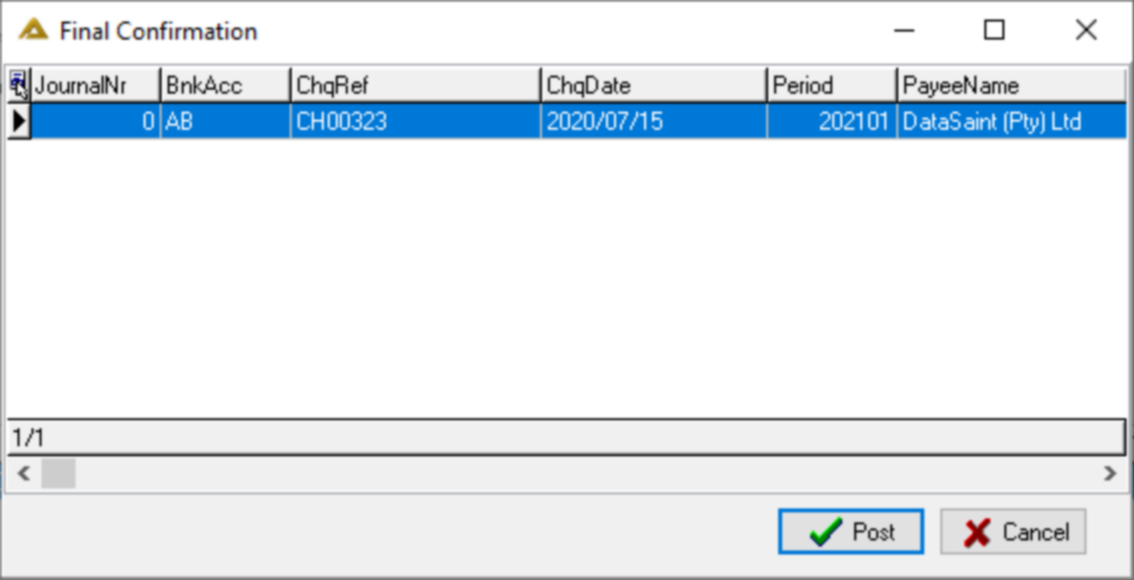
If all the details are correct, click on the ![]() button.
button.
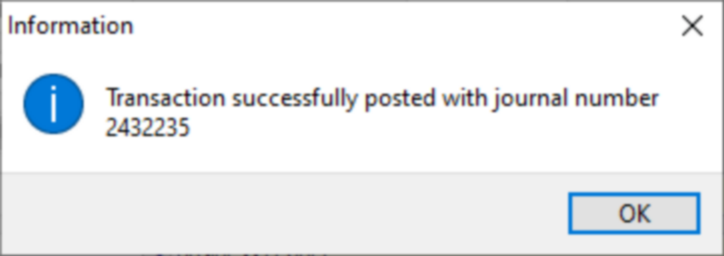

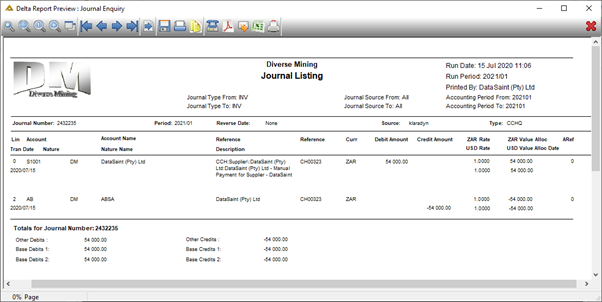
From the final confirmation screen, you can select the ![]() button. You will be returned to the capture screen.
button. You will be returned to the capture screen.
If you are using the translation functionality, a translation button will be available:

To add a line, click on the ![]() button.
button.
To edit an existing line, click on the ![]() button.
button.
To delete click on the ![]() button.
button.
If you click on the ![]() button, the payment will be held and can be posted at a later stage.
button, the payment will be held and can be posted at a later stage.
The ![]() button allows you to view the following options:
button allows you to view the following options:
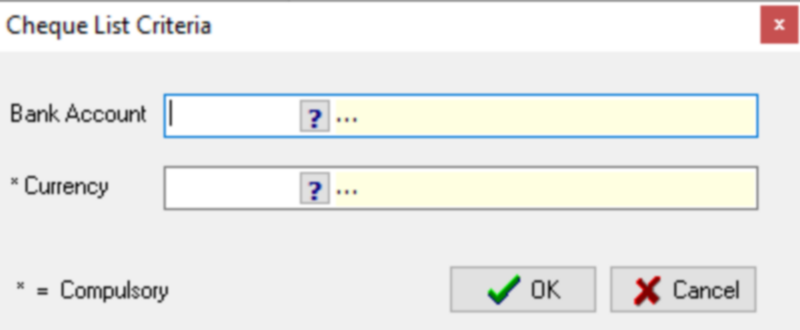
Fill in the criteria as required and click on the ![]() button to generate a list of the cheques available for printing.
button to generate a list of the cheques available for printing.
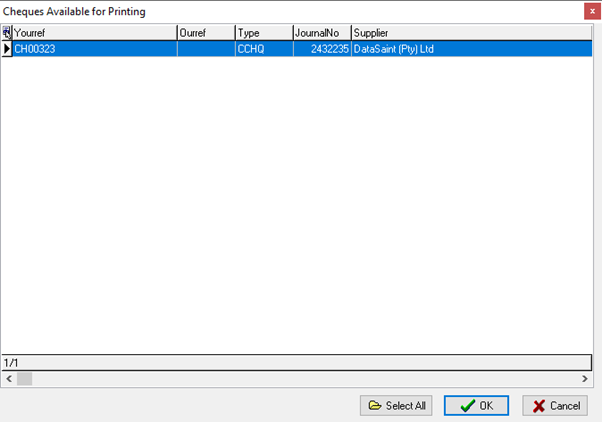
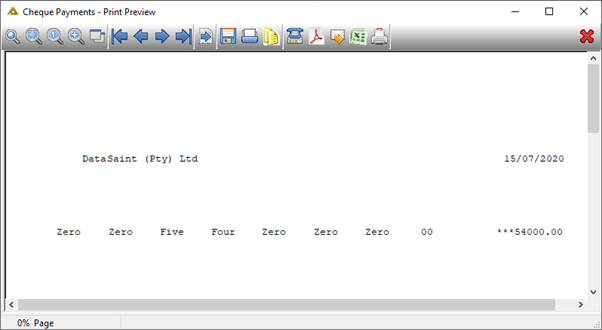
Select the cheque to be printed and click on the ![]() button. A print preview of the cheque will be generated.
button. A print preview of the cheque will be generated.
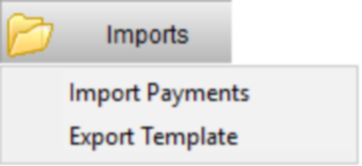
The ![]() button gives you the option to import a payment or to export a template:
button gives you the option to import a payment or to export a template:
When you select the Export Template option, the following window will open:

If you select ![]() you will have the following option:
you will have the following option:
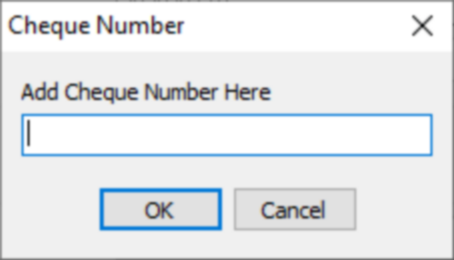
Enter the cheque number and click on ![]() .
.
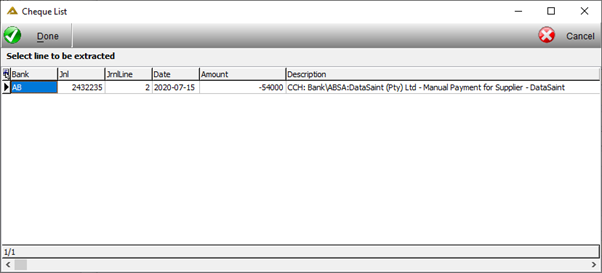
Click on the ![]() button to confirm.
button to confirm.
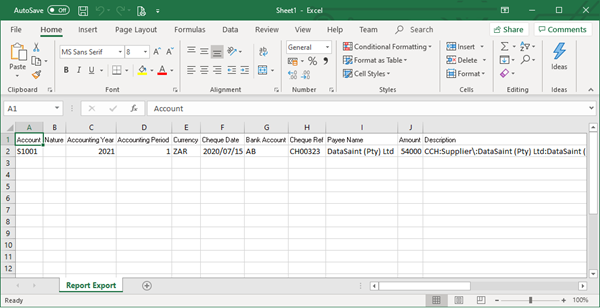
After these steps or if you selected ![]() to export a blank template, an Excel spreadsheet will be opened. You can then save this and edit it to import at a later stage. The template has to be saved as a 97-2003 version in order to be imported.
to export a blank template, an Excel spreadsheet will be opened. You can then save this and edit it to import at a later stage. The template has to be saved as a 97-2003 version in order to be imported.
When you select the Import Payments option, a window will open which allows you to browse for the file you wish to import. Select the file to continue.
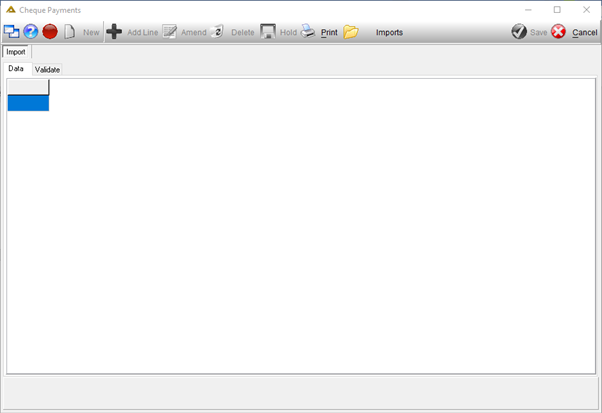
A validation check will be applied to all imported files.
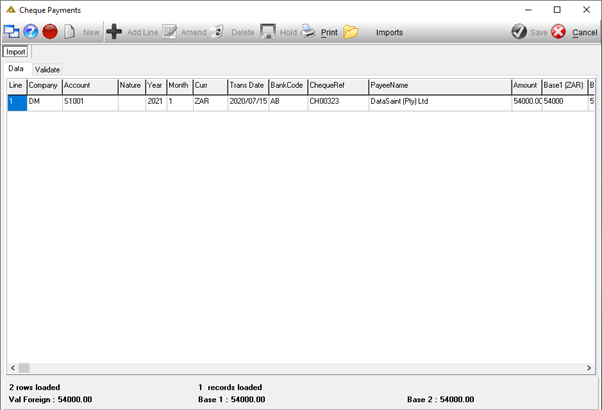
The Validate tab allows you to view all the validation checks applied.
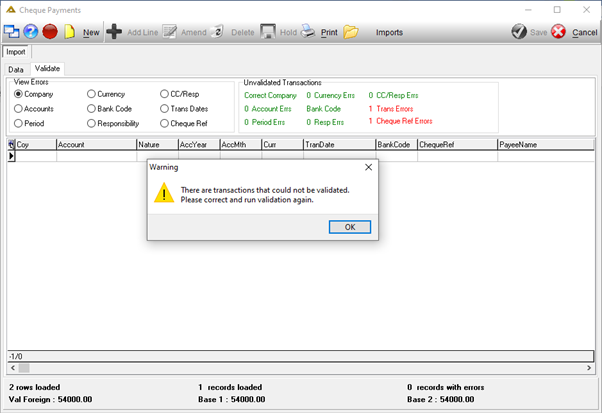
Once all validation errors have been corrected, click on the ![]() button to post.
button to post.