Overview
This report application allows you to view results for various reports and search criteria.
Function
When the application is opened, you will view the following:
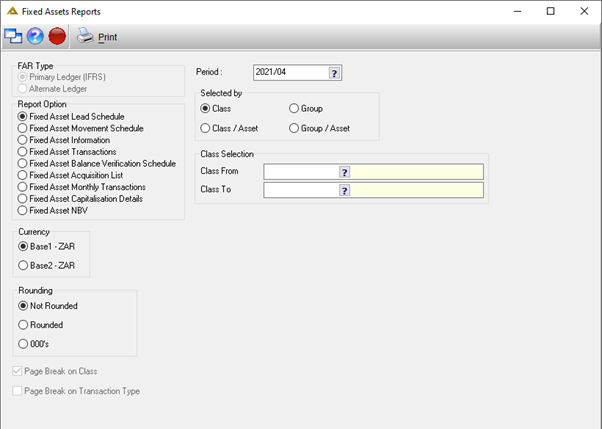
Report Options - select the type of report which you would like to generate.
Currency - select the type of currency, ZAR or USD.
Rounding - select to have the no rounding, rounded or rounded to 000's.
Period - select the financial period by clicking on the picker.
Summarised by - select how the report should be summarized.
Show options - choose to either show assets or to show components.
Class - select the class name by clicking on the picker.
Asset selection - select the asset name by clicking on the picker.
Component - select the name of the component by clicking on the picker.
Complete the selection criteria as required and click on the ![]() button to generate a report preview.
button to generate a report preview.
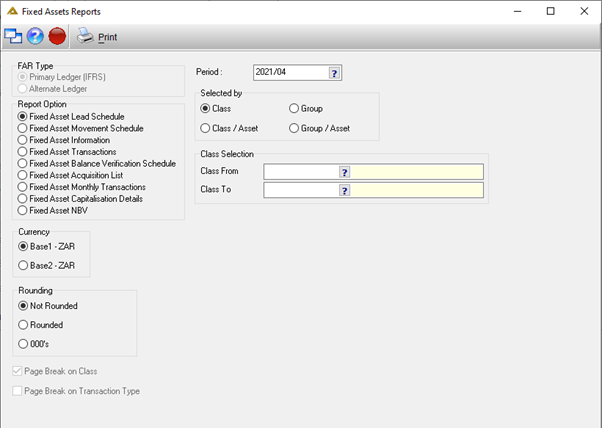
Fixed Asset Lead Schedule Selection Criteria
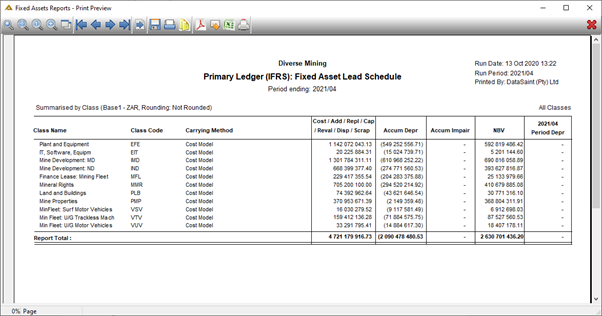
Fixed Asset Lead Schedule Report Example
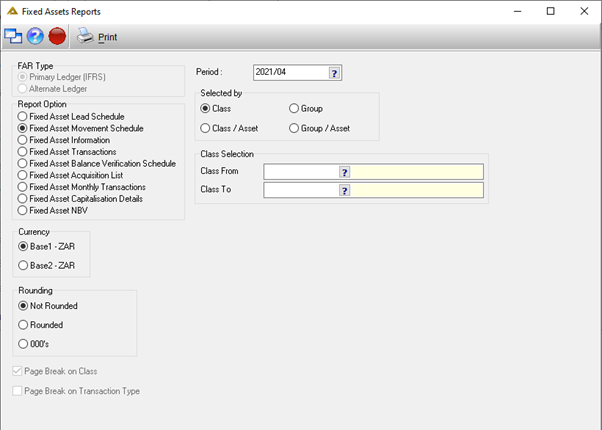
Fixed Asset Movement Schedule Selection Criteria
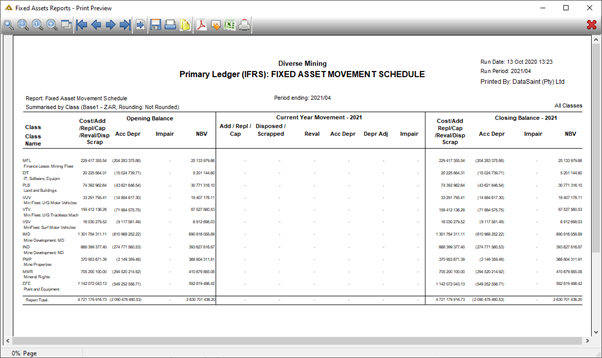
Fixed Asset Movement Schedule Report Example
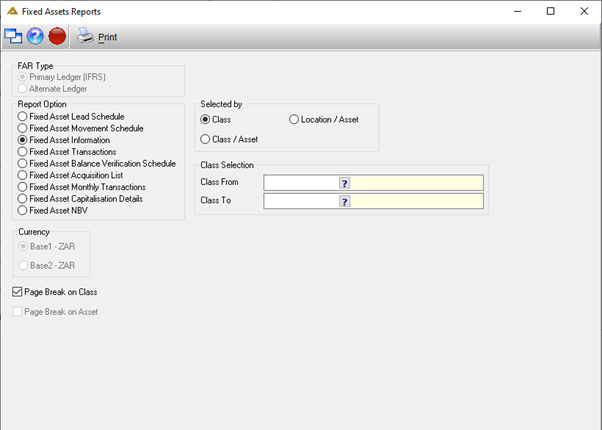
Fixed Asset Information Selection Criteria
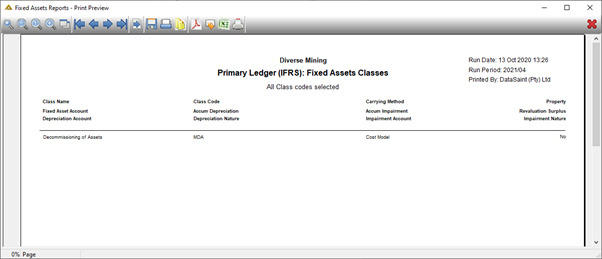
Fixed Asset Information Report Example
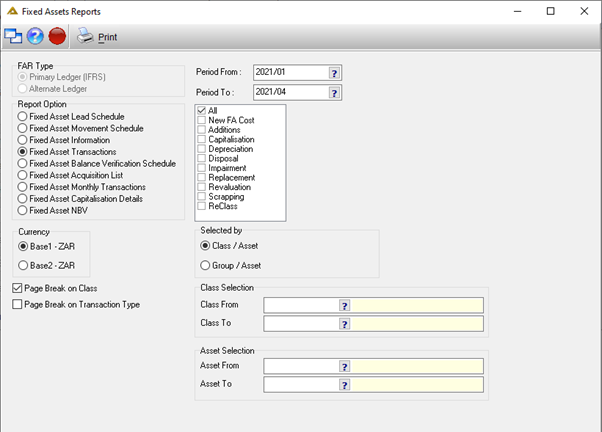
Fixed Asset Transactions Selection Criteria
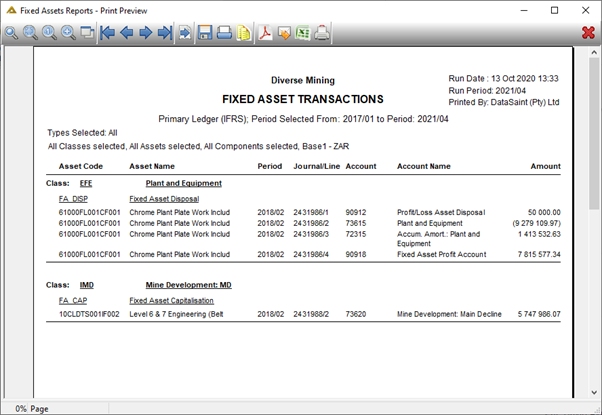
Fixed Asset Transactions Report Example
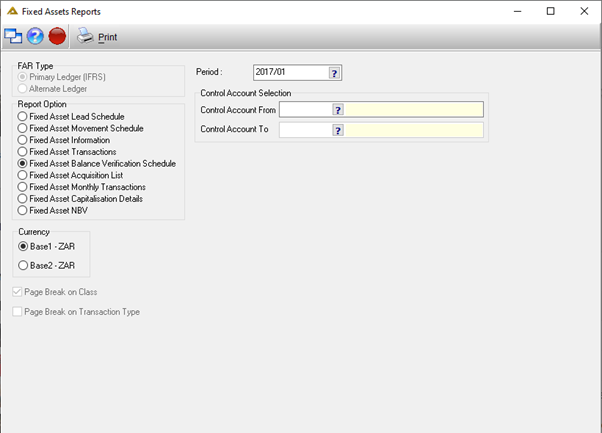
Fixed Asset Balance Verification Schedule Selection Criteria
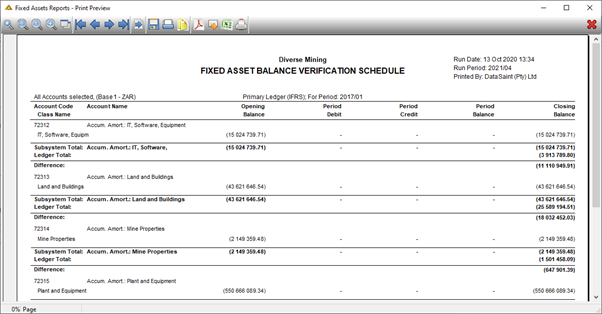
Fixed Asset Balance Verification Schedule Report Example
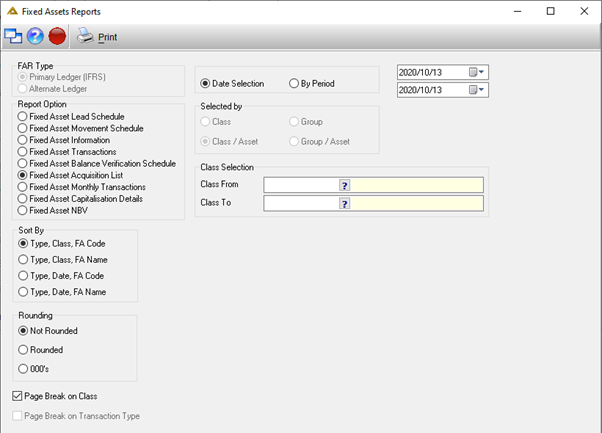
Fixed Asset Acquisition List Selection Criteria
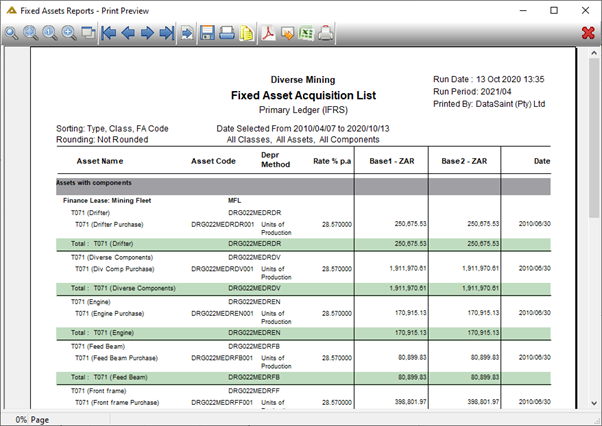
Fixed Asset Acquisition List Report Example
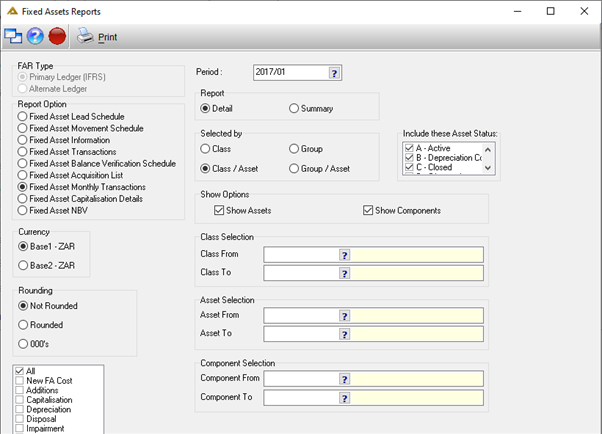
Fixed Asset Monthly Transaction Selection Criteria
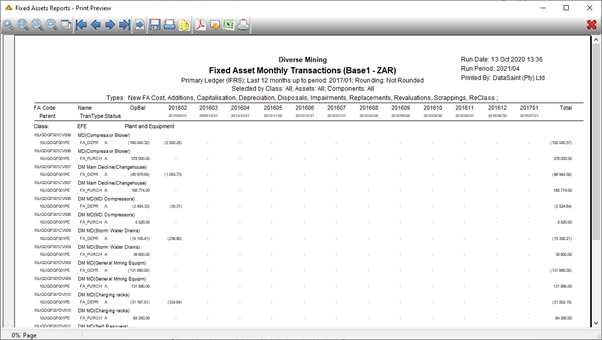
Fixed Asset Monthly Transaction Report Example
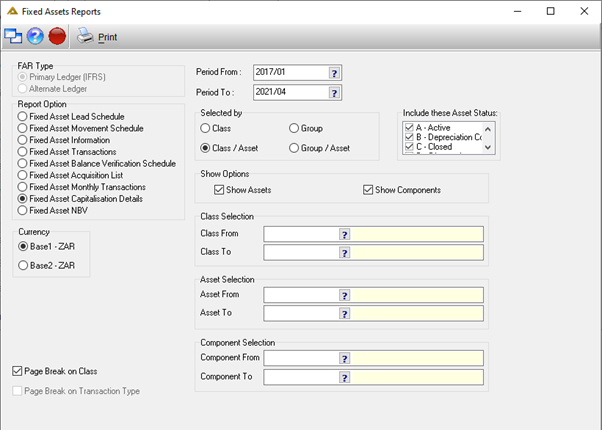
Fixed Asset Capitalisation Details Selection Criteria
Fixed Asset Capitalisation Details Report Example
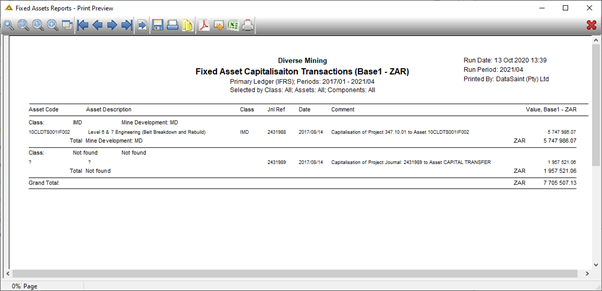
Fixed Asset NBV Selection Criteria
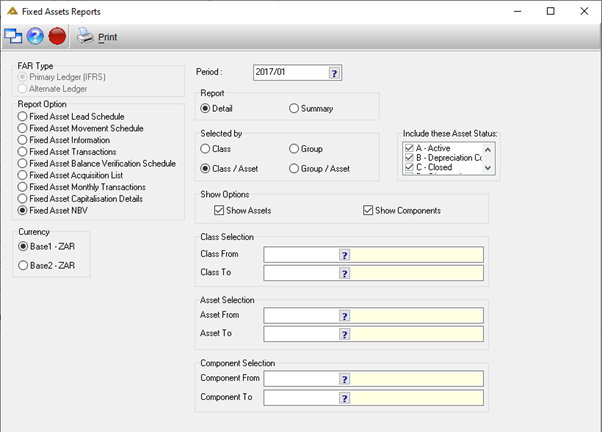
Fixed Asset NBV Report Example
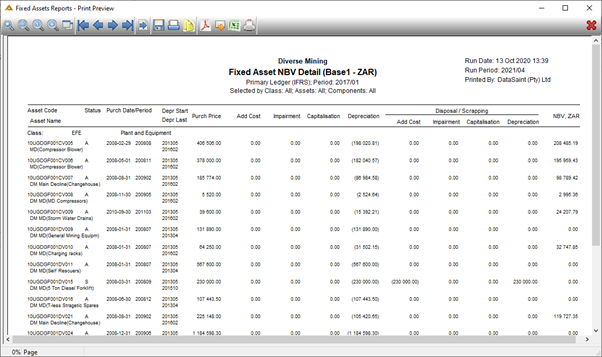
Screen Defaults/Custom Reports
To customize your default view, select the radio buttons and pickers as per preference or requirements. Fields like Period and Date pickers will not be saved.
Once the relevant buttons and fields are completed, click on the ![]() button on the top left side of the screen.
button on the top left side of the screen.
Select 'Maintain' from the 'Screen Defaults' option:
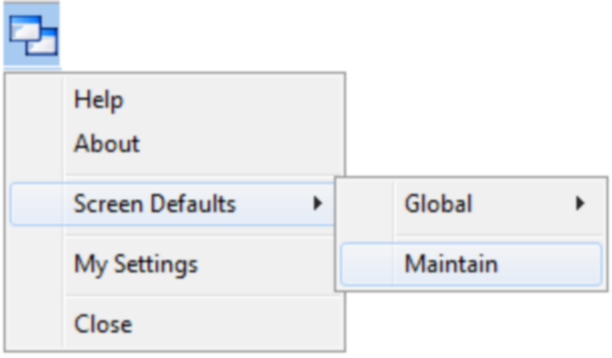
The 'Maintain Screen Defaults' window will open:
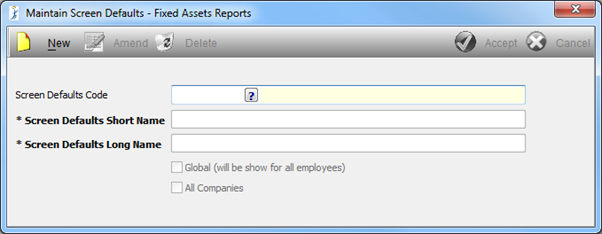
Click on the ![]() button to start.
button to start.
Enter a Short Name for the default screen. This could be a code or abbreviated version to easily identify the Screen Default.
Enter a Long Name for the default screen. This will be a more descriptive name.
If the Screen Default is going to be Global, select the ![]() .
.
If this Screen Default is needed for All Companies, select the ![]() .
.
Once all the fields have been completed click on the ![]() button to save.
button to save.
When you click on the ![]() icon again a new option will be added - 'Custom':
icon again a new option will be added - 'Custom':
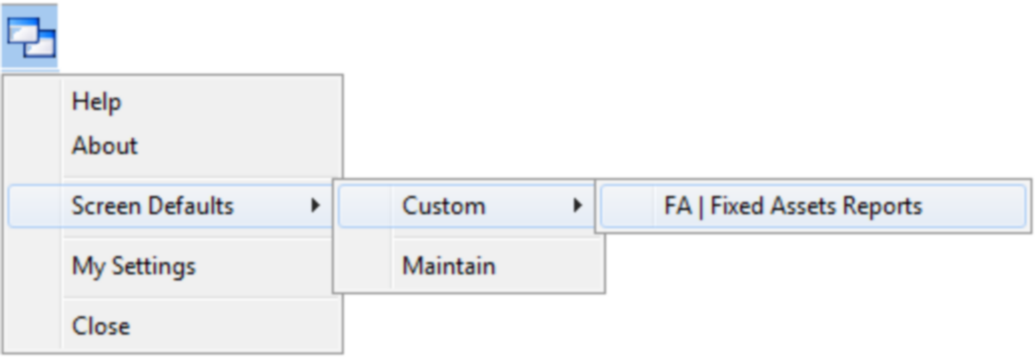
Screen defaults can be maintained using the ![]() button.
button.
When editing there will be a new tick box - ![]()
This is done to prevent accidental overwriting of Screen Default Values. If you wish to change some of the Screen Default options please uncheck this option.
To remove a Screen Default, click on the ![]() button.
button.
When a Screen Default is changed to 'Global' it will be added to the drop down menu as per below screen shot. When you change a Screen Default to 'All Companies' it will appear next to the name:

Custom Screen Defaults can only be seen and used by the user who created them.
Global Screen Defaults can be used by every user who has access to the application.