Overview
This application allows for the easy closing of Work Orders, without any need to capture feedback or labour time worked. The job status is updated to 200 (Closed). You can also cancel work orders with status 0 (Captured) – the status will be updated to 210 (Job Cancelled). Job cards never returned can be closed and the job status will be updated to 220 (Job Card Not Returned). You can also view a list of work orders that can be closed or cancelled. Search functionality is also available.
Parameter functionality exists to control whether work orders with open transactions can be closed or cancelled. It will either allow you to not close the work order at all if there are open transactions, or it can display a grid of open transactions but this is merely information and the user can continue to action the work order. Parameter - PM_TRANSCHECK_BLOCK and values can be 0 - No block, 1 - Soft Block/Grid Display with transactions or 2 - Hard block/Work orders with open transactions can't be closed.
Function
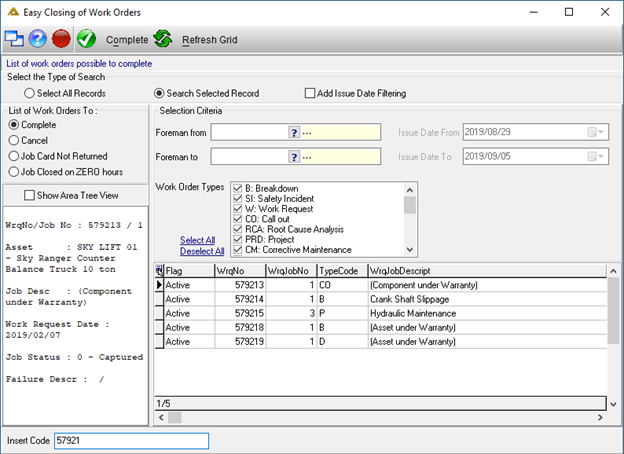
When the application is opened you will view the following screen:
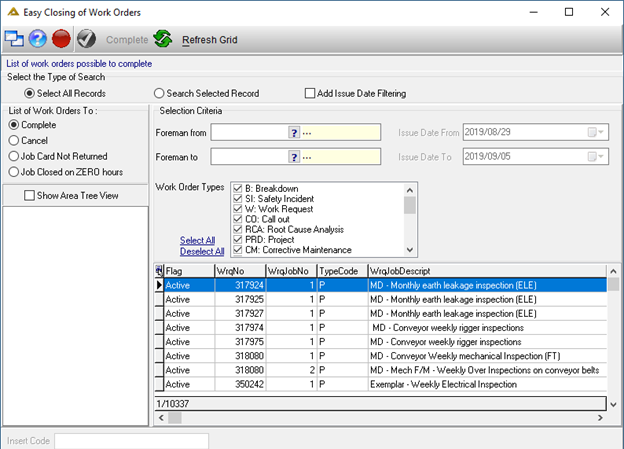
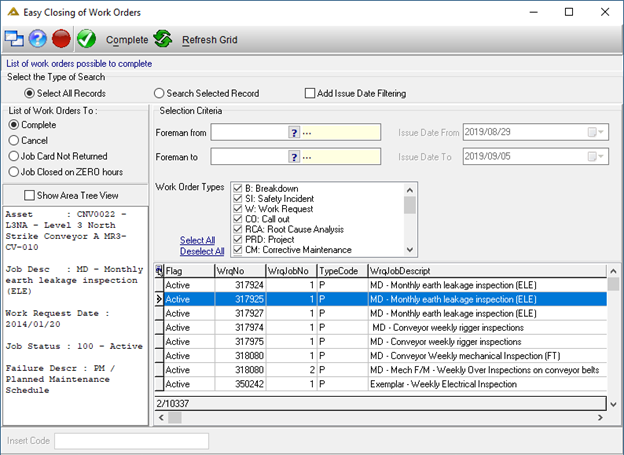
When the application is opened, the 'Complete' radio button will be selected by default. Select the work order you wish to complete from the grid. You can either select it and click on the ![]() button to complete. You can also select multiple work orders to process by holding the CTRL button on your keyboard while selecting the lines. The details for the selected work order will be displayed as follows:
button to complete. You can also select multiple work orders to process by holding the CTRL button on your keyboard while selecting the lines. The details for the selected work order will be displayed as follows:
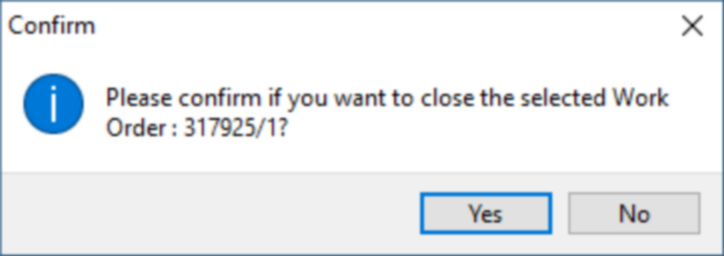
When you complete a work order, you will receive the following confirmation message:
Upon confirmation, you will receive the following information message:

Repeat the same steps for cancel, job card not returned, or job closed on zero hours by first selecting the appropriate radio button. The ![]() button will refresh the work orders grid.
button will refresh the work orders grid.
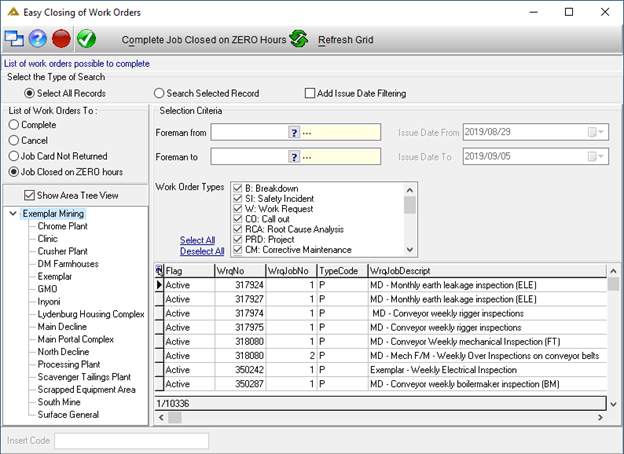
The 'Show Area Tree View' tick box displays the area tree from where work orders can be filtered by selecting an area:
The 'Insert Code' field at the bottom of the screen allows you to enter the work order number you wish to complete. To use this functionality, select the 'Search Selected Record' radio button at the top of the screen.
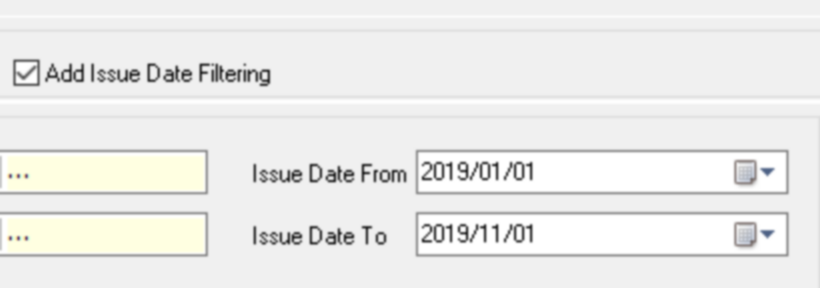
The 'Add Issue Date Filtering' tick box allows you to enter a date range. Only work orders within the selected date range will be displayed.
A PDF copy of each work order will automatically be created and uploaded to the DocVault. This allows you to print any work order at any time, even after it has been closed.