Overview
This application is used to capture Work Order feedback, labour time and work order details for a specific work order and job. The work order can also be completed in this application.
This information is used for reporting purposes as well as Schedule trend analysis (when work order generated from a schedule with measurable data in the task list).
Parameter functionality exists to control whether work orders with open transactions can be closed or cancelled. It will either allow you to not close the work order at all if there are open transactions, or it can display a grid of open transactions but this is merely information and the user can continue to action the work order. Parameter - PM_TRANSCHECK_BLOCK and values can be 0 - No block, 1 - Soft Block/Grid Display with transactions or 2 - Hard block/Work orders with open transactions can't be closed.
Function
Capture labour time and feedback
When the application is opened, you will view the following screen:
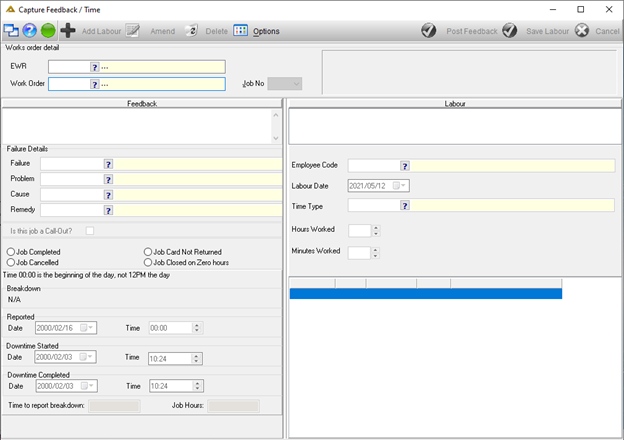
You can either use the EWR picker to select the work request for which you need to capture feedback/time or select the work order directly using the Work Order picker.
Once a work order has been selected, you will be able to enter the feedback details:
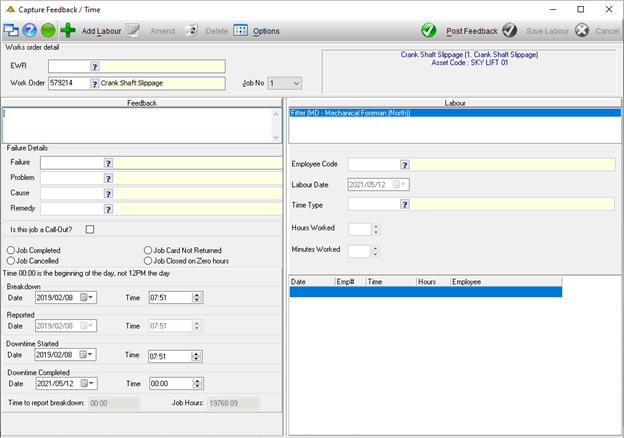
Click on the ![]() button to add labour time. The labour section will be enabled:
button to add labour time. The labour section will be enabled:
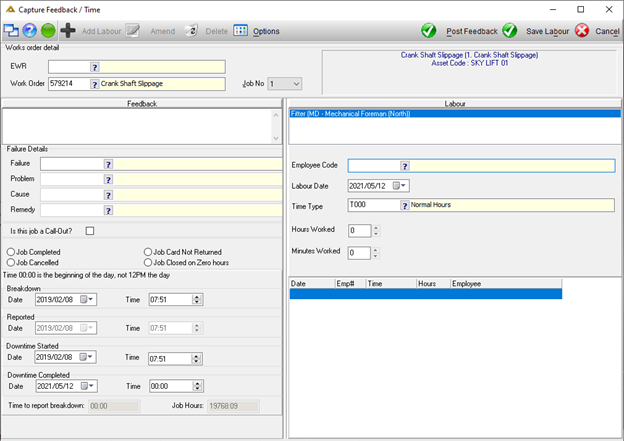
Select an Employee and enter the date, time type and hours. Click on the ![]() button to save labour hours. Use the
button to save labour hours. Use the ![]() button to edit the selected labour hours or the
button to edit the selected labour hours or the ![]() button to delete the selected labour hours.
button to delete the selected labour hours.
Every labour line added will be displayed in the grid:
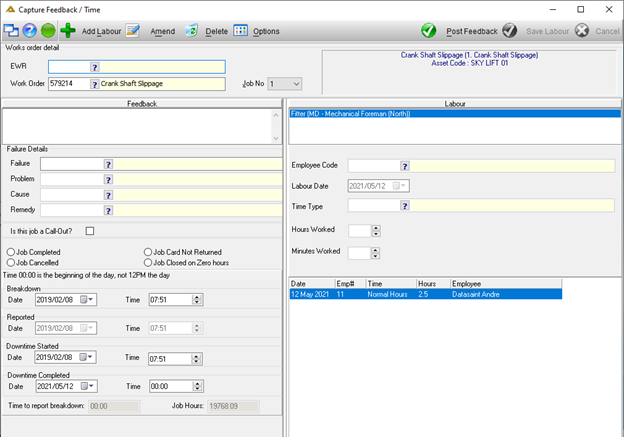
Complete the Feedback field and select the failure details using the pickers. The job will only be closed if you selected a completion status.
![]()
You will not be allowed to click on the ![]() button without closing the job. This allows you to come back at a later stage and continue editing/capturing feedback. No further changes will be allowed once the work order has been completed.
button without closing the job. This allows you to come back at a later stage and continue editing/capturing feedback. No further changes will be allowed once the work order has been completed.
Once everything has been captured and documentation attached if required, select the Job Completed radio button and click on the ![]() button to save:
button to save:
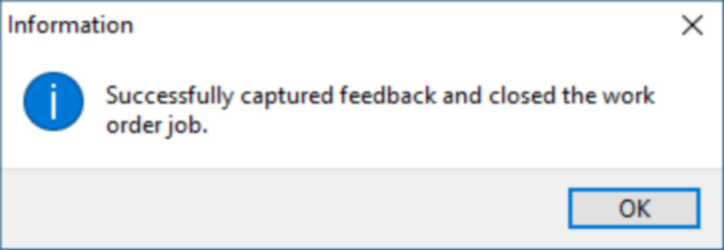
Capture Schedule Feedback
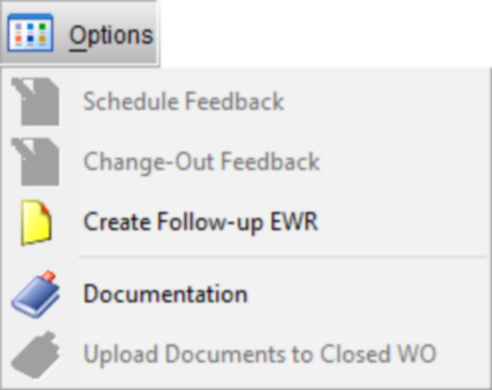
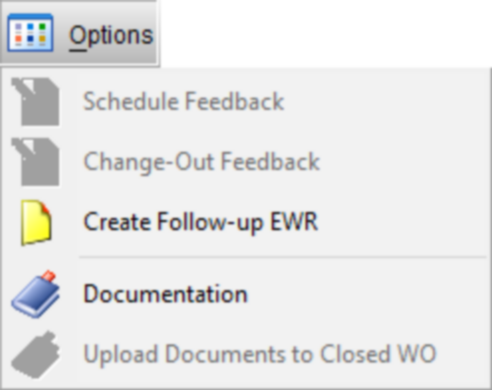
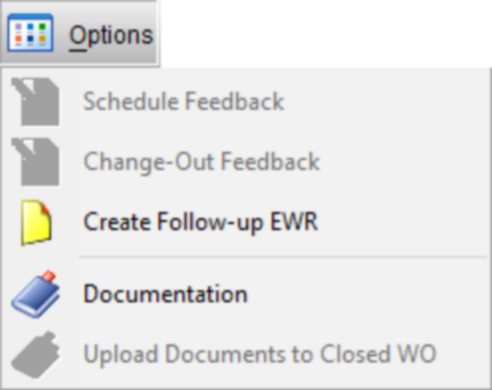
Measurable tasks can be linked to a schedule. These special types of tasks provide a space on the job card where the artisan can write the relevant measurements (Example: Oil level). To capture Schedule Feedback, select the work order and click on the ![]() button. Select the 'Schedule Feedback' option which will only be enabled for work order types of CHO and PCH:
button. Select the 'Schedule Feedback' option which will only be enabled for work order types of CHO and PCH:
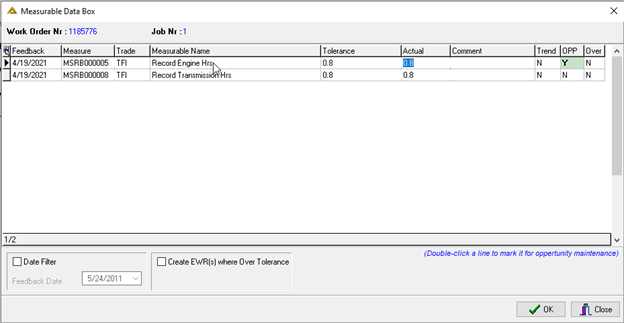
This option opens a screen which allows you to capture the measurable data written on the job card. The measurable data can be viewed in the Schedule Graph Trending report tool. You can filter the tasks by clicking the 'Date Filter' check box and selecting a date.
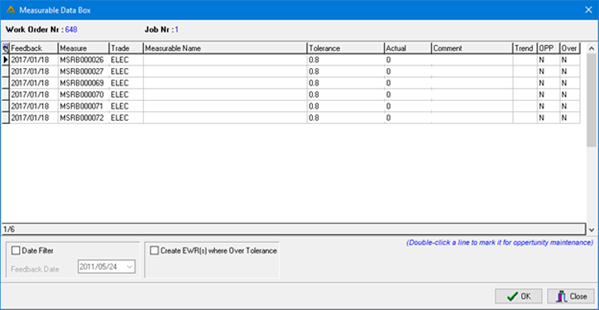
Click on the value in the 'Actual' column and enter a new measurable value. Once all values have been captured, click on the ![]() button to save:
button to save:
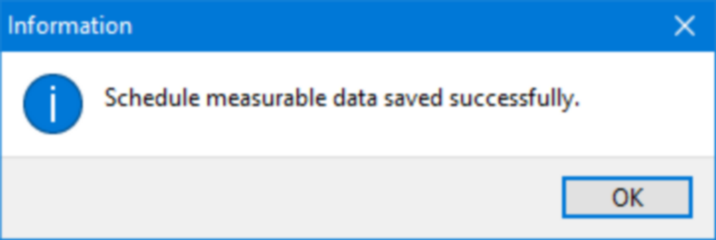
You can look at the measurable data in the grid to see if a specific task needs to be carried out. The system can generate work orders for the specified schedule tasks that require preventative maintenance. Work orders generated from this screen will go for EWR approval (if the EWR approvals Workflow is enabled).
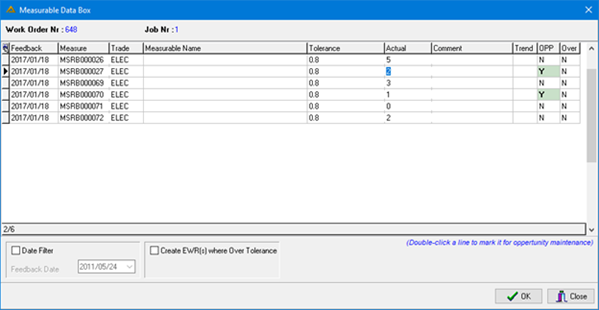
Double-click all of the tasks in the grid that requires opportunity maintenance and click on the ![]() button to create the new work orders.
button to create the new work orders.
The 'OPP' column in the grid indicates if the task line has been marked for opportunity maintenance. The work order job description will indicate the measurable task description and value. The comment entered into the grid will display as part of the job description.
![]()
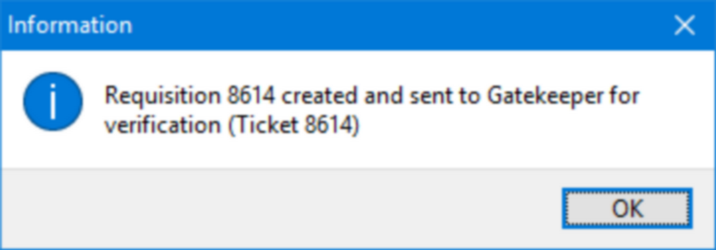
A single tolerance percentage is set up for all measurable tasks. This percentage is used to calculate the tolerable value for the tasks. Measurement that fall within the tolerance is still be fine but indicate that it must be looked at. Measurements that falls over tolerance should be looked at and can cause breakdowns if not resolved. The system can check for tasks that are over tolerance and create the required work orders.
Work orders generated from this screen will go for EWR approval if the EWR approvals workflow has been enabled.
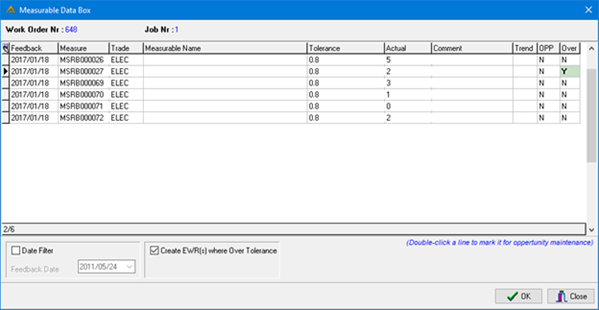
Check the 'Create EWR(s) where Over Tolerance check box. The system will now highlight all of the tasks which are over tolerance. The 'Over' column in the grid will clearly indicate which tasks are over. Note that the system only checks for over tolerance if the measurable task has been defined as trending by the planner. The 'Trend' column indicates if the task is trending. Click on the ![]() button to create the new work orders. The work order job description will indicate the measurable task description and value.
button to create the new work orders. The work order job description will indicate the measurable task description and value.

Note that each over tolerance task will be on the same works order. Each task will have a different line number as can be seen in the example above.
Capture Change-Out Feedback
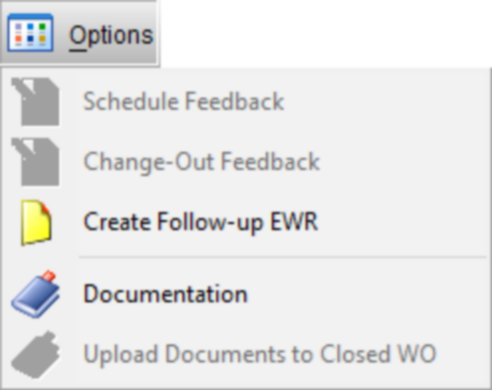
When you capture feedback/time for a change out component, you have to capture change-out feedback as well. Click on the ![]() button and select the 'Change-Out Feedback' option which will only be enabled for work order types of CHO and PCH:
button and select the 'Change-Out Feedback' option which will only be enabled for work order types of CHO and PCH:
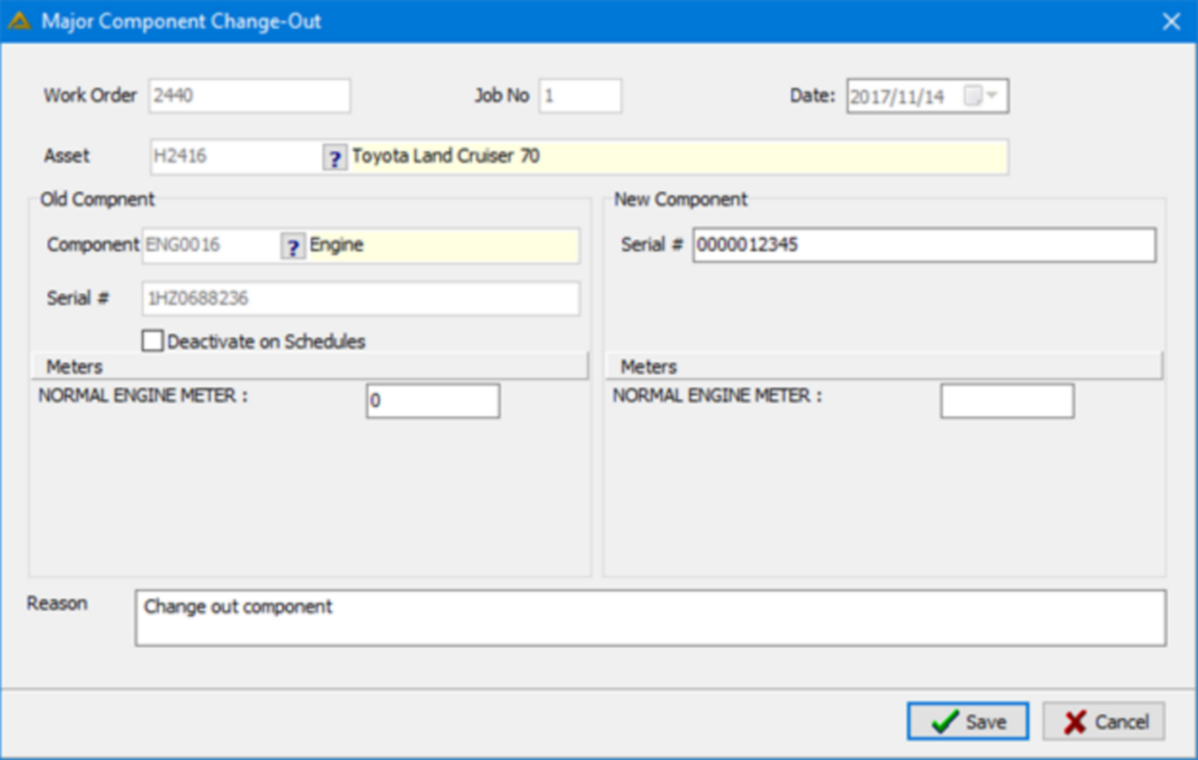
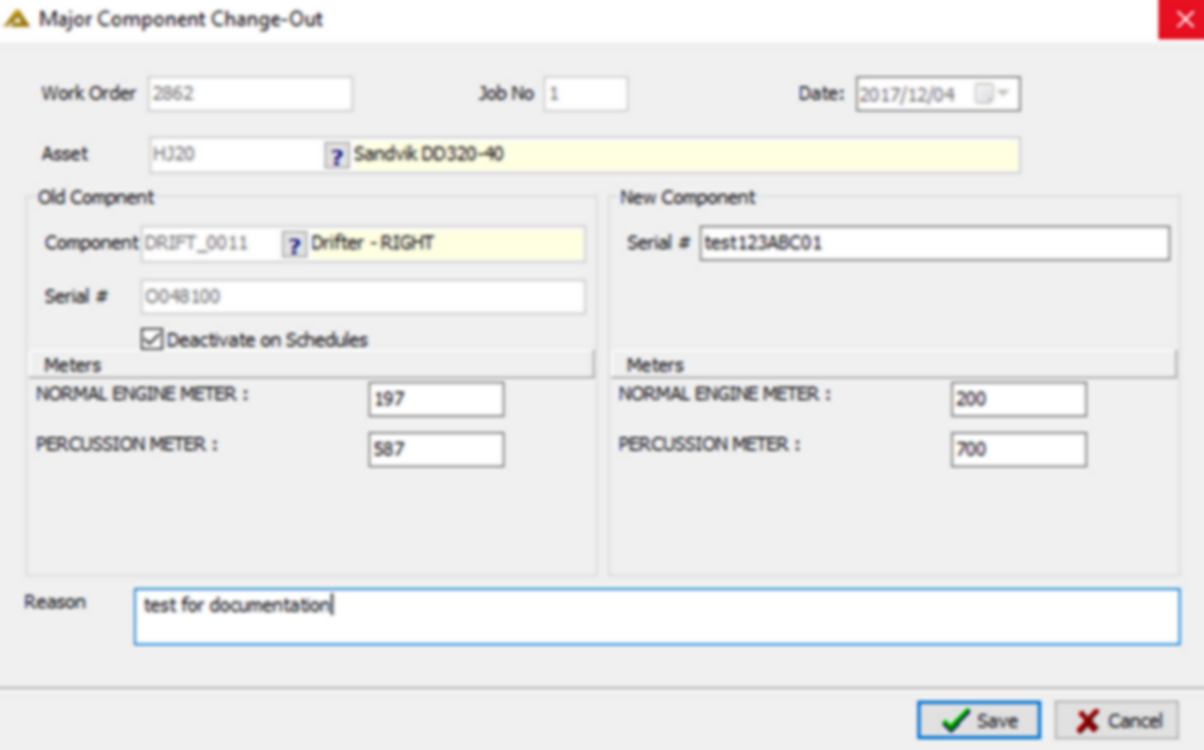
As with Work Order Capture, you will be required to complete the Major Component Change-Out screen:
The application will not allow posting of feedback/time without capturing the component change out information. A warning message will prevent posting:

Once completed, click on the ![]() button.
button.
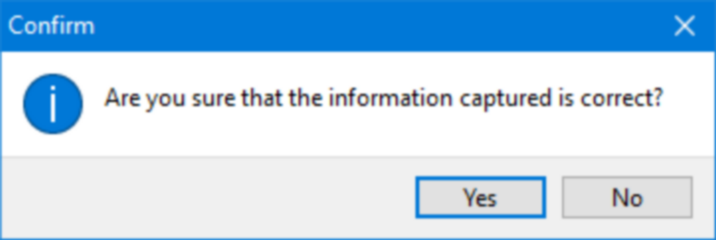
The information entered will be validated. If any discrepancies are found an email will be sent to the planner informing them of the change out and discrepancies.
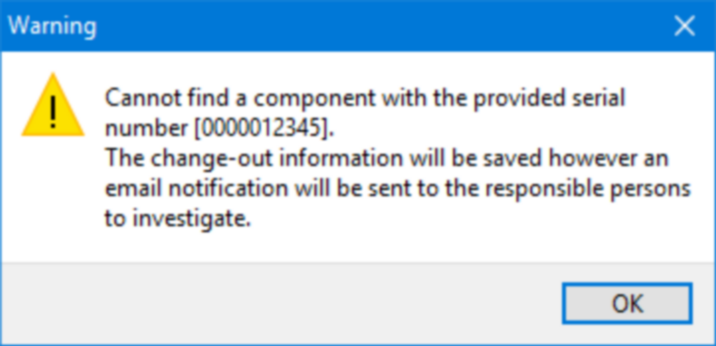
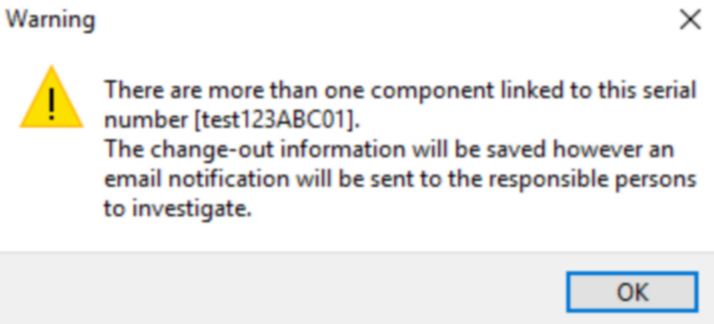
If no discrepancies are found the asset component links will be updated (if not already updated by the rotable process), a new meter and meter sequence with the captured meter readings (if any) for the new component will be added and the component schedules will be updated IF the 'Deactivate on Schedules' tick box is ticked and the schedule is set to Auto release Y.
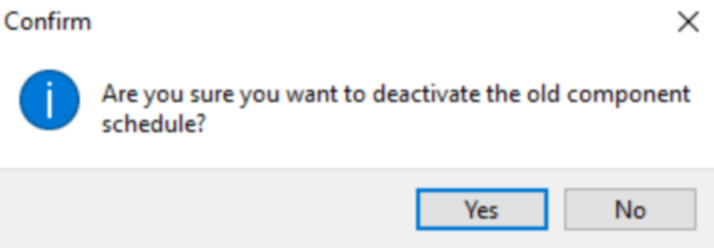
It is crucial to note that the new component will be linked to the asset and the old component unlinked if no discrepancies are found. This will reflect in the list of linked components for the asset in Asset/Component maintenance. In Schedule maintenance, the new component will appear on the Change Out schedule with auto release flag set to Y (if the tick box was ticked on the change out information dialog and if the old component was set to auto release Y), but the old component will remain on the schedule (auto release now set to N) and will need to be removed manually.
Create Follow-up EWR
Click on the ![]() button and select the 'Create Follow-up EWR' option.
button and select the 'Create Follow-up EWR' option.
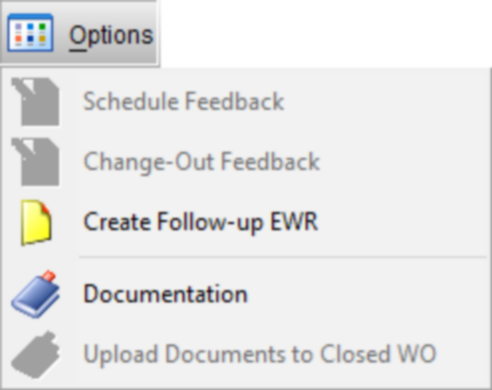
This option allows you to create multiline EWRs and can only be captured for schedules with measurable tasks. When you capture the schedule feedback you will be able to mark lines for opportunity maintenance. This will automatically create a multiline EWR for all lines marked:
Work Order Documentation
Click the ![]() button and select the 'Documentation' option to open the DocVault screen. This option allows you to view and add documentation on the work order.
button and select the 'Documentation' option to open the DocVault screen. This option allows you to view and add documentation on the work order.
Work Order Documentation – Closed WO
Click the ![]() button and select the 'Upload Documents to Closed WO' option to open the DocVault screen. This option allows you to view and add documentation to work orders that have already been closed.
button and select the 'Upload Documents to Closed WO' option to open the DocVault screen. This option allows you to view and add documentation to work orders that have already been closed.
