Overview
Contracts (lease agreements) form the link between Units and Tenants and consist of the following:
•General Contract Information: For example, Occupation and Vacate Date, as well as the Tenant involved in the Contract.
•Deposit amounts: A required deposit amount can be defined here, as well as interest on that deposit.
•Units involved in Contract: This can be one or more Units.
•Charges: These involve costs per unit such as rent itself, or metered consumption such as Electricity.
Function
Contracts Tab:
When the application is opened, you will view the following. By default, the Contracts tab will be the active tab:
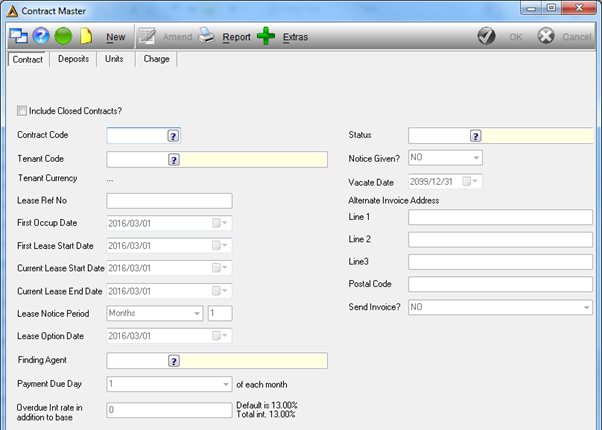
To include closed contracts, select the tick box.
Contract code – select the code of the contract using the picker. Once the code has been selected the remaining fields will be populated.
Click on the ![]() button to edit the fields.
button to edit the fields.
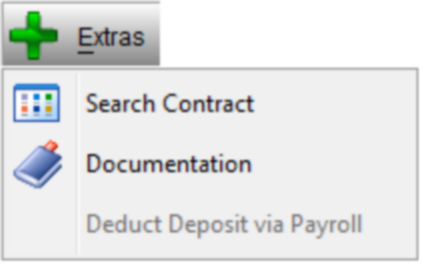
The ![]() button allows you to search for a specific contract or to upload documentation. The Deduct Deposit via Payroll option will only be enabled where applicable.
button allows you to search for a specific contract or to upload documentation. The Deduct Deposit via Payroll option will only be enabled where applicable.
The ![]() button allows you to generate a report.
button allows you to generate a report.
Deposits Tab
Click on the ![]() button to create a new deposit entry. You will have the following options:
button to create a new deposit entry. You will have the following options:
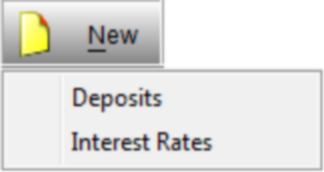
If you have selected the deposit option, the deposits grid will be enabled. If you have selected the interest rate option, the interest rate grid will be enabled.
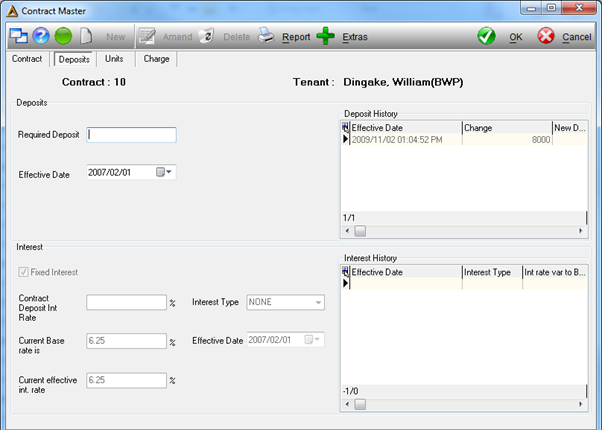
Deposits

Required deposit – enter the amount of the deposit.
Effective date – select the effective date of the deposit.
Interest rates

Contract Deposit Int Rate – enter the percentage of the interest rate. There is an option to apply a fixed interest rate, if this option is not selected the interest rate will increase: ![]() . Click on the
. Click on the ![]() button to post the record.
button to post the record.
Units Tab:
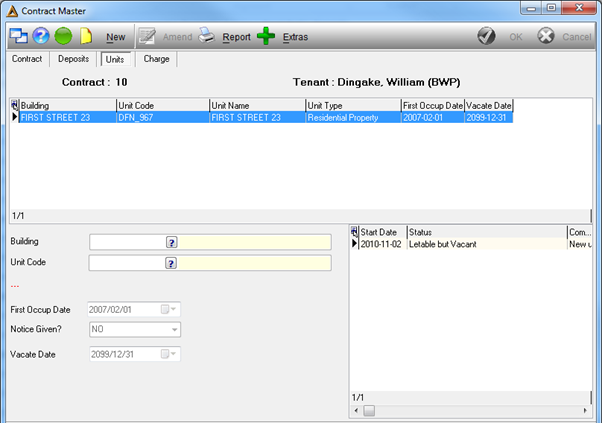
Click on the ![]() button to add a new unit. The building name will automatically be populated.
button to add a new unit. The building name will automatically be populated.
Unit code – select the property using the picker or by entering the code manually. If the property is not available, it will be displayed in red:
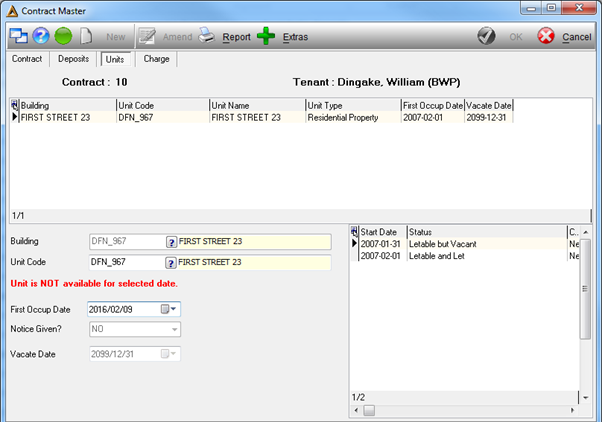
Once the property has been selected, all the information regarding the selected building and property will be provided as well as the status of the property.
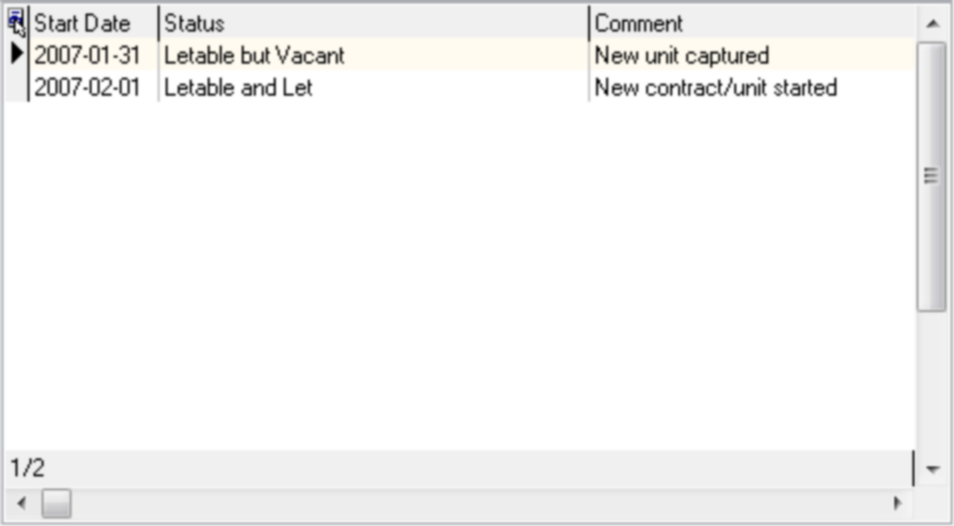
First occupation date – select the date by clicking on the drop-down arrow. Click on the ![]() button to post the record.
button to post the record.
Charge Tab:
Click on the ![]() button to create a new charge type. You will have the following options:
button to create a new charge type. You will have the following options:
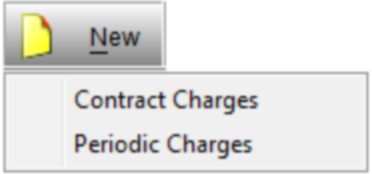
Contract Charges
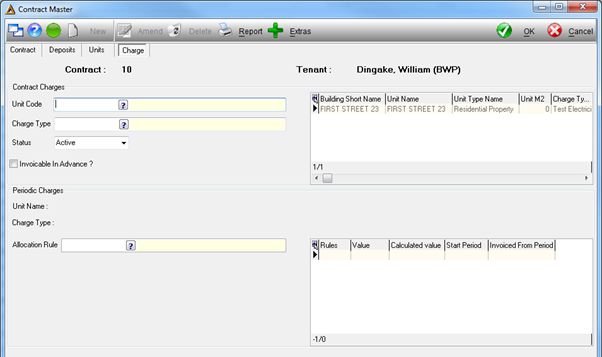
Unit code – select the unit code using the picker or by entering it manually.
Charge type – select the name by clicking on the picker and selecting from the list provided.
Status – select the status of the contract, active or closed.
The option to invoice in advance is available. Select the tick box to activate this functionality. Click on the ![]() button to post this record.
button to post this record.
Periodic Charges
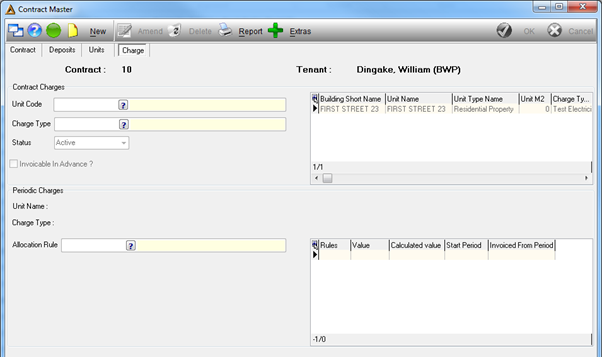
Allocation charges – select the rule name by clicking on the picker and selecting from the list provided.
Start period – select the start date by clicking on the picker and selecting the date from the calendar provided.
Click on the ![]() button to post the record.
button to post the record.
The ![]() button allows you to generate a report preview.
button allows you to generate a report preview.
Rules applied
•All units linked to a contract must all be linked to the same building.
•When setting up charges, the following rules are used:
oRule 0 – User alarm: From a selected period onwards, this rule will cause a line in the Charges Requiring Update Report to be displayed, reminding the user that the specific charge requires update.
oRule 1 – Fixed amount per month: From a selected period onwards, this rule will invoice the same amount each month through the rent roll. Typical usage being Rental charges.
oRule 2 – Percentage of captured invoice: From a selected period onwards, this rule will invoice a fixed percentage of a captured invoice amount using the Credit/Invoice Allocations Application.
oRule 3 – Pro-rata square meter of captured invoice: From a selected period onwards, this rule will invoice an amount of a captured invoice via the Credit/Invoice Allocations Application according to the fraction of the square meter size of the unit vs the square meter size of the building it is linked to.
oRule 4 – Rate per Square Meter: From a selected period onwards, this rule will invoice an amount according to the unit square meter times the specified rate.
oRule 5 – Full amount of Captured Invoice: From a selected period onwards, this rule will invoice the full amount of an invoice captured for specific Charge Type using the Credit/Invoice Allocations Application.
oRule 6 – Meter reading: From a selected period onwards, this rule will invoice an amount according to the rate specified times the consumption captured for the meter linked to this charge type, divided by the unit allocation percentage.
oRule 7 – Once off amount: For selected period only, charge specified amount.
oRule 8 – Percentage increase: From selected period onwards, increase any rule 1 or rule 4 values previously effective for selected charge type by percentage specified.