Overview
This application allows the user to create and maintain contracts for consignment and normal stock being held in stores.
Function
Create a New Contract
Select the ![]() button to start a new contract.
button to start a new contract.
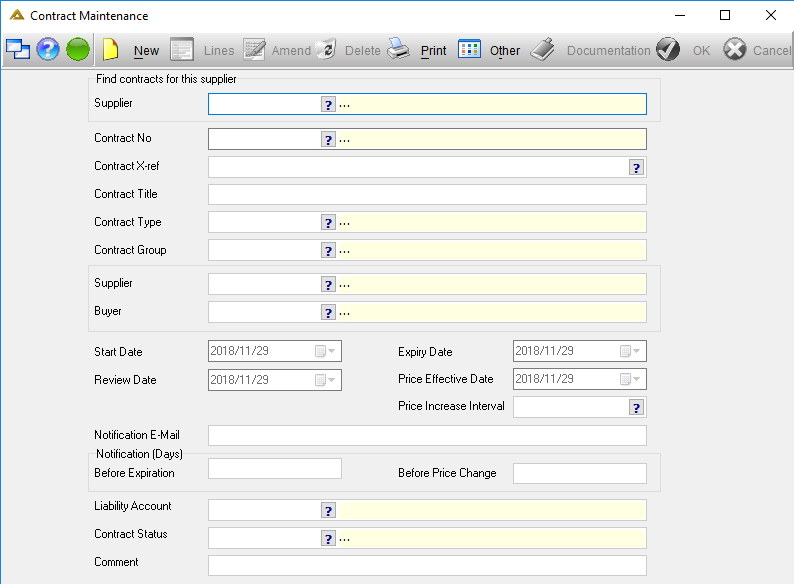
Select the following information to create the new contract:
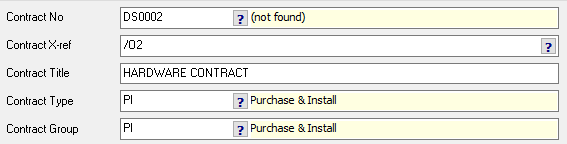
•Contract No - Enter a new contract number or select one using the picker.
•Contract X Ref - Enter the company's reference number for the contract in this field. This reference can also be looked up using the picker.
•Contract Title - Enter the title of the contract in this field.
•Contract Type - Select the type of contract using the picker.
•Contract Group - Select under which of the existing groups the contract should fall by using the picker.
•Supplier - Select the supplier using the picker. After selection, the supplier's currency will be displayed next to the supplier field.
•Buyer - Select the buyer who is responsible for placing orders with the selected supplier using the picker.

•Start Date - Select the date the contract was created using the drop down arrow.
•Expiry Date - Select the date the contract expires using the drop down arrow.
•Review Date - Select the date the contact is reviewed using the drop down arrow.
•Price Effective Date - select the date the contract is effective from using the drop down arrow.
•Price Increase Interval - If applicable select how often a price increase for this contract should be executed.

•Notification Email - Enter the email address for notification purposes of a contract review.
•Notification (Days) - Refers to the amount of days before the start of the contract review. An email will be sent in advance to the Notification Email address. Enter how long before expiration date an email should be sent to the supplier and how long before a price change an email should be sent to the supplier to notify them of the changes.

•Contract Status - Select the status of the contract using the picker:
oActive
oClosed
oSuspended
•Comment: Any comments regarding the contract can be entered here.

Select the ![]() button to save the contract. The following message will appear to confirm that the record was saved.
button to save the contract. The following message will appear to confirm that the record was saved.
Select ![]() to continue.
to continue.
Add Lines to a Contract
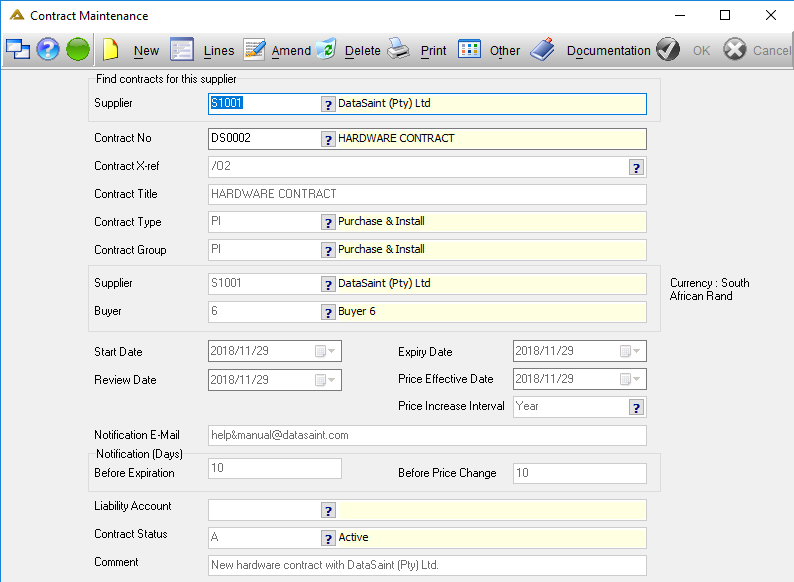
Select the contract using the picker in the 'Contract No.' field.
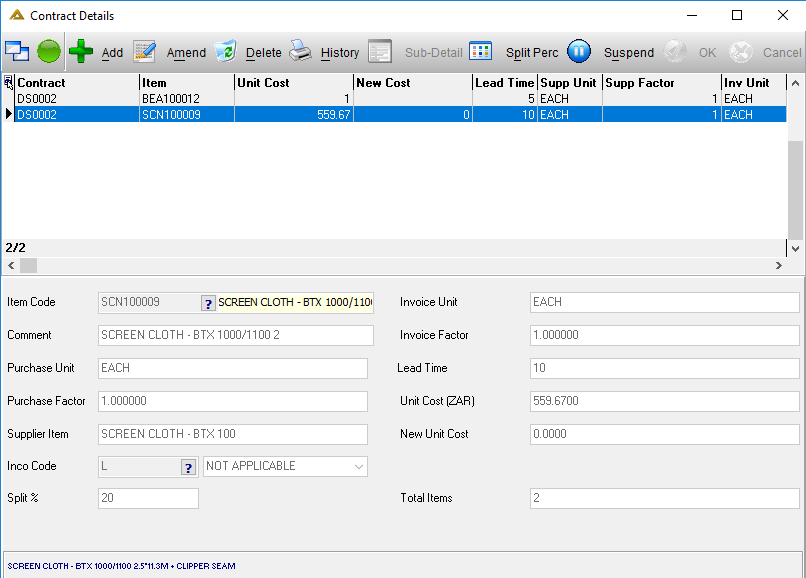
The contract's details will be displayed:
Select the ![]() button to add items to the contract.
button to add items to the contract.
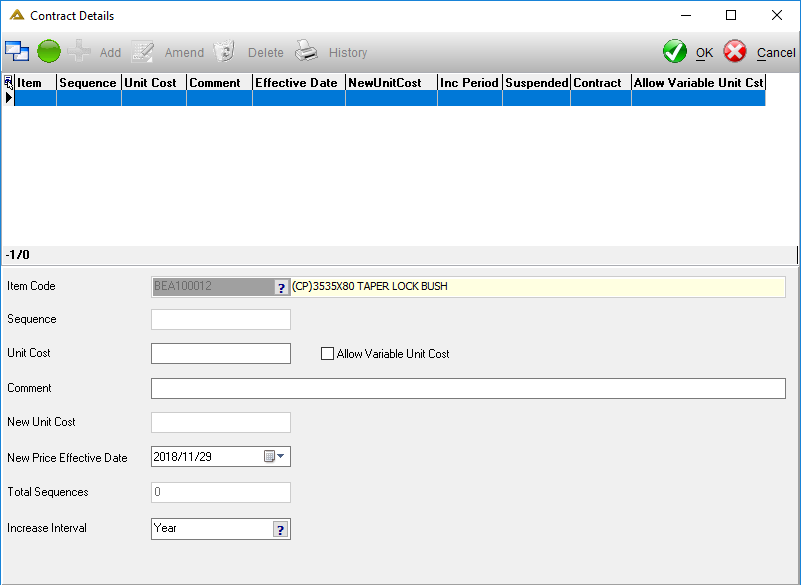
The contract items screen will be displayed and the details for the line can now be captured:
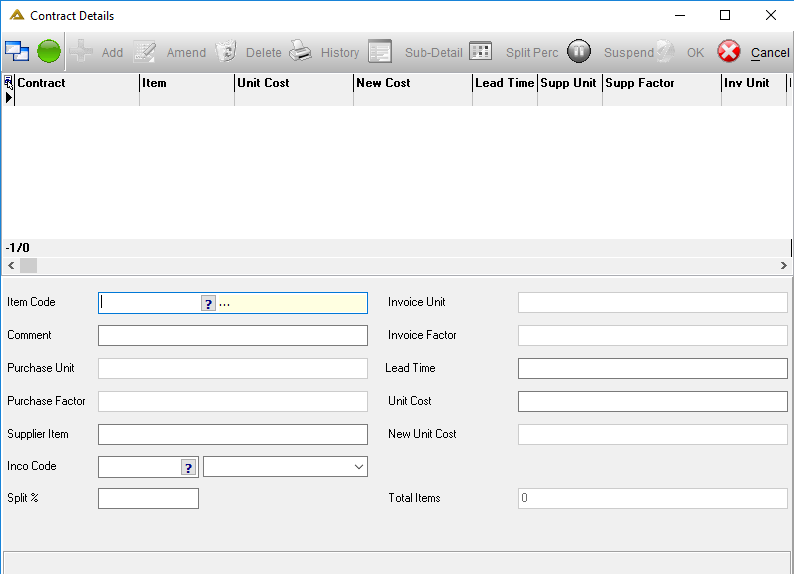
Parameter Functionality:
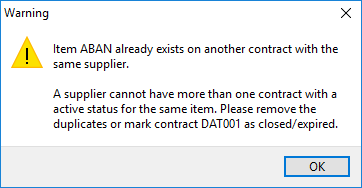
When an item is already linked to another active contract the new item will be added as suspended. For consignment stock, the suspended item will automatically become active if the previously linked item's SOH is zero quantity and there are no active transactions. The new contract item replaces all the items on other contracts which fall within the same date range. These replaced items will automatically be suspended. An email notification will be sent to the store manager's email address for suspended items which cannot be activated due to active transactions and SOH. This is also applied when copying an existing contract. If this functionality is switched off, you will not be able to create another contract with the same item.
You can also not create a contract with the same supplier for the same item:
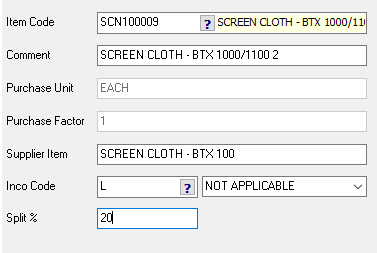
After selecting the Item Code, the rest of the fields will be populated automatically. Complete the Inco Code and Split % fields:
•Invoice Unit and Invoice Factor fields will automatically be populated once the Item Code has been selected. - This field will automatically populate when the Item Code is selected.

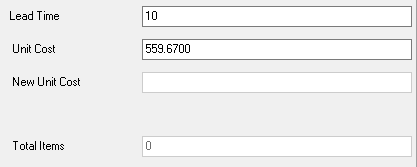
•Lead time - Enter the lead time for the selected item. Lead time is worked out based on a parameter setting. It can either be calendar days or working days only. Weekends and public holidays will be excluded if the parameter is on.
•Unit Cost - Enter the cost per unit for the selected item. The unit cost captured when first adding a line cannot be amended. The field is disabled when amending a line.
•New Unit Cost - Enter the new cost for the item. This is the cost which will be applied when the price increase is effective. This field will only be enabled when Amending an existing line. It is disabled when capturing a new line for the first time, only Unit cost can then be captured.
•Total Items - this field will be automatically populated based on the information entered.
•When you are using the Import Duties functionality there will be a button which allows you to select import duties:

Import duties can only be selected if the item is supplied by a foreign supplier.
When you click on the ![]() button the following screen will be displayed.
button the following screen will be displayed.
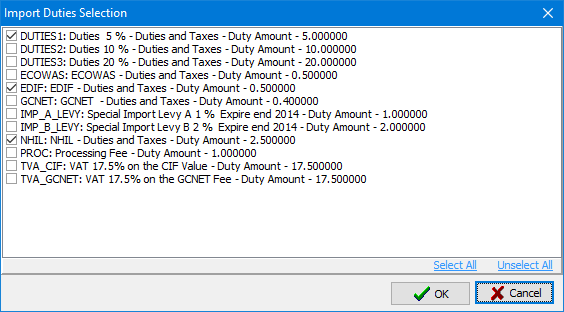
After making your selection click on the ![]() button to continue.
button to continue.
Select the ![]() button to save the record. The following message will appear to confirm that the record was saved, select
button to save the record. The following message will appear to confirm that the record was saved, select ![]() to continue.
to continue.
Added items can be viewed in the grid:
You can then add another item to the contract by clicking the ![]() button.
button.
You can Amend an existing item - ![]() . You can also amend the type of contract if no items are linked to the contract yet.
. You can also amend the type of contract if no items are linked to the contract yet.
Delete a line item by selecting it and clicking the ![]() button.
button.
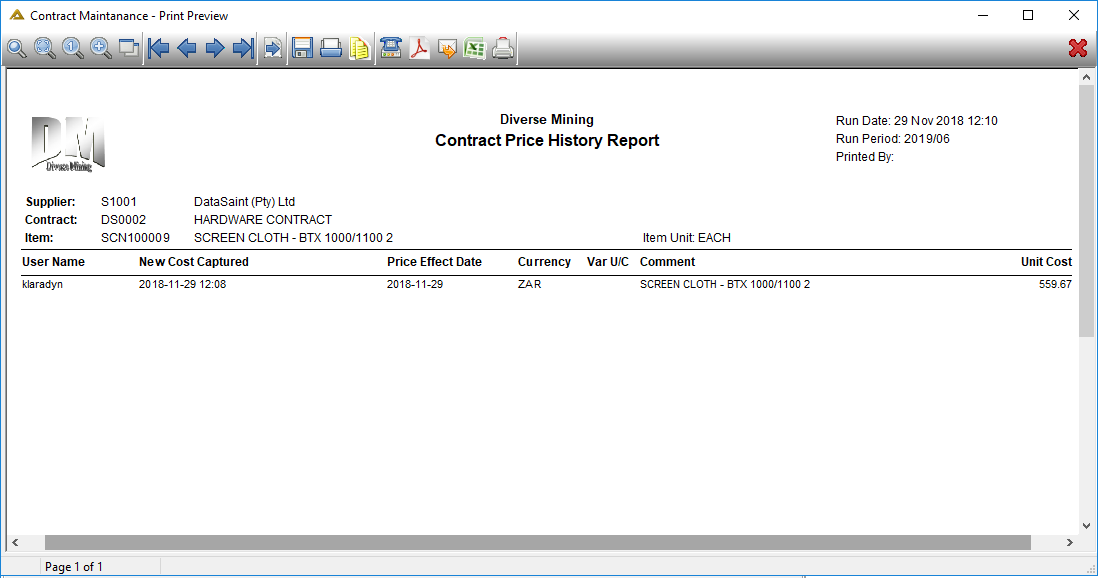
The ![]() button will print a report on the price history of the selected item.
button will print a report on the price history of the selected item.
To enable the ![]() button, you have to change the Contract Type to 'Has Sub Detail' using the Procurement Master File Maintenance application - Contract Types tab.
button, you have to change the Contract Type to 'Has Sub Detail' using the Procurement Master File Maintenance application - Contract Types tab.
When clicking the ![]() button you will be able to view the following information:
button you will be able to view the following information:
Amend an Existing Contract
To change the details of an existing contract select the relevant contract using the picker in the Account field.
Select the ![]() button to start changing the existing item lines. You will only be able to amend the New Unit Cost and Lead Time fields.
button to start changing the existing item lines. You will only be able to amend the New Unit Cost and Lead Time fields.
When the changes are complete select the ![]() button to save.
button to save.
The following message will appear to confirm that the changes were saved. Select ![]() to save.
to save.
Creating a New Contract from an Existing Contract
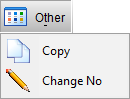
Select the contract to be used as the template, using the picker in the 'Contract No.' field. Select the 'Other' and 'Copy'.
The following screen will be displayed:
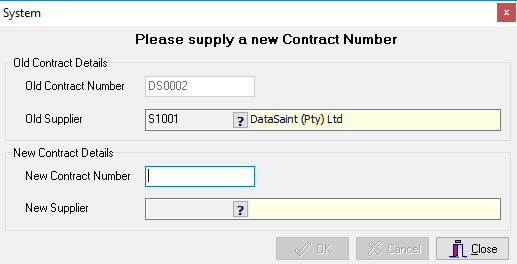
Enter the new contract number in the 'New Contract Number' field and select a new supplier using the picker in the 'New Supplier' field.
Select ![]() to copy the old contract to the new contract. The following message will appear to confirm the transaction. Select
to copy the old contract to the new contract. The following message will appear to confirm the transaction. Select ![]() to continue.
to continue.
The old contract details and item lines will be copied to the new contract number.
See also:
![]()