Overview
This application allows the user to create a new project. This application has dual language functionality. This can be requested through your system admin and activated by DataSaint (Pty) Ltd.
DNET_PROJ_HierarchyMode = 0
This will display the Project Maintenance application as seen below.
DNET_PROJ_HierarchyMode = 1
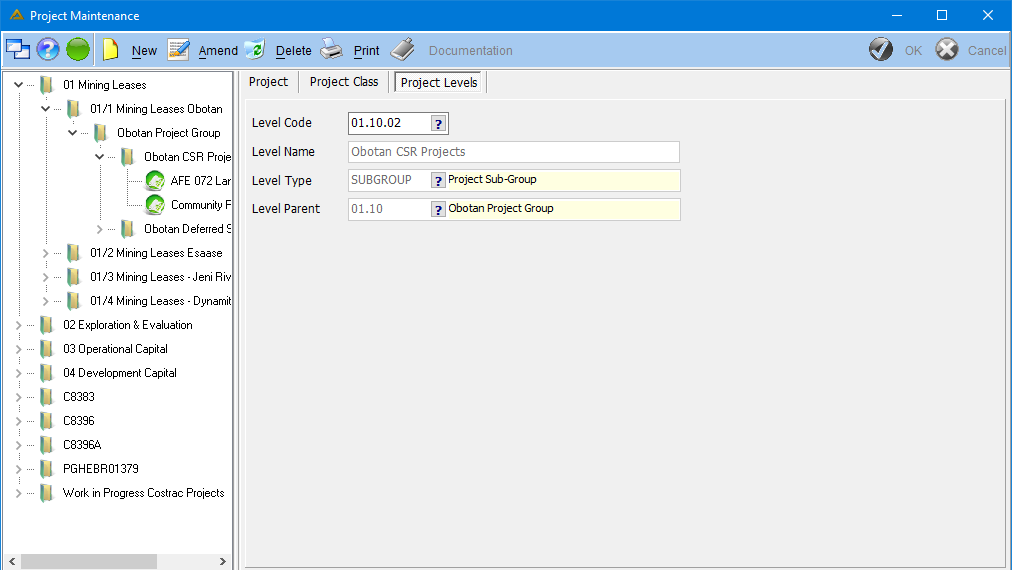
This will display the Project Maintenance application similarly to the Delta.NET version where the levels are represented in a tree view and are not fixed to show Project, Project Sub-Group, Project Group, Project Vote and Project class but have dynamic project levels instead. Votes have no parents, levels can only be linked to a higher level, no circular reference is allowed, etc.
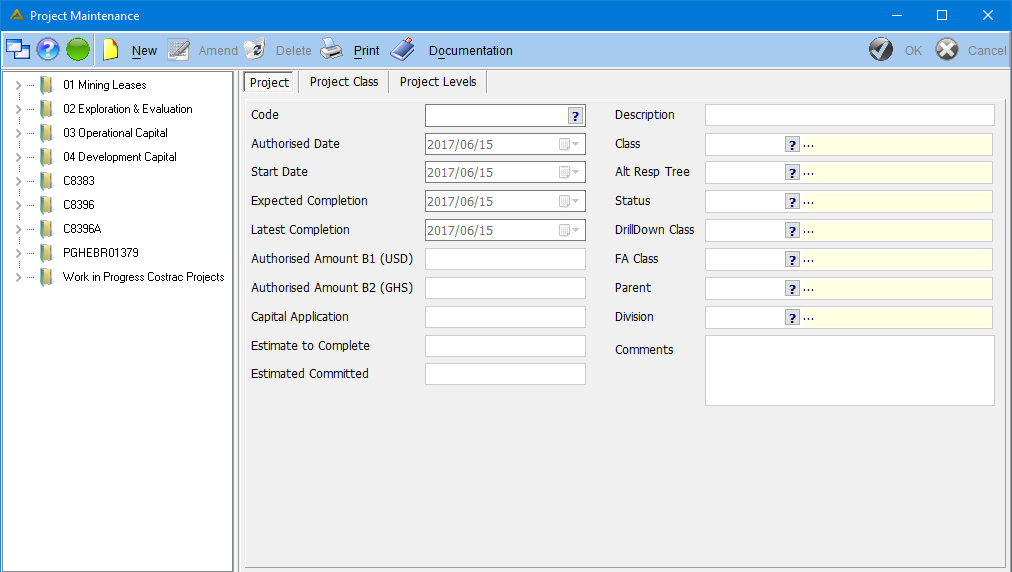
Project tab example:
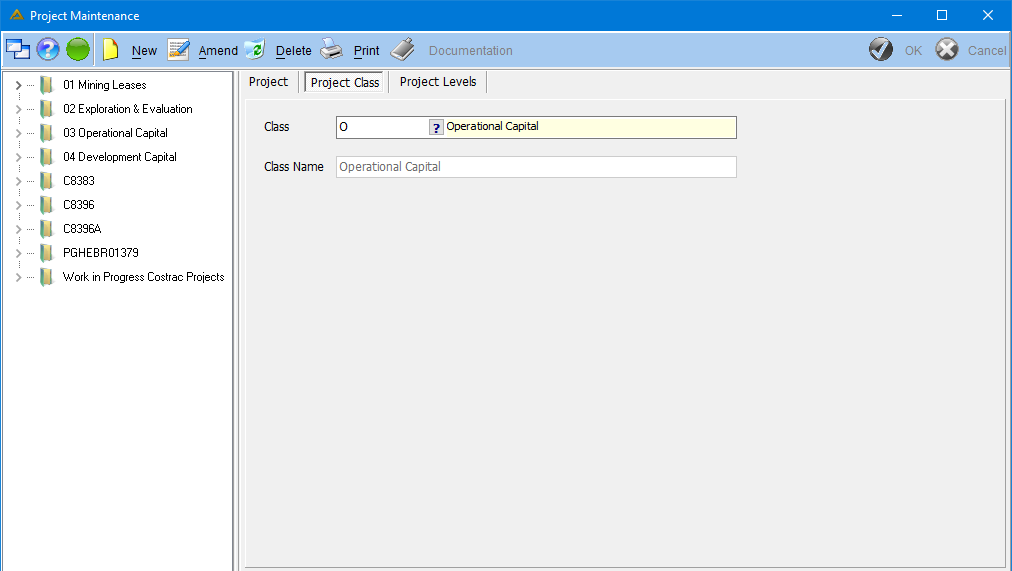
Project Class tab example:
Project Levels tab example:
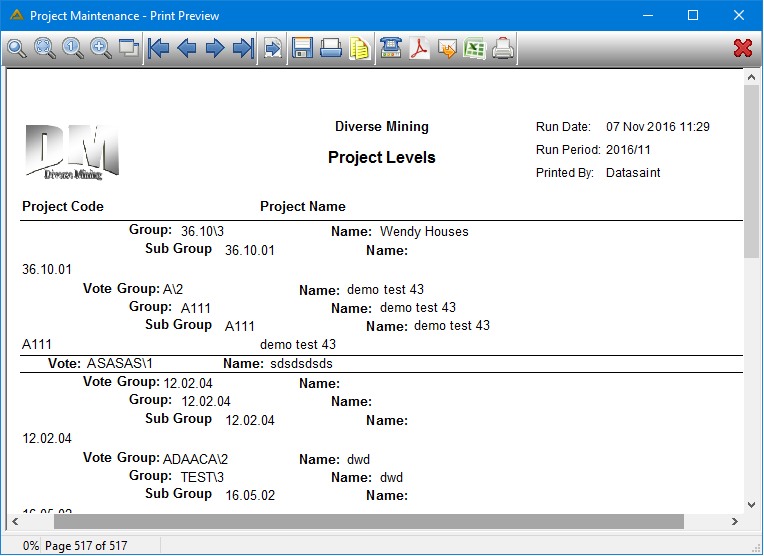
The ![]() button allows you to print the project level structure.
button allows you to print the project level structure.
Function
Creating a New Project
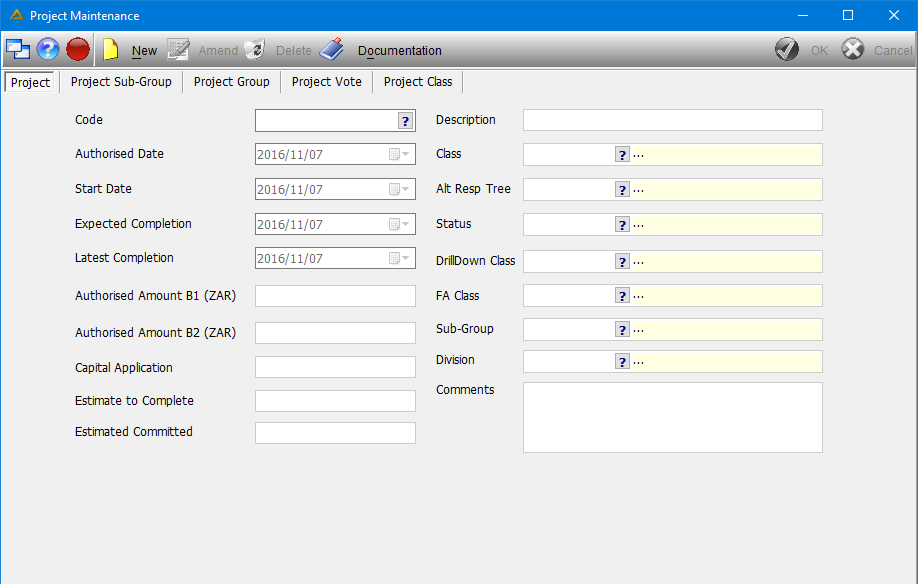
Select the ![]() button to create a new project. Click on
button to create a new project. Click on ![]() in order to change any existing information and select the project code using the picker.
in order to change any existing information and select the project code using the picker.
Enter/Select the following necessary information:
•Code - Enter a new project code if you are creating a new project.
•Authorised Date - select the date the project was authorised by using the drop down arrow.
•Start Date - select the date the project will commence using the drop down arrow.
•Expected Completion - select the date the project is expected to be completed by using the drop down arrow.
•Latest Completion - the latest completion date on the project.
•Authorised amount (B1 and B2 currencies) - enter the authorised value assigned to the project.
•Capital Application - enter the amount requested for the project
•Estimate to Complete - enter the estimated amount needed to complete the project.
•Estimated Committed - enter the amount which is committed to existing contracts and\or purchase orders for the project.
•Description - enter the full name of the project in this field.
•Class Code - select the class using the picker.
•Alt Resp Tree - Specify the details for the alternative responsibility tree as project responsibilities will override the DeltaERP responsibilities.
•Status Code - select the status code using the picker.
•Drill down Class - select the drill down class using the picker.
•FA Class - Which fixed asset class do the project belong to.
•Sub Group Code - select the sub group code using the code.
•Division - Use the picker to select which division the project belongs to. Example: Mining, engineering or finance.
•Comments - enter any necessary information not catered for by the existing fields.
•The ![]() button allows you to upload and attach documents to a project.
button allows you to upload and attach documents to a project.
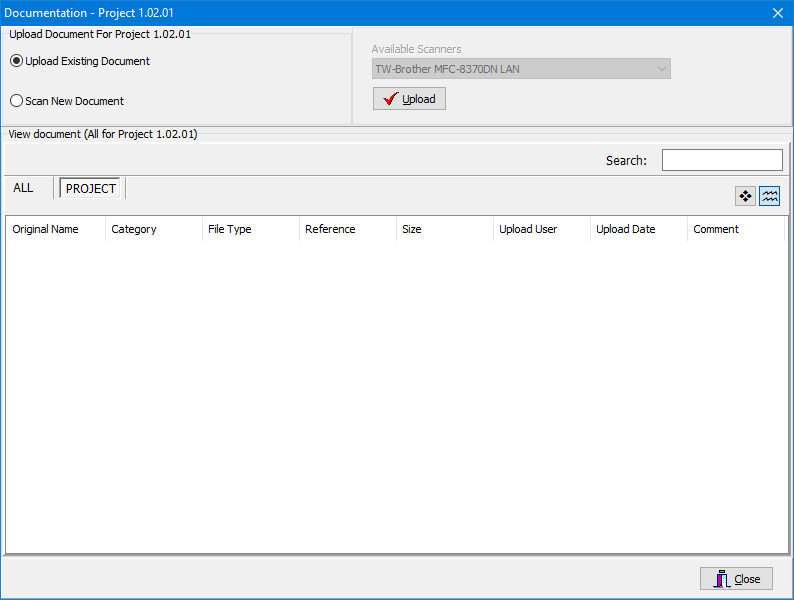
Select the ![]() button to save new record.
button to save new record.
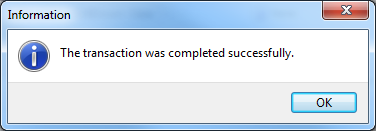
The following confirmation screen will appear to confirm that the details were saved successfully. Select ![]() to continue.
to continue.
Creating a New Project Sub Group
Select the Project Sub-Group option.
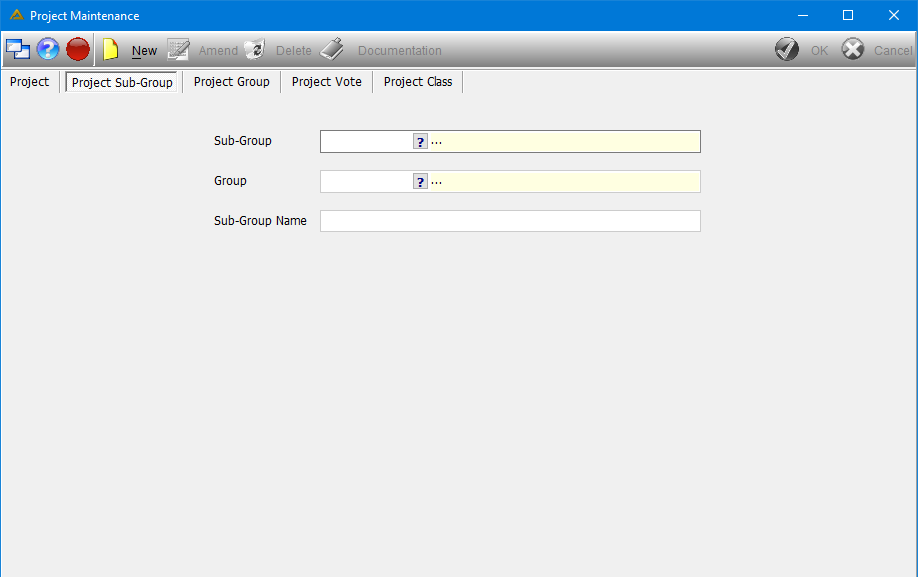
Select the ![]() button and enter the new sub group code.
button and enter the new sub group code.
Select the Group Code using the picker or enter the group code in the Group Code field.
Type the full name of the sub-group in the Sub-group Name field.
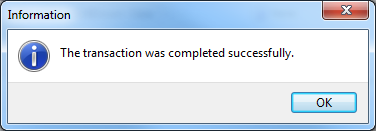
Select the ![]() button to save. The following message will appear to confirm that the details were saved. Select
button to save. The following message will appear to confirm that the details were saved. Select ![]() to continue.
to continue.
Creating a New Project Group
Select the Project Group tab.
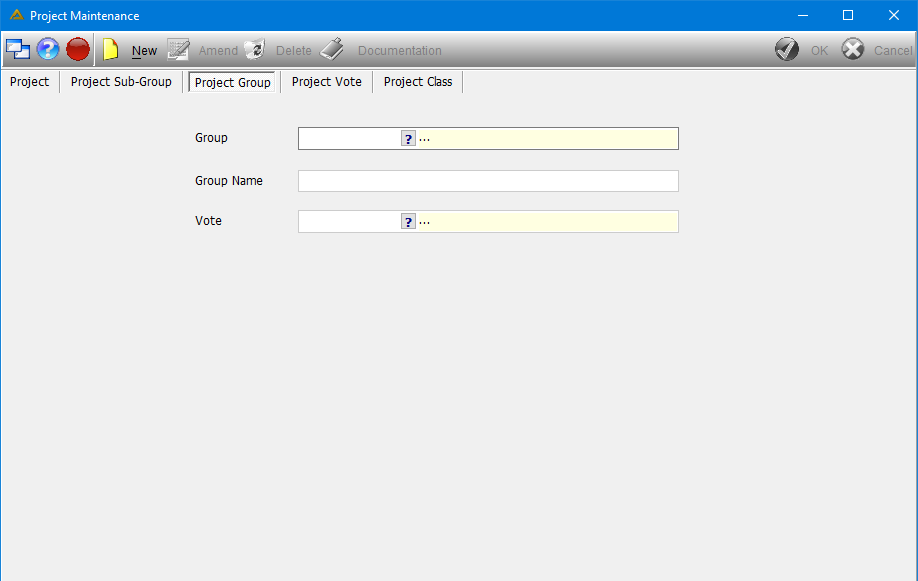
•Select the ![]() button and enter the new code in the Group Code field.
button and enter the new code in the Group Code field.
•Enter the full name of the group in the Group Name field.
•Select the vote code using the picker.
•Click on ![]() in order to change the alternate project
in order to change the alternate project
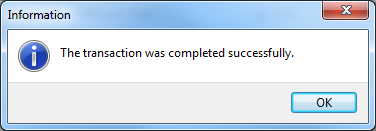
Select the ![]() button to save the details. The following message will appear to confirm that the details were saved successfully. Select
button to save the details. The following message will appear to confirm that the details were saved successfully. Select ![]() to continue.
to continue.
Creating a New Project Vote
Select the Project Vote tab.
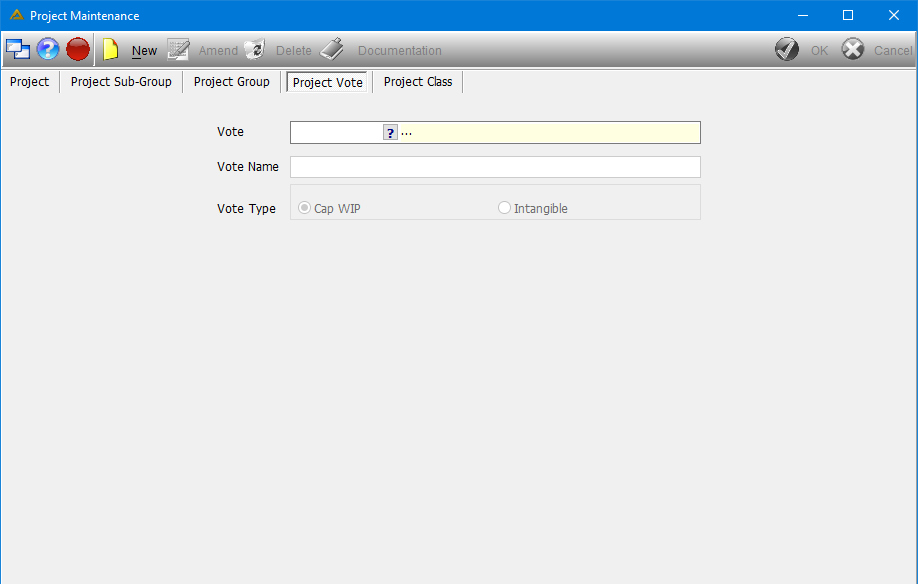
•Select the ![]() button and enter the code in the Vote Code field.
button and enter the code in the Vote Code field.
•Enter the full name of the vote code in the Vote Name field.
Select the ![]() button to save the details. The following message will appear to confirm that the details were saved successfully. Select
button to save the details. The following message will appear to confirm that the details were saved successfully. Select ![]() to continue.
to continue.
Creating a New Project Class
Select the Project Class tab.
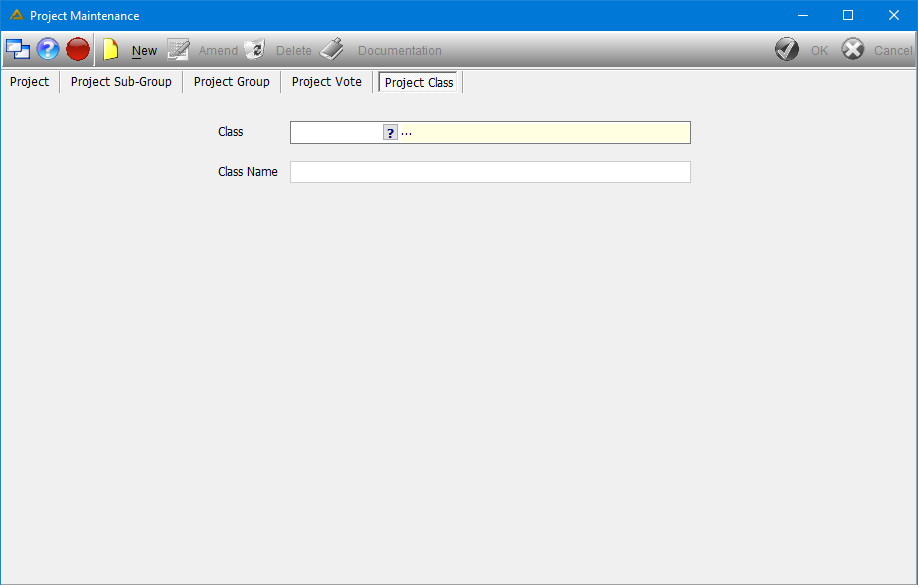
•Select the ![]() button and enter the new code in the Class Code field.
button and enter the new code in the Class Code field.
•Enter the full name of the class code in the Class Name field.
Select the ![]() button to save the details. The following message will appear to confirm that the details were saved successfully. Select
button to save the details. The following message will appear to confirm that the details were saved successfully. Select ![]() to continue.
to continue.
Amending Existing Information
Under any tab, the existing information can be amended. Select the code using the picker and select the 'Amend' button.
The fields which can be changed will become active. These fields differ from tab to tab. Change the relevant information and select ![]() to save changes.
to save changes.
The following message will appear to confirm save. Select ![]() to continue.
to continue.
Deleting Existing Information
Under any tab the existing information can be deleted. Select the code using the picker and select the ![]() button.
button.
The following confirmation screen will appear to confirm the deletion of the record. Select ![]() to delete.
to delete.

The system will prompt the following message to confirm the transaction.
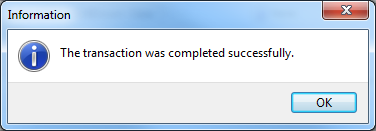
Select ![]() to continue.
to continue.
Closing a Project
Closing projects with open orders are not allowed. These projects can however be suspended. No new orders can be posted against a suspended project, but all existing outstanding transactions can be completed. Once all open orders have been completed the project can successfully be closed.
![]()