Overview
This application allows the user to allocate transactions against relevant ledger and project accounts. Functionality exists to backdate allocation dates and periods. This is parameter controlled.
Function
When the application is opened, you will view the following:
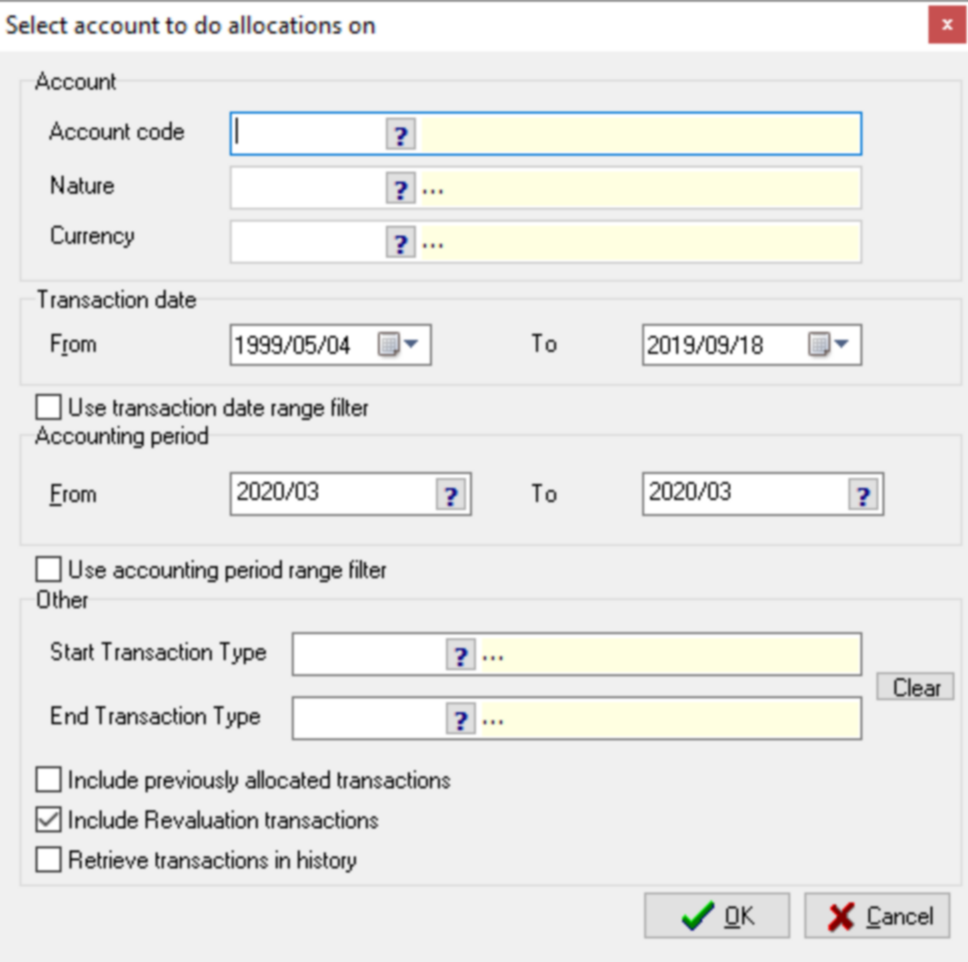
Select the following information:
•Account - select the ledger or project account using the picker
•Nature - Select the nature applicable to the allocation.
•Currency - select the type of currency using the picker. If set up, you will be able to select the option - Not Applicable. This means mixed currency transactions in the selected account will be allowed. Provided the total in Base 1 and Base 2 does not exceed the allocation write off limits as set up using the Company Master application.
•Transaction Date - select the date from and to using the drop-down arrows
•Accounting Period - enter the financial period in the from and to fields
•Other - select extra criteria for generating the data.
Click on the ![]() button to continue.
button to continue.
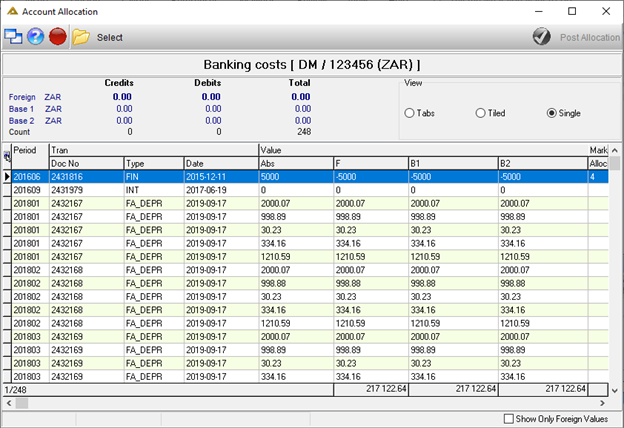
The ![]() button opens the selection screen again.
button opens the selection screen again.
To select multiple lines, hold the Ctrl key when selecting lines. This feature is handy when selecting allocation markers.
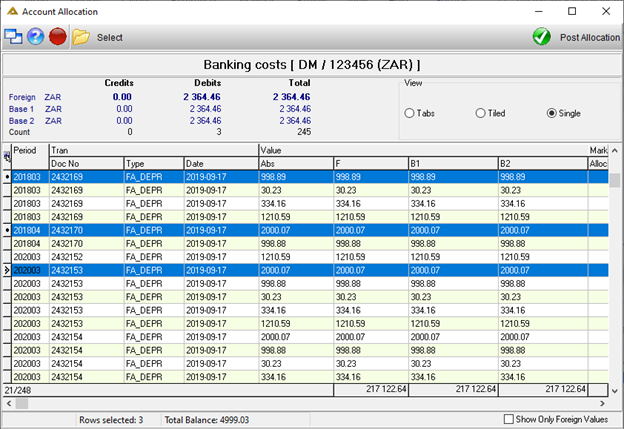
All accounts relevant to the account selected will be displayed in the grid. Use default viewing options or choose any other as required:
a)Tab
b)Tiled
c)Single
The default view (tabs/tiled/single) is determined by a parameter setting.
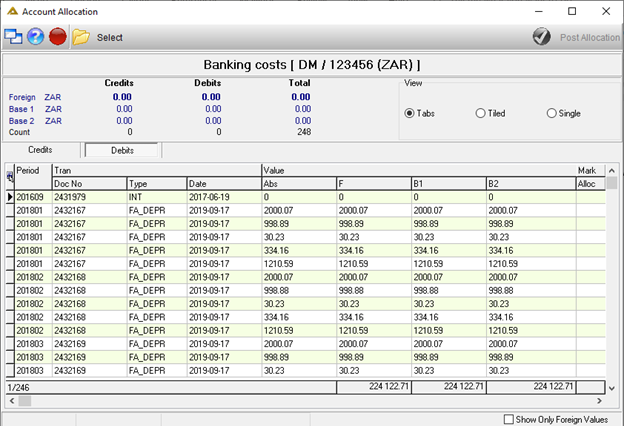
Tabs Option (Credit tab/Debit tab)
The transactions are split into two separate tabs.
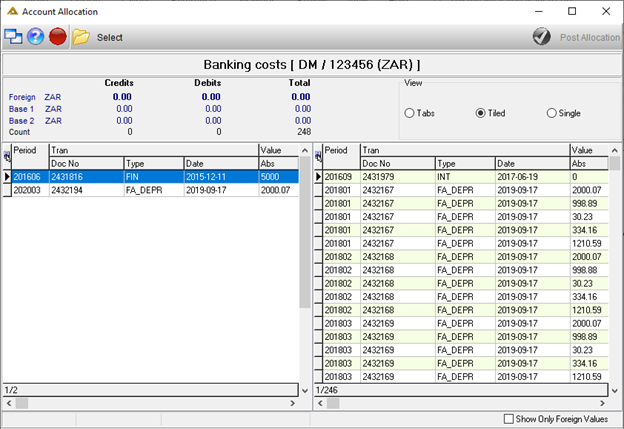
Tiled
The debit and credit transactions are split into two separate grids which can be viewed at the same time.
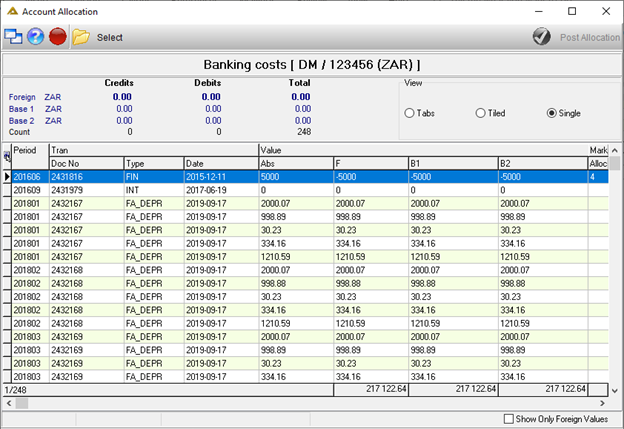
Single
The debit and credit transactions are listed below each other in one grid.
Right Click Options
The following right click options are available:
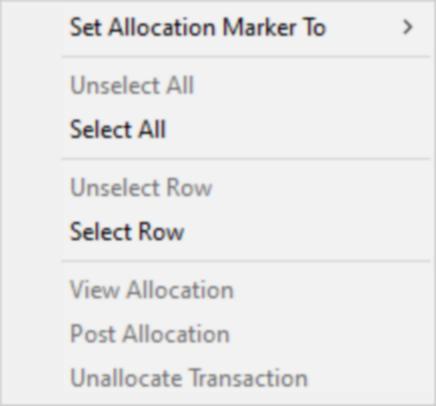
Set Allocation Marker To
This gives you the following options:
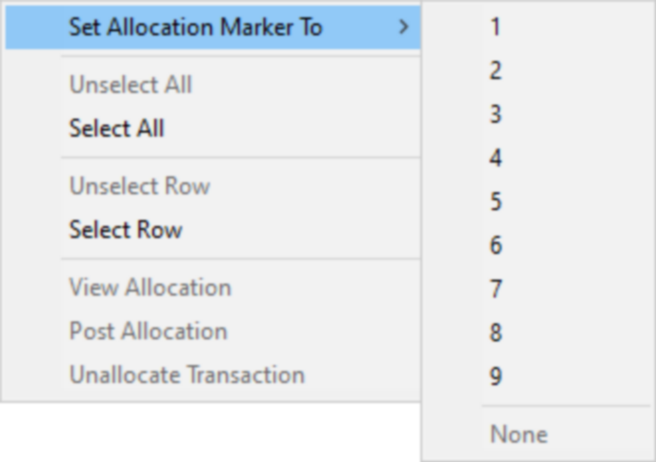
Unselect All and Select All
Selects/unselects all applicable lines.
Unselect Row(s) and Select Row(s)
Selects/unselects all applicable rows. You can also double click on a line to select it.
View Allocation
This option will only be enabled if you select the Include previously allocated transactions check box:
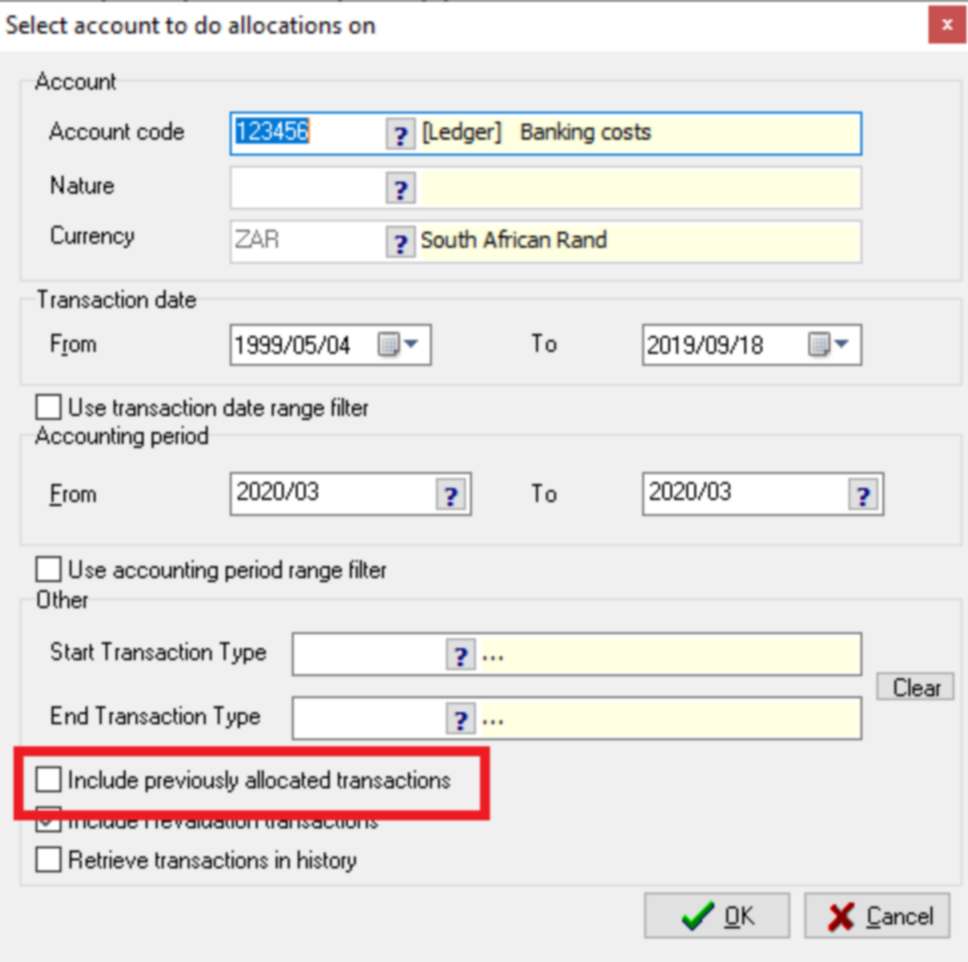
When selected, you will view the following screen:
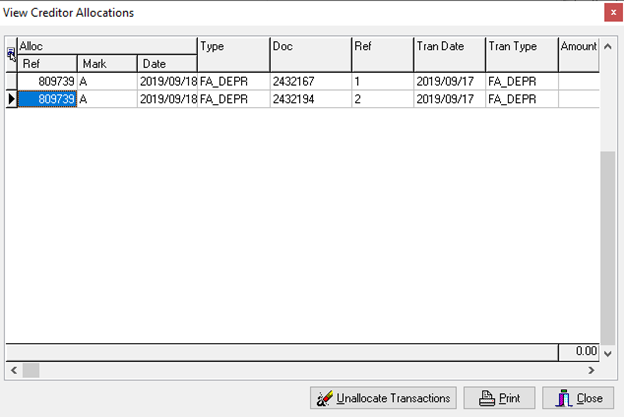
The ![]() button allows you to unallocate previously allocated transactions. You will receive the following confirmation message:
button allows you to unallocate previously allocated transactions. You will receive the following confirmation message:
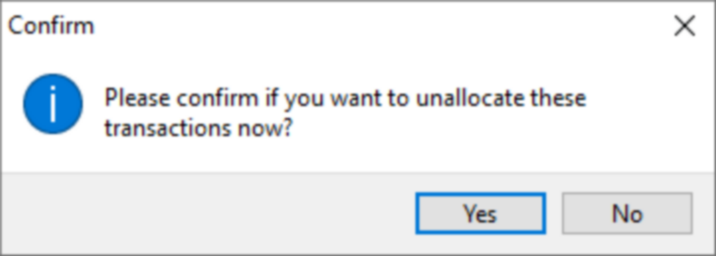
This will only be allowed if the marker is 'A'. The ![]() button will generate the following preview:
button will generate the following preview:
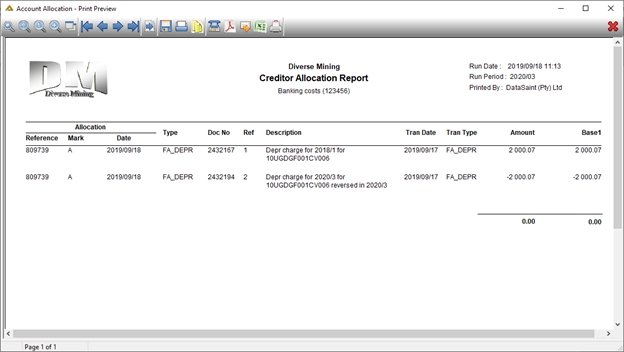
Post Allocation
This option does the same as the ![]() button.
button.
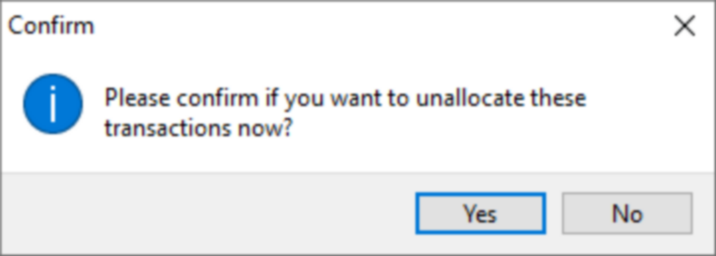
Unallocate Transactions
allows you to unallocate previously allocated transactions. You will receive the following confirmation message:
Post Allocations
Click on the ![]() button to post the selected allocations.
button to post the selected allocations.
You will receive the following confirmation message:
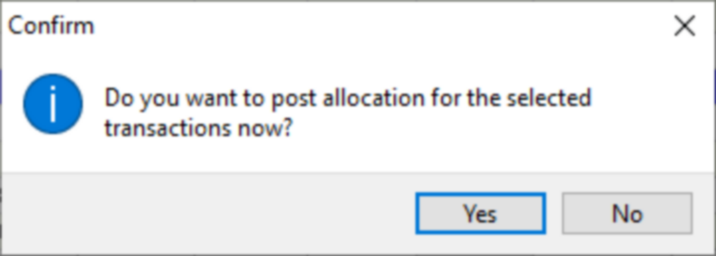
A unique allocation marker 'A' and allocation reference number is assigned when the allocation is posted.
The Show Only Foreign Values tick box allows you to either display the Base 1 and foreign value or foreign values only:
