Overview
This application allows the user to manually create and capture journals to be posted to either the general ledger, sub ledgers or a combination of these.
Capturing a New Journal
Start creating a new journal by clicking on the ![]() button on the Header Tab.
button on the Header Tab.
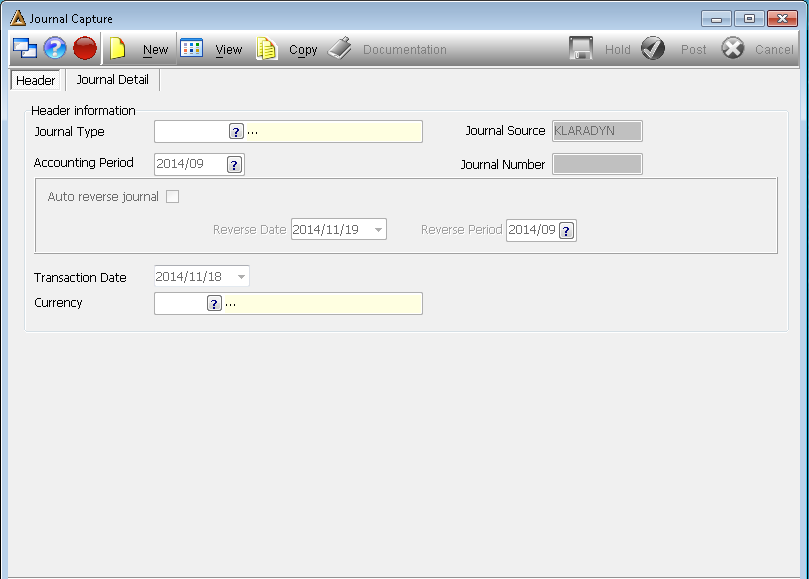
You will then enter the Header information for this journal.
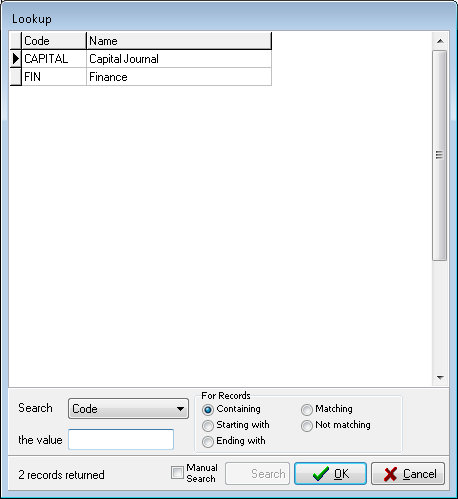
The Journal Type can either be entered manually to create a new type or one can be selected using the ![]() , making your selection and clicking the
, making your selection and clicking the ![]() button.
button.
The current Accounting Period will be selected by default. You cannot post journals to closed periods.
Journal Source will be the name of the user capturing the journal. This field cannot be edited and the user name will be displayed on the printed journal.
Once all the relevant information has been entered, select the ![]() tab.
tab.
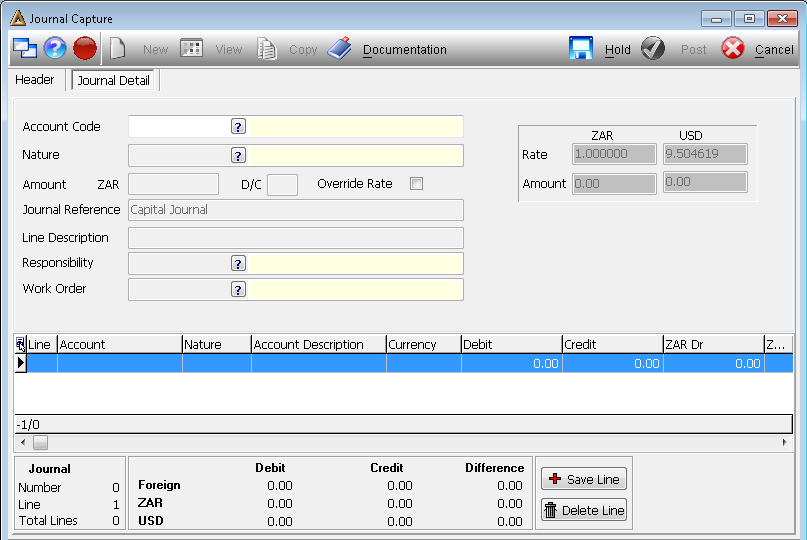
If you are using the translation functionality, you will be able to translate the Line Description. Your screen will look as follows:
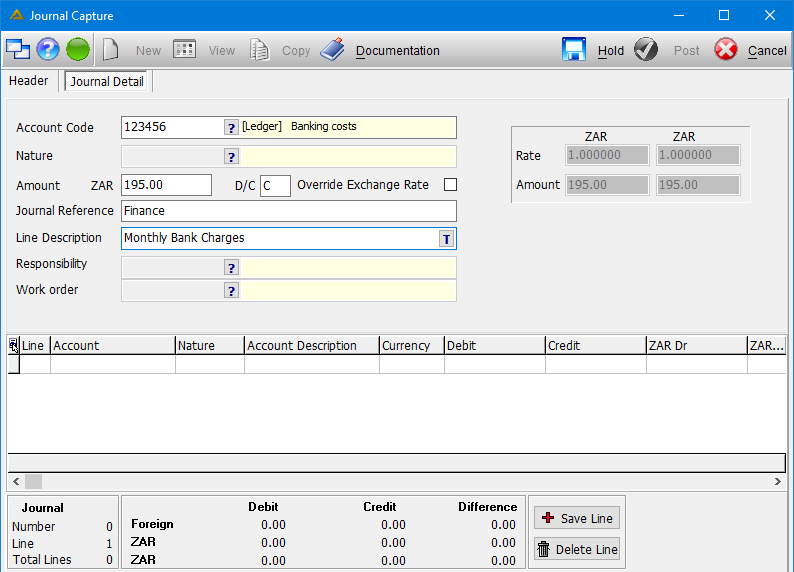
You have to translate the line description before you will be able to post the journal entry.
The relevant account must be selected by using the ![]() and choosing from the lookup list.
and choosing from the lookup list.
The Nature field will only be enabled when a selection is made from the Account lookup.
You are then required to enter the amount for this journal.
Enter D for Debit or C for Credit. You have to capture a contra line for every line captured.
The Exchange Rate will automatically be calculated. Click on ![]() tickbox to manually enter the rate.
tickbox to manually enter the rate.
If the Base 2 value is manually entered and the journal is put on hold to be posted at a later stage, the value will not be recalculated based on the rate of exchange as per the transaction date.
Line description is your motivation/reference for capturing this line of the journal.
The Responsibility field becomes enabled when a selection is made from the Account lookup and is a compulsory field. If omitted, the system will prompt the user to complete this field before the line can be saved.
When you have completed these fields click the ![]() button.
button.
You can now capture a new line for this journal.
Your captured lines will appear in the grid below:

When you have captured all lines click on the ![]() button to post the journal. Depending on the user's access levels and the workflow structure of the company, this button might not be enabled and the user who captured the journal may only be able to place the journal on
button to post the journal. Depending on the user's access levels and the workflow structure of the company, this button might not be enabled and the user who captured the journal may only be able to place the journal on ![]() , to be posted later.
, to be posted later.
Documentation Upload
Documentation to support your journal entry can be uploaded by using the ![]() button.
button.
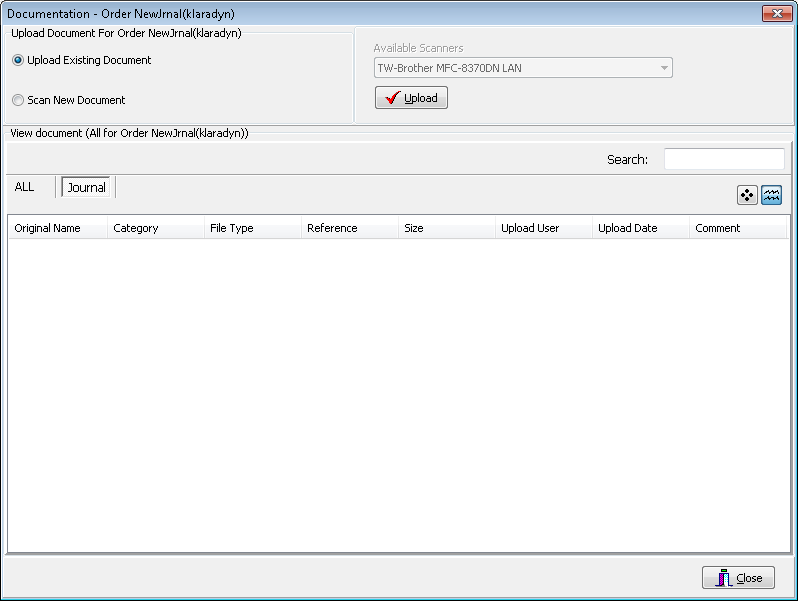
This screen will allow you to browse for the file you wish to upload by using the ![]() button.
button.
The files you have uploaded will appear in the grid at the bottom of the Documentation screen.
When you have finished uploading all the documents press the ![]() button to continue on the Journal Capture screen.
button to continue on the Journal Capture screen.
The documentation uploaded here can be viewed anywhere in the system where the journal is viewed: Journal Enquiry and Journal Reversal as well as in the screen accessed from the 'View' button.
Using the View Button
The ![]() button can be found on the task bar and is used to view journals that have previously been put on hold. All the journals that were held for whatever reason, are out of balance or waiting workflow approval can be found in this screen. Journals can be edited from this grid and documentation can be viewed, added or deleted.
button can be found on the task bar and is used to view journals that have previously been put on hold. All the journals that were held for whatever reason, are out of balance or waiting workflow approval can be found in this screen. Journals can be edited from this grid and documentation can be viewed, added or deleted.
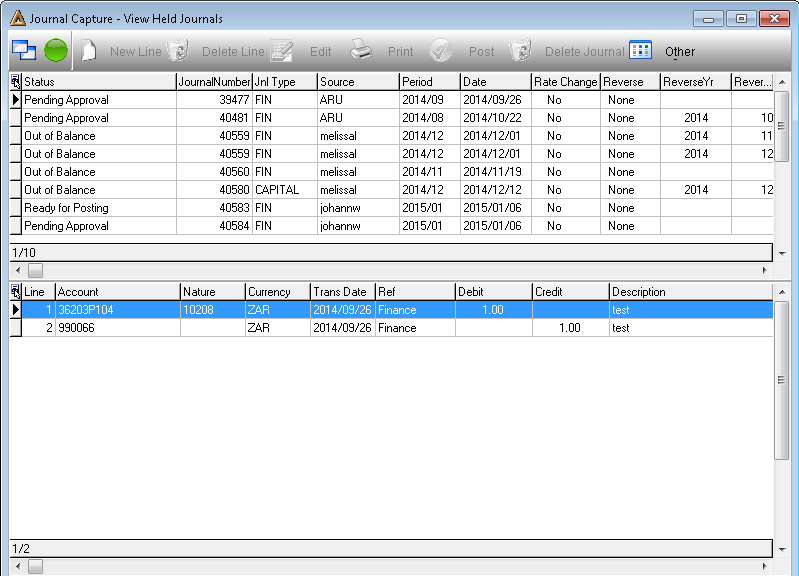
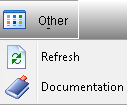
When you click on the ![]() button you will see a dropdown list from where you can either refresh the journals shown or view the documentation attached.
button you will see a dropdown list from where you can either refresh the journals shown or view the documentation attached.
![]()